Introduction
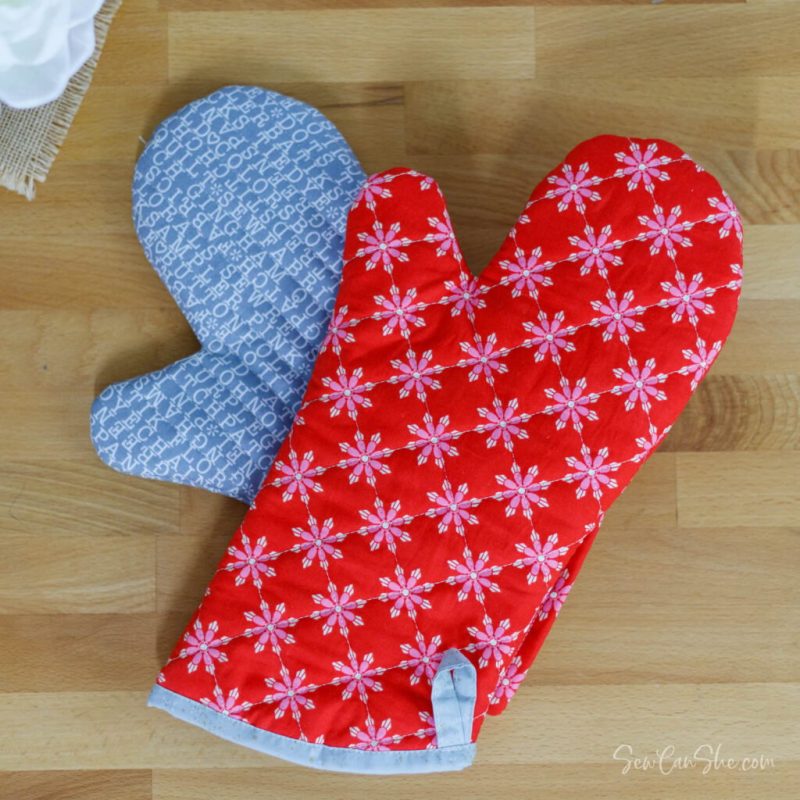
Making your own oven mitts is a rewarding project that combines functionality with creativity. Whether you’re an experienced sewer or a novice looking for a fun sewing challenge, crafting oven mitts allows you to customize a kitchen essential to fit your style and needs perfectly. Here’s a detailed guide on how to make oven mitts from scratch:
Materials Needed:
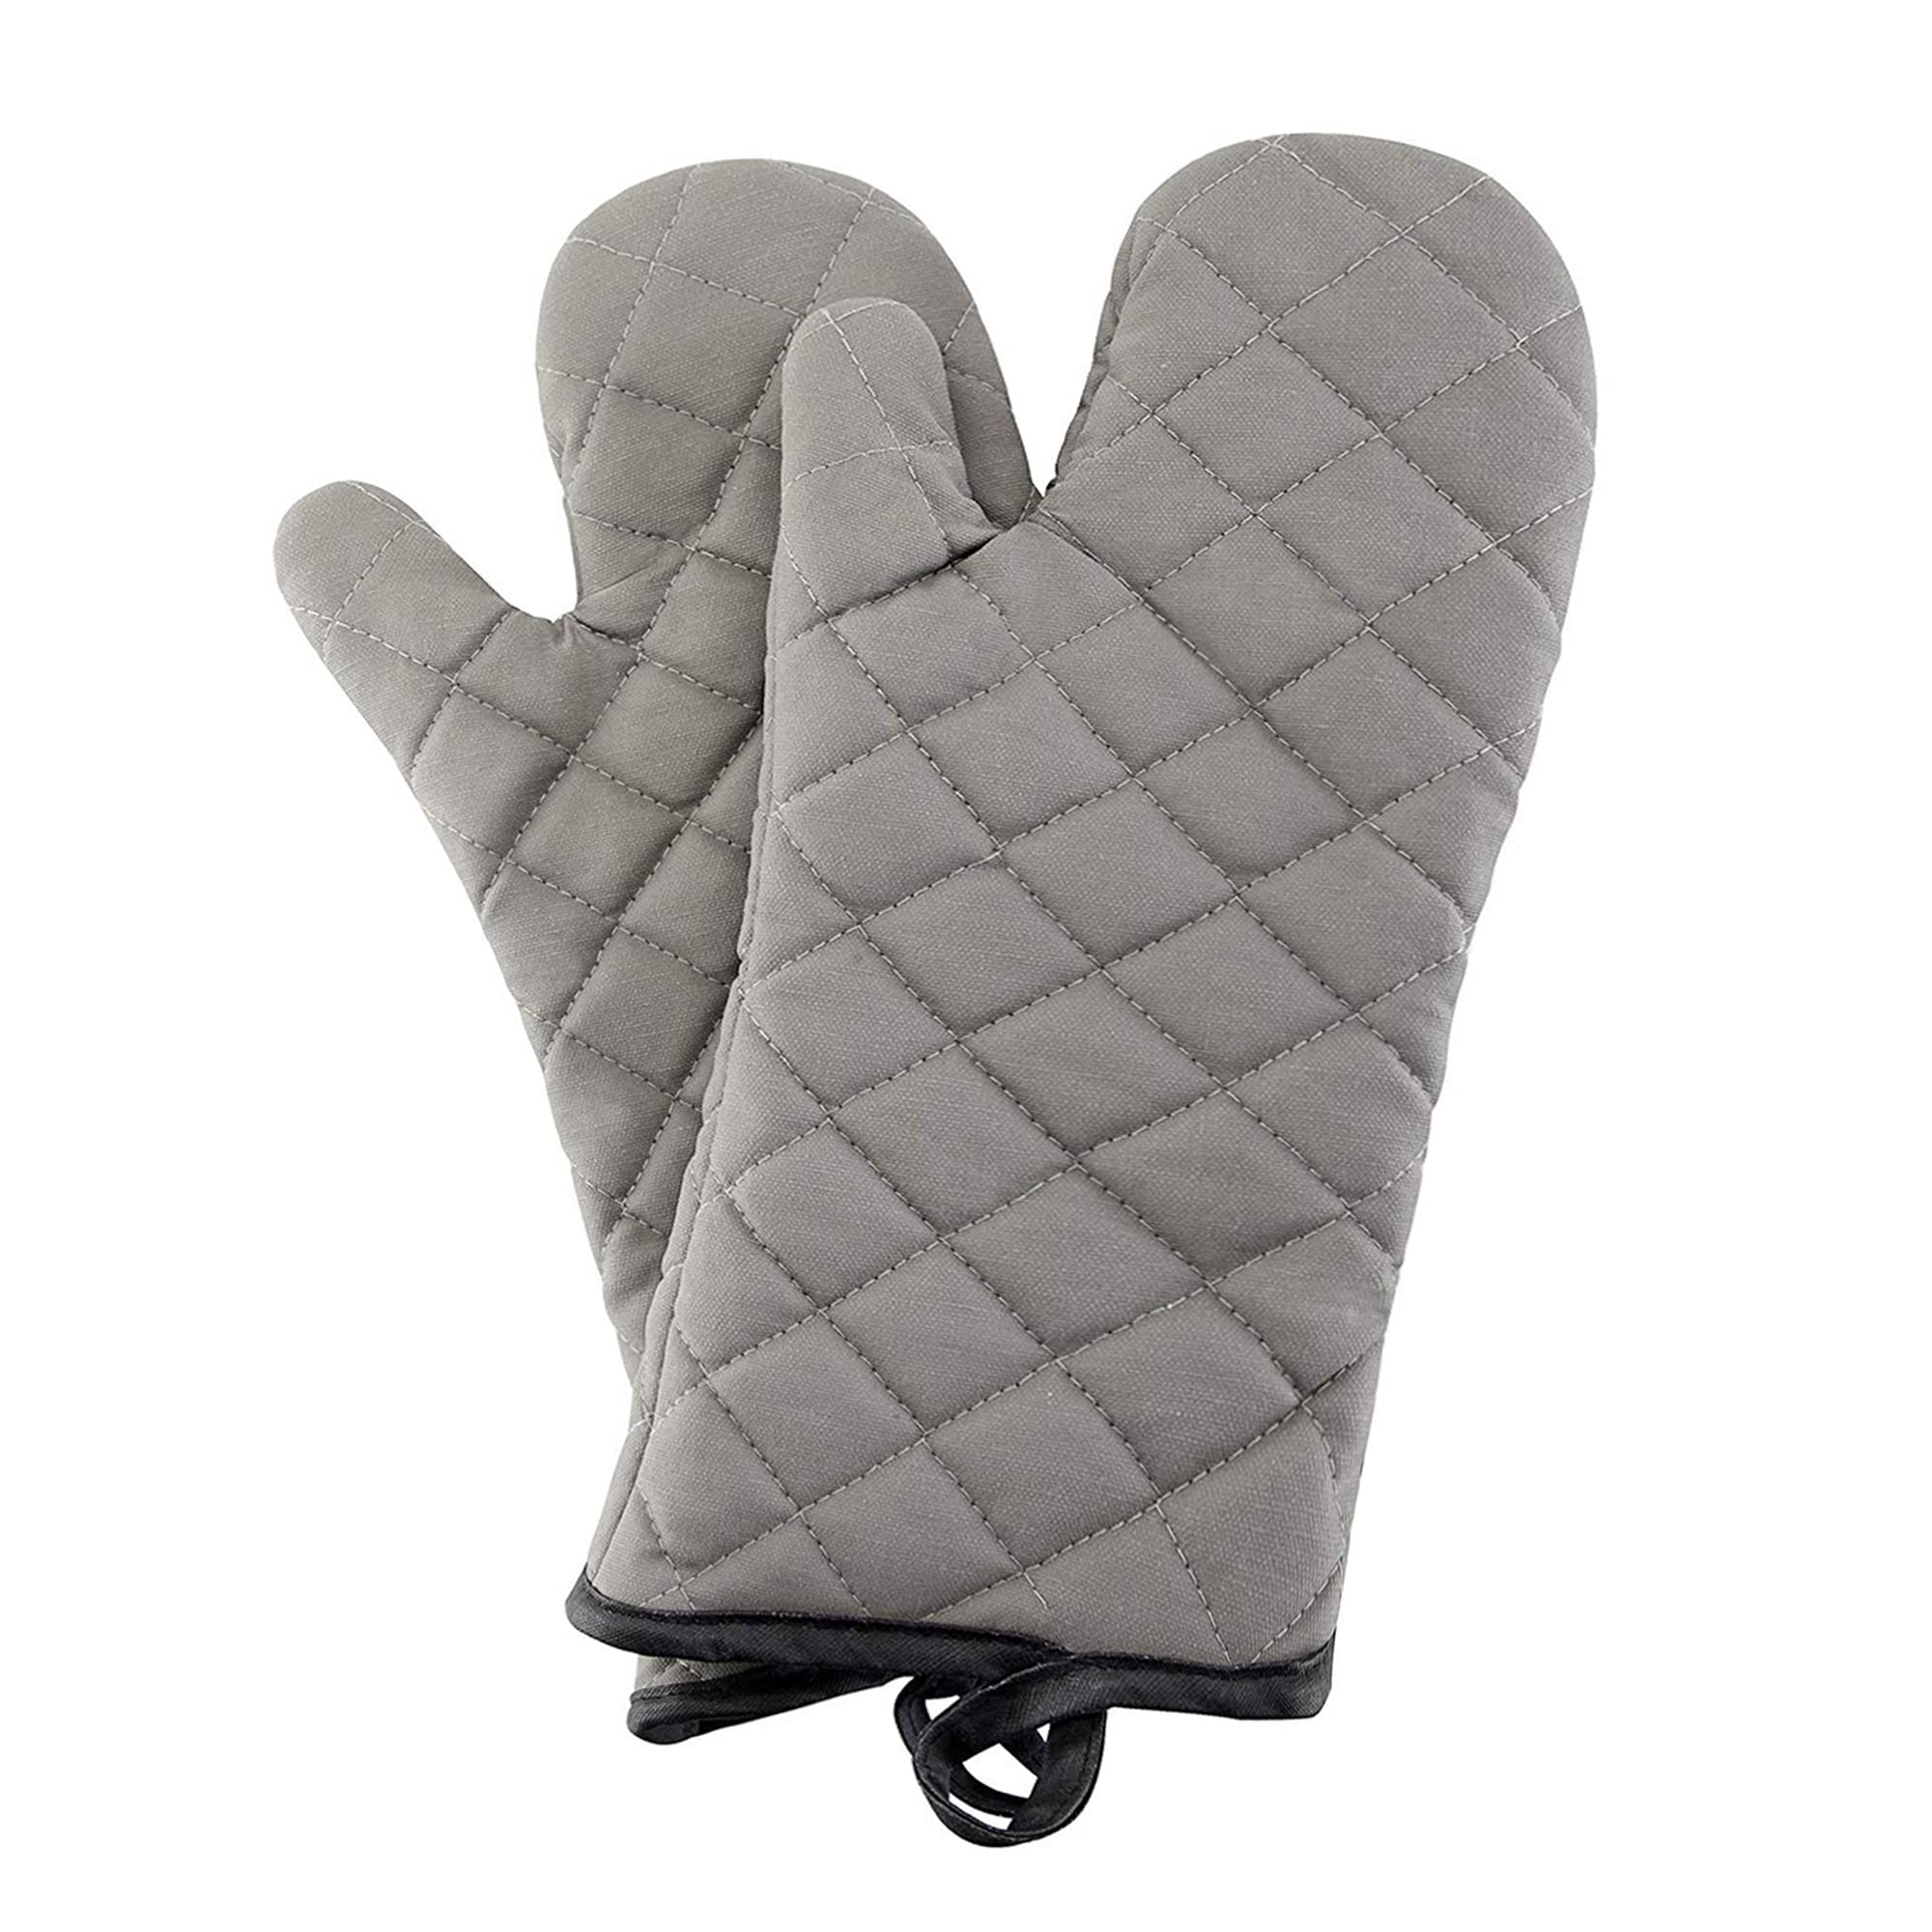
- Outer Fabric: Choose a heat-resistant material such as cotton canvas, denim, or specialized heat-resistant fabric. This will protect your hands from the heat of hot pots and pans.
- Lining Fabric: Opt for a soft and comfortable fabric like cotton flannel or fleece. This will provide a cozy interior for your mitts.
- Insulated Batting (optional): For enhanced heat protection, you can use insulated batting designed for oven mitts. This is particularly useful if you frequently handle very hot items.
- Thread: High-quality thread that matches your outer fabric for sewing the mitts together.
- Scissors, Pins, and Needles: Essential tools for cutting fabric, pinning pieces together, and sewing by hand if necessary.
- Measuring Tape and Ruler: For accurately measuring and cutting fabric pieces to the correct size.
- Sewing Machine: Makes the sewing process faster and more efficient, though you can also sew mitts by hand if you prefer.
- Pattern: You can create your own pattern based on the size and shape you prefer or use a template from a sewing pattern.
Step-by-Step Guide:
1. Create or Choose a Pattern:
- Design Your Pattern: Draw a pattern for your oven mitts. A typical pattern consists of a hand-shaped piece with a wider end for the hand and a narrower end for the fingers. You’ll need two pieces for each mitt—outer fabric, lining, and possibly insulated batting if using.
2. Prepare and Cut Fabric:
- Trace and Cut: Trace your pattern onto the outer fabric, lining fabric, and insulated batting (if using). Cut out two pieces of each fabric for each mitt.
3. Layer and Pin:
- Layer Fabric: Place the outer fabric pieces right sides together, then place the lining fabric pieces right sides together. If using insulated batting, place it between the outer and lining layers.
- Pin Layers: Pin around the edges to secure the layers together, ensuring all layers are aligned.
4. Sew Layers Together:
- Sew Edges: Using a sewing machine (or hand sewing if preferred), sew around the edges of the mitt, leaving the bottom edge (wrist area) open. Use a ⅜ inch seam allowance to ensure durability.
5. Turn Inside Out:
- Turn Right-Side Out: Carefully turn the mitt inside out through the open wrist area. Push out the thumb and fingers gently to ensure they are fully turned.
6. Finish the Wrist Area:
- Fold and Sew: Fold the raw edges of the wrist area inside by about ⅜ inch and press. Topstitch around the wrist area to close the opening and create a neat finish.
7. Add Decorative Touches (optional):
- Personalize: You can add decorative elements such as embroidery, appliqué, or decorative stitching to the outer fabric before sewing the layers together. This adds a personalized touch to your mitts.
8. Repeat for the Second Mitt:
- Follow Steps: Repeat the above steps to create a matching mitt for the other hand.
Tips for Success:
- Choose Quality Materials: Select fabrics and batting that are heat-resistant and durable for long-lasting oven mitts.
- Test Heat Resistance: If using insulated batting, test it with a hot pan or oven to ensure it provides adequate heat protection.
- Reinforce Seams: Sew seams securely, especially around thumb and finger areas, to prevent unraveling during use.
- Customize Size: Adjust the pattern to fit your hand comfortably; everyone’s hands are different, so tailor the pattern as needed.
Materials You’ll Need
- Insulated Batting: Essential for heat protection. Look for materials specifically designed for oven mitts or use multiple layers of regular batting.
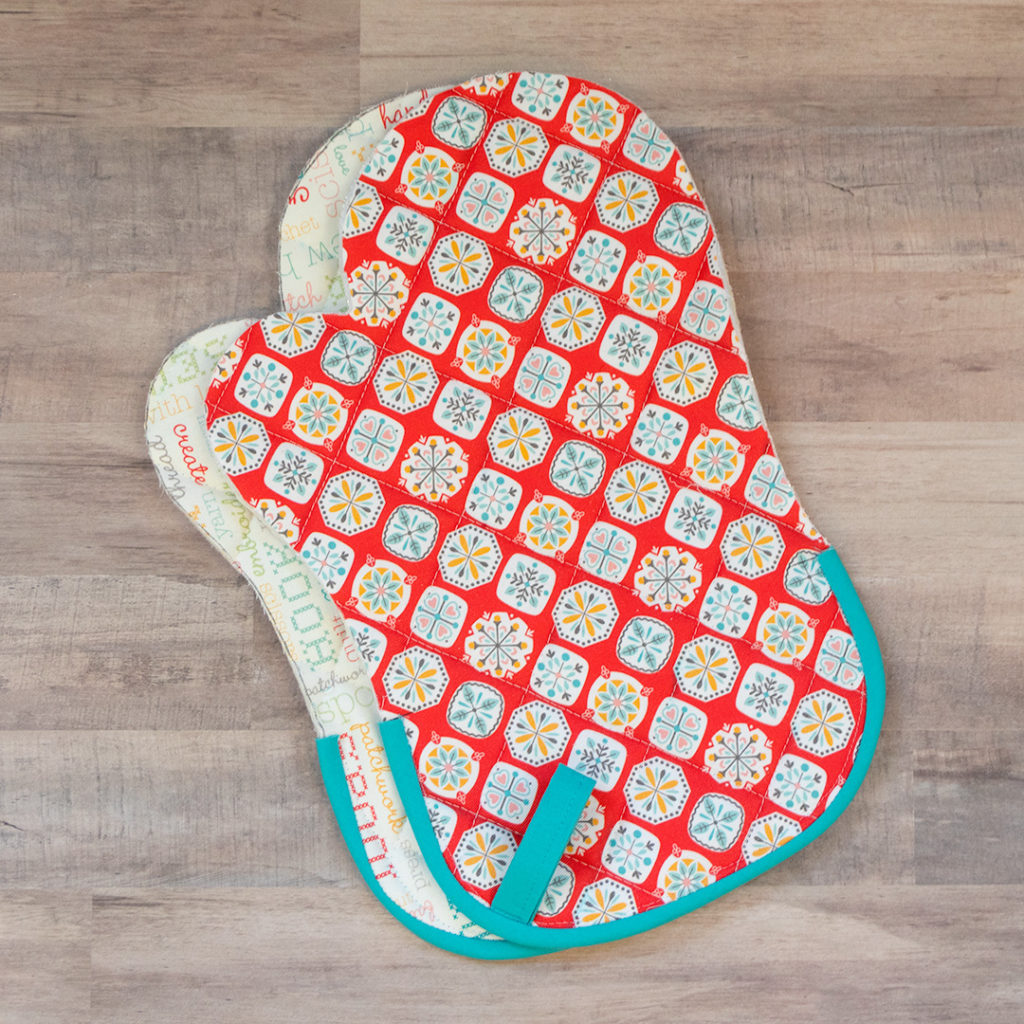
- Outer Fabric: Choose a heavy-duty, heat-resistant fabric like cotton, denim, or canvas. Consider a fun print or color to add personality.
- Lining Fabric: A soft, breathable material like cotton will feel comfortable against the skin. You could also use a layer of terrycloth for added absorption.
- Thread: Match the thread color to your outer fabric or choose a contrasting color for a decorative touch.
- Bias Tape: For finishing the edges. You can buy pre-made bias tape or make your own.
- Sewing Machine: A must-have for efficient sewing. Make sure it’s capable of sewing through multiple layers.
- Scissors, Pins, Ruler, and Sewing Notions: For measuring, cutting, and marking your fabric.
Step-by-Step Guide
1. Design and Pattern
- Draft a Pattern: Trace your hand onto paper, adding about 1/2 inch all around for seam allowance and extra room for movement. Extend the pattern to cover the wrist for added protection. Don’t forget to mirror the pattern for the other mitt.
- Cut Fabric: Using your pattern, cut two pieces each from the outer fabric, lining fabric, and insulated batting. Ensure all pieces are cut accurately.
2. Assemble Layers
- Layer Your Materials: Lay one piece of outer fabric right side up, followed by the insulated batting, then the lining fabric right side down. Repeat for the second mitt. Pin layers together securely.
3. Sewing
- Sew Around Edges: Sew around the perimeter of the mitt, leaving a 4-5 inch gap at the bottom (not along the wrist) for turning. Use a sewing machine and a straight stitch, being careful to sew through all layers evenly.
- Clip Corners and Curves: Trim excess fabric at corners and clip curves to reduce bulk and ensure a smooth finish when turned right side out.
4. Turn and Stuff
- Turn Right Side Out: Through the opening, carefully turn the mitt right side out, using a blunt tool to push out corners.
- Insert Insulation (Optional): If you want additional heat protection, you can insert a thin layer of silicone oven mitt insulation into the mitt before closing the gap.
5. Finish Edges
- Close the Gap: Fold in the raw edges of the opening and pin closed. Topstitch around the entire mitt, close to the edge, closing the gap as you go.
- Add Bias Tape: Alternatively, you can bind the edges with bias tape for a clean finish. Sew the bias tape to the mitt’s edge, folding it neatly around the corners and securing it well.
6. Personalize and Embellish (Optional)
- Embroidery or Appliqué: Add your initials, a fun design, or a quirky quote using embroidery or appliqué techniques.
- Pockets or Loops: Sew a hanging loop at the wrist or add a small pocket on the outer side for holding utensils.
Tips and Tricks
- Test for Heat Resistance: Before using your homemade oven mitts, test their heat resistance with a lesser heat source to ensure they provide adequate protection.
- Choose Quality Materials: The quality of your fabrics直接影响到成品的耐用性和隔热效果,因此选择材料时要格外注意。
- Practice Safety: When sewing through thick layers, be cautious to avoid sewing over pins and use a heavy-duty needle to prevent breaking.
With these steps, you can create a set of oven mitts that not only protect your hands from hot dishes but also add a touch of personal flair to your cooking routine. Enjoy the process and take pride in your handmade creation!
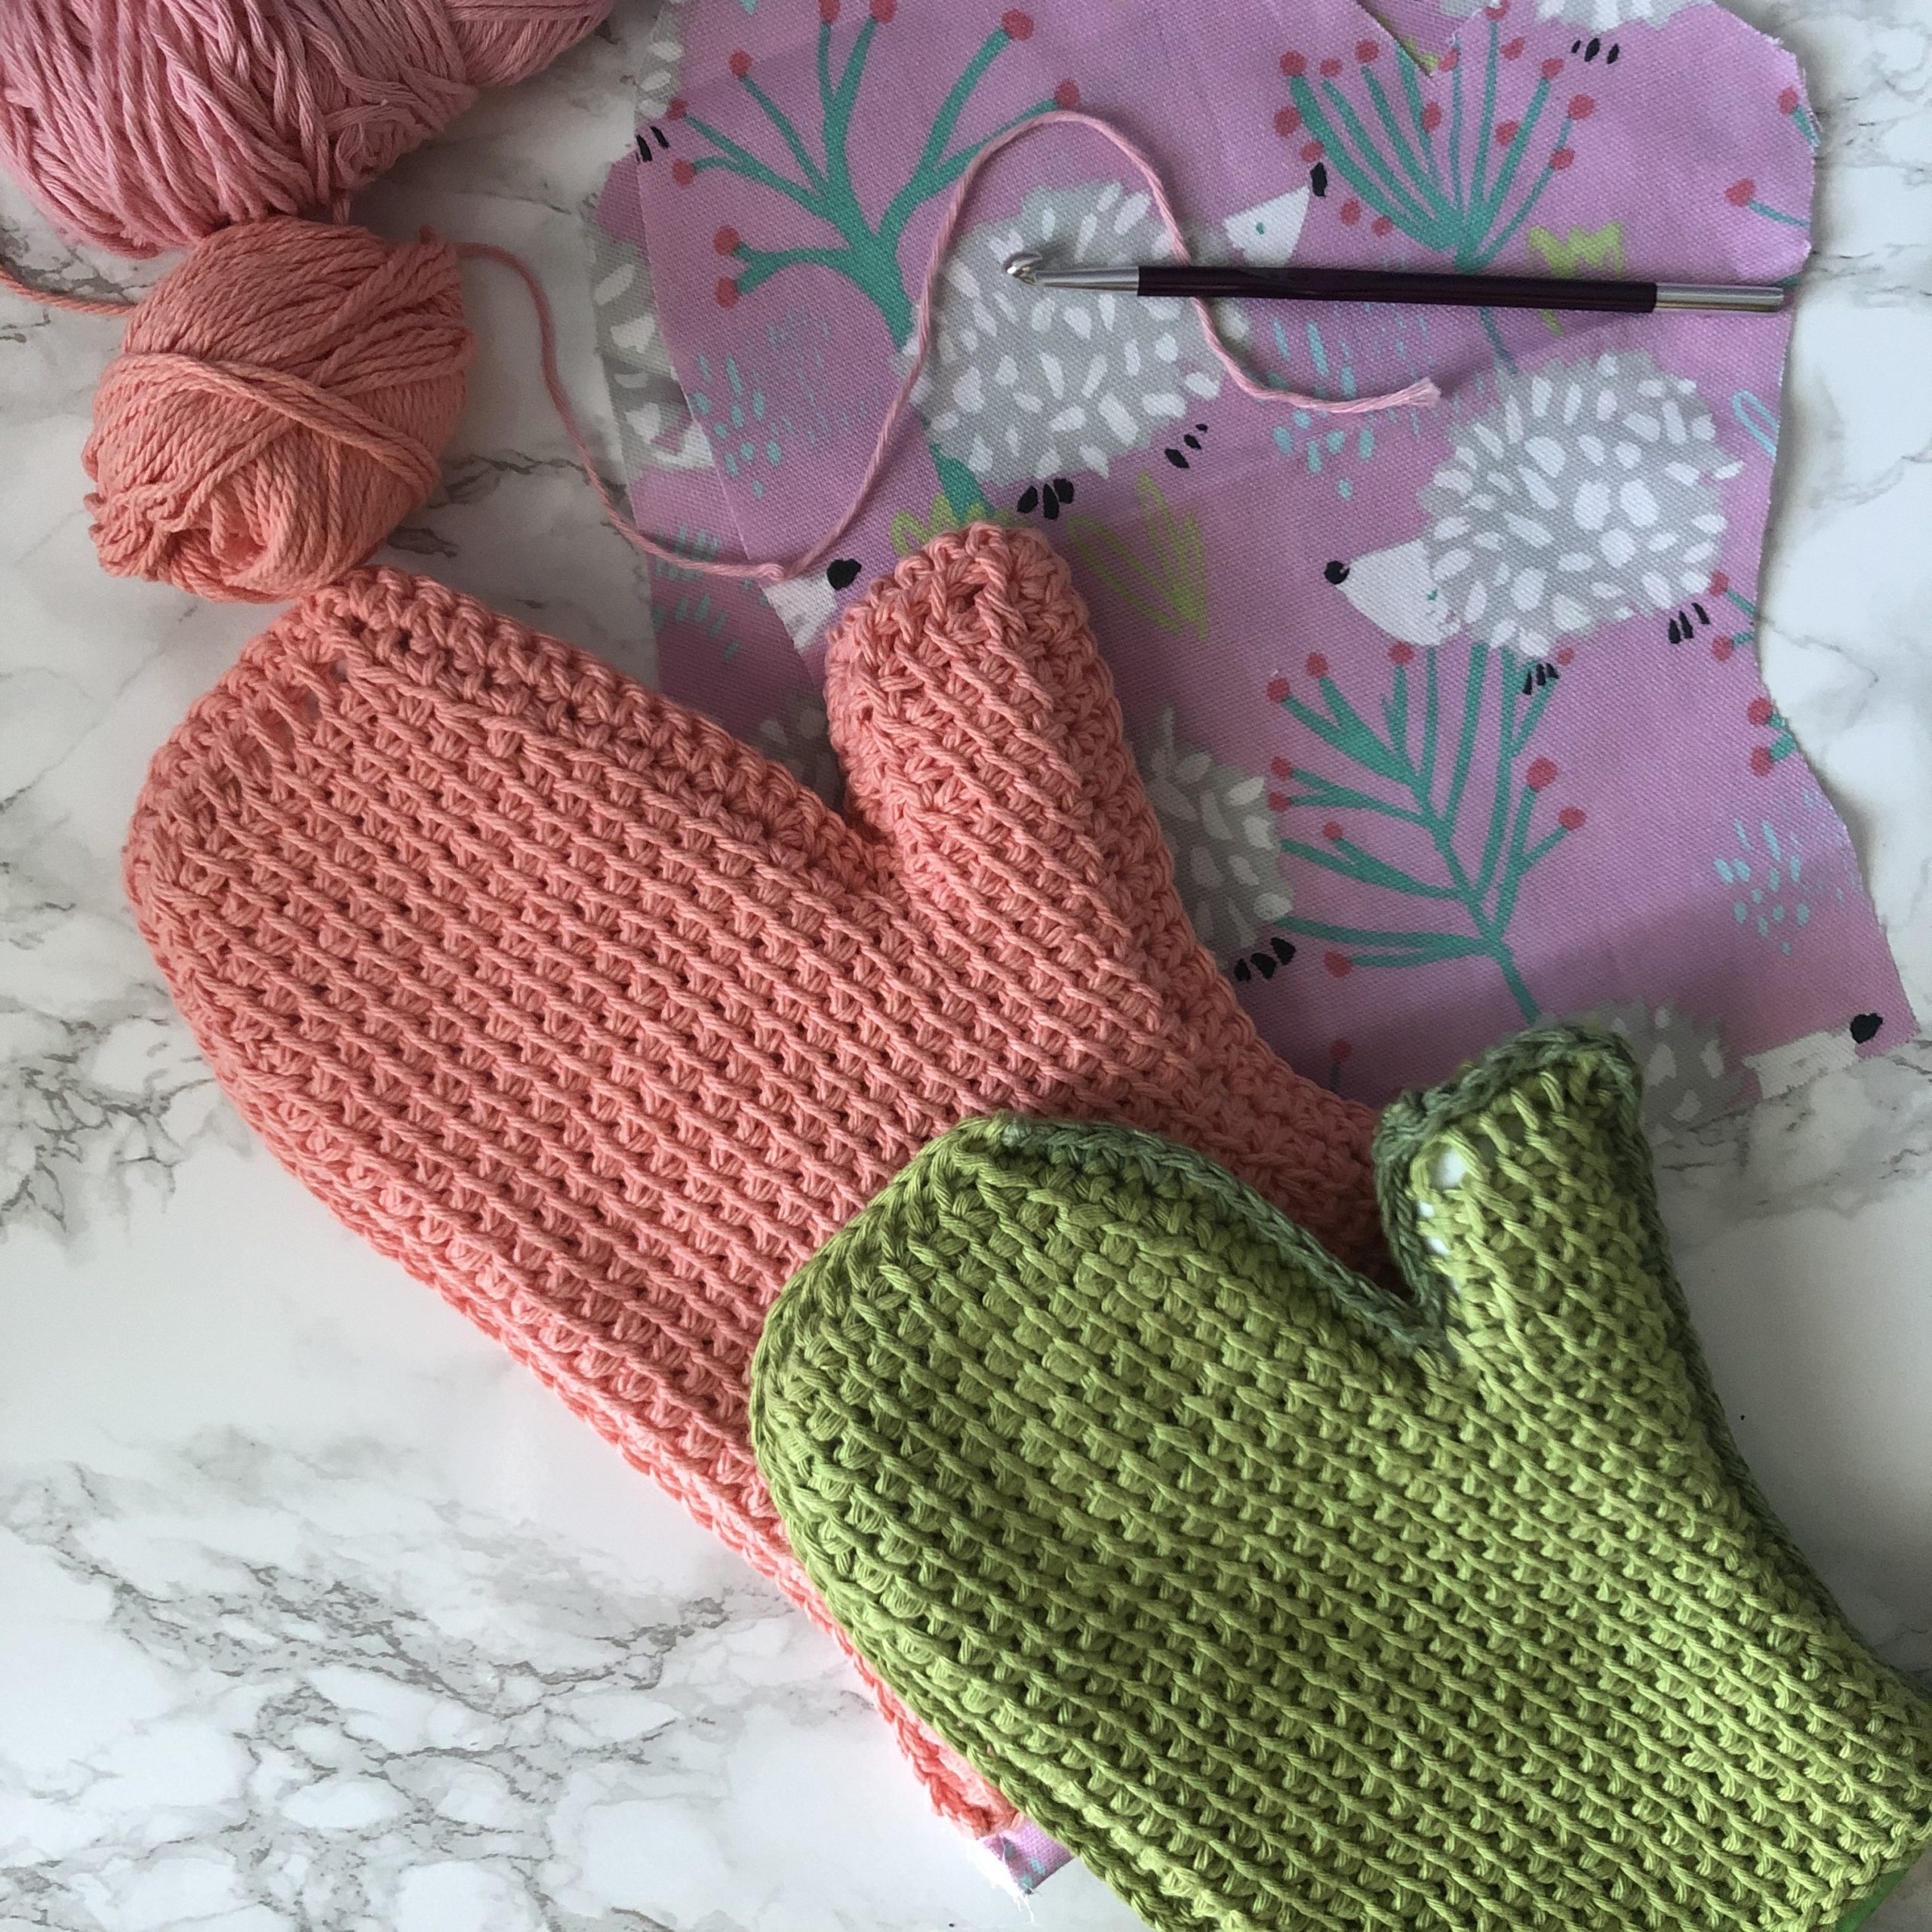
Final Thoughts:
Making oven mitts is not only practical but also allows you to unleash your creativity. Handcrafted mitts can make great gifts and are a wonderful addition to your kitchen. By following these steps and adding your personal flair, you can create oven mitts that are functional, stylish, and uniquely yours. Enjoy the process of sewing and the satisfaction of using handmade items in your daily cooking adventures!
