Introduction
Clean baking sheet – Baking sheets are essential tools in any kitchen, serving as the foundation for countless delicious dishes, from cookies and pastries to roasted vegetables and meats. However, over time, these versatile kitchen staples can become unsightly and worn out due to stains, scratches, and discoloration. Fortunately, with some simple care and maintenance techniques, you can keep your baking sheets looking brand new and extend their lifespan. This guide will provide you with all the tips and tricks you need to maintain your baking sheets in pristine condition.
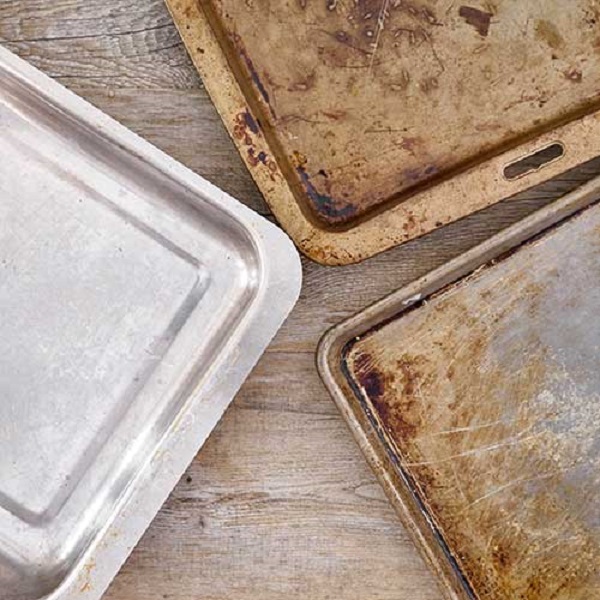 Understanding Your Baking Sheets
Before diving into maintenance, it’s important to understand the different types of baking sheets available:
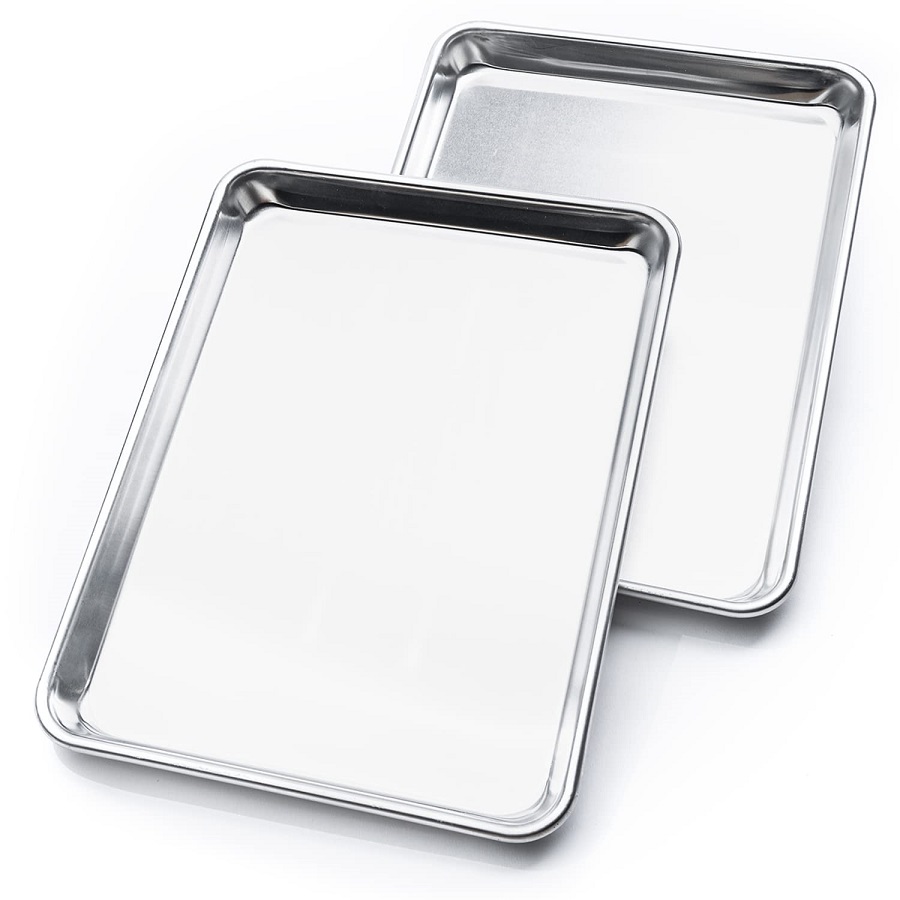
- Aluminum Baking Sheets: Lightweight and conductive, these sheets heat evenly but can be prone to warping and discoloration.
- Stainless Steel Baking Sheets: Durable and resistant to rust, stainless steel sheets may not conduct heat as evenly but are tough and easy to clean.
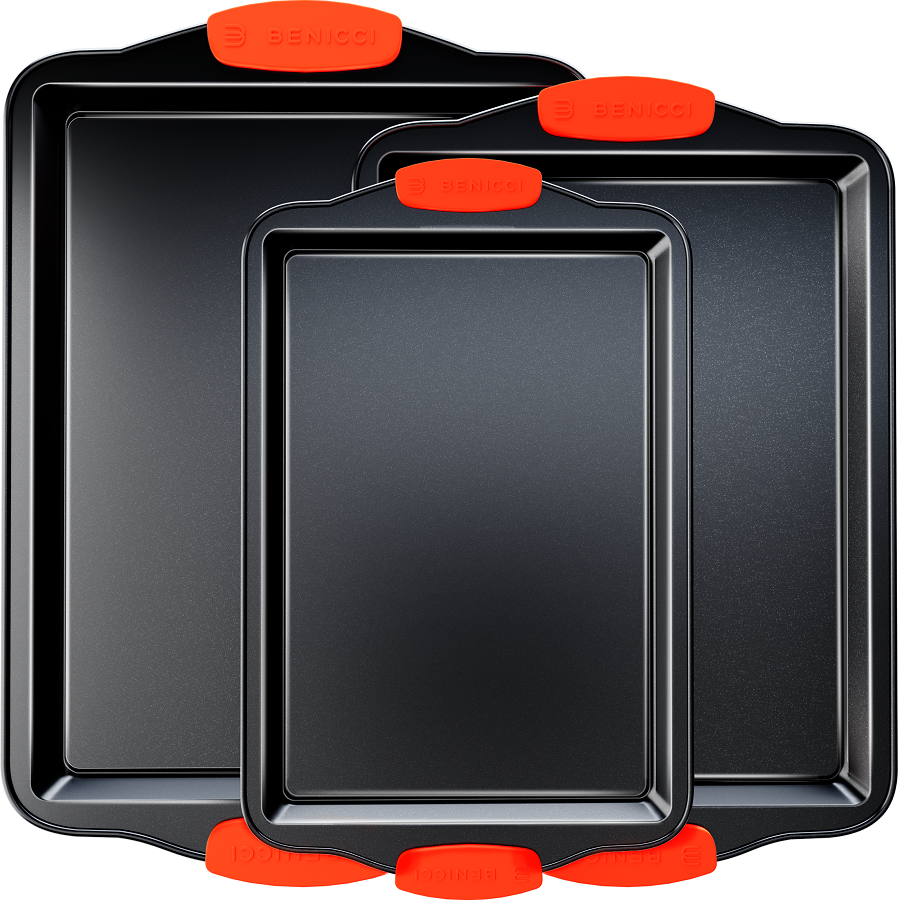
- Non-stick Baking Sheets: Coated with a non-stick surface for easy release of baked goods, these sheets require special attention to avoid scratches that can ruin the finish.
- Silicone Baking Mats: Often used as liners on baking sheets, silicone mats can help prevent sticking and staining but must be kept clean and free from damage.
- Glass Baking Sheets: Generally used for roasting and casserole dishes, glass is less common for traditional baking but can still work in the oven. However, it is prone to breakage.
By knowing the characteristics of your baking sheets, you can tailor your maintenance routine accordingly.
Tips for Preventing Stains
- Use Parchment Paper: For baking cookies or roasting vegetables, line your baking sheets with parchment paper. It acts as a barrier between the food and the sheet, preventing direct contact and minimizing staining.
- Avoid High-Heat Cooking: Using baking sheets at excessively high temperatures can lead to staining and warping. Always follow temperature guidelines, and avoid cooking at over 450°F (232°C) unless specified by the manufacturer.
- Regularly Rotate Baking Sheets: If you have multiple sheets, rotate their usage to prevent any one sheet from accruing too much wear and tear.
- Clean Spills Immediately: If any food spills onto your baking sheet, clean it promptly. The longer you allow stains to set, the harder they will be to remove.
Tips for Preventing Scratches
- Use Non-Metal Utensils: Avoid using metal spatulas, whisks, or scrapers on non-stick baking sheets, as they can scratch the surface. Opt for silicone, wooden, or plastic utensils instead.
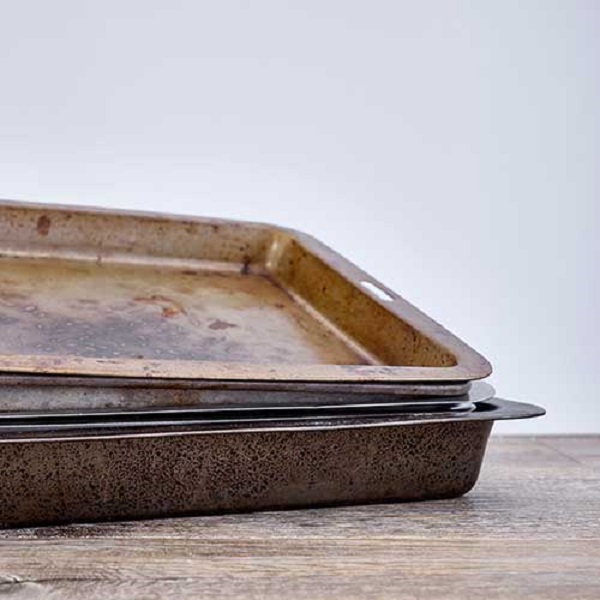
- Stack with Care: If you stack your baking sheets for storage, place a layer of paper towels between each sheet to avoid scratches. Always be gentle when handling to prevent jarring against one another.
- Choose Quality Baking Sheets: Investing in high-quality baking sheets will enhance their durability. Look for those with a thicker gauge to resist warping and scratching.
- Keep Sheets Separate: If possible, store baking sheets separately instead of nesting them to minimize contact that could lead to scratches.
Preventing Discoloration
- Avoid Soaking: While it can be tempting to soak dirty baking sheets in hot water, this can lead to discoloration and warping. Instead, wash them immediately after use with warm, soapy water.
- Use Baking Soda: For stubborn stains or discoloration, make a paste with baking soda and water. Apply it to the affected area, let it sit for about 15 minutes, then scrub gently before rinsing.
- Limit the Use of Abrasive Cleaners: While it’s important to clean your baking sheets thoroughly, using abrasive cleaners or scrubbing pads can strip the finish and lead to discoloration. Use soft sponges or dishcloths instead.
- Keep Away from Acidic Foods: Cooking or baking with acidic foods like tomatoes and citrus can discolor aluminum baking sheets. If you must use them, line the sheets with parchment paper to protect the surface.
Maintaining Your Baking Sheets: A Cleaning Routine
- After Each Use:
- Wipe the surface with a damp cloth or sponge.
- If necessary, wash with warm, soapy water.
- For non-stick sheets, avoid steel wool or other abrasive materials.
- Weekly or Monthly Deep Cleaning:
- For stubborn stains, create a paste of equal parts baking soda and water.
- Apply the paste to the stained areas and let it sit for 20-30 minutes.
- Gently scrub with a soft sponge, rinse, and dry thoroughly.
- Storage Tips:
- Store baking sheets in a dry, cool place to avoid moisture accumulation.
- If stacking sheets, use protective layers to prevent scratches.
- Inspection and Repair:
- Regularly inspect your baking sheets for any signs of damage. If you notice any warping or significant scratches, it may be time to replace them.
Gather Your Cleaning Supplies
To get started with deep cleaning your baking sheets, gather the following supplies:
- Baking soda
- White vinegar
- Dish soap
- A scrub brush or sponge
- Microfiber cloth or paper towels
- Hot water
- Optional: An old toothbrush for hard-to-reach areas
Soak Your Baking Sheets
- Fill a Sink or Basin: Fill your sink or a large basin with hot water and add a few drops of dish soap. Let it fill enough to completely submerge the baking sheets.
- Add the Baking Sheets: Place your baking sheets in the soapy water and let them soak for at least 15-30 minutes. This process will help loosen any baked-on food particles, grease, or stains.
Scrub Away Stains and Residue
- Sprinkle Baking Soda: After soaking, remove the baking sheets from the water and sprinkle a generous amount of baking soda over the surface. This natural abrasive will assist in lifting stubborn stains.
- Add Vinegar: Pour a little bit of white vinegar over the baking soda. The combination will create a fizzing reaction that helps to lift grime. Allow it to sit for about 5-10 minutes.
- Scrub: Use a scrub brush or sponge to work on any remaining stains gently. If you encounter stubborn spots, use the old toothbrush to tackle the crevices and corners where residue might be hiding. Make sure to scrub in a circular motion for the best results.
Rinse Thoroughly and Dry
- Rinse: Once you’ve removed all the grime, rinse each baking sheet under hot running water to wash away soap and baking soda. Ensure you don’t leave any particles behind.
-
Dry: Use a microfiber cloth or paper towel to dry the sheets thoroughly. This step is crucial as any remaining moisture can lead to rust or warping, especially in stainless steel baking sheets.
Maintain Your Baking Sheets
Now that you’ve cleaned your baking sheets, it’s essential to establish a routine maintenance plan to keep them in tip-top shape.
- Wash After Each Use: After each baking session, wash your baking sheets in warm, soapy water. Avoid putting them in the dishwasher, especially for nonstick and aluminum sheets, as high heats can damage the coating.
- Avoid Non-Stick Spray: Instead of using non-stick spray, opt for parchment paper or silicone baking mats. These alternatives prevent sticking without leaving a residue that can be difficult to clean.
- Store Properly: Stack your baking sheets flat or place a soft cloth between sheets to avoid scratches and dents. Keeping them flat minimizes the risk of warping over time.
- Remove Stains Promptly: If you notice any baked-on stains, don’t wait too long to address them. The sooner you clean them, the easier it will be to remove.
- Seasoning Nonstick Sheets: If you have nonstick baking sheets, consider “seasoning” them once in a while by lightly coating them with oil before their initial use. This can enhance their non-stick properties.
Conclusion
With these tips and techniques, you can ensure that your baking sheets remain in excellent condition for years to come. Regular maintenance not only enhances their appearance but also improves their performance in the kitchen. By being mindful of how you use, clean, and store your baking sheets, you can enjoy the benefits of quick and easy baking without worrying about unsightly stains, scratches, or discoloration. Happy baking!
