Introduction:
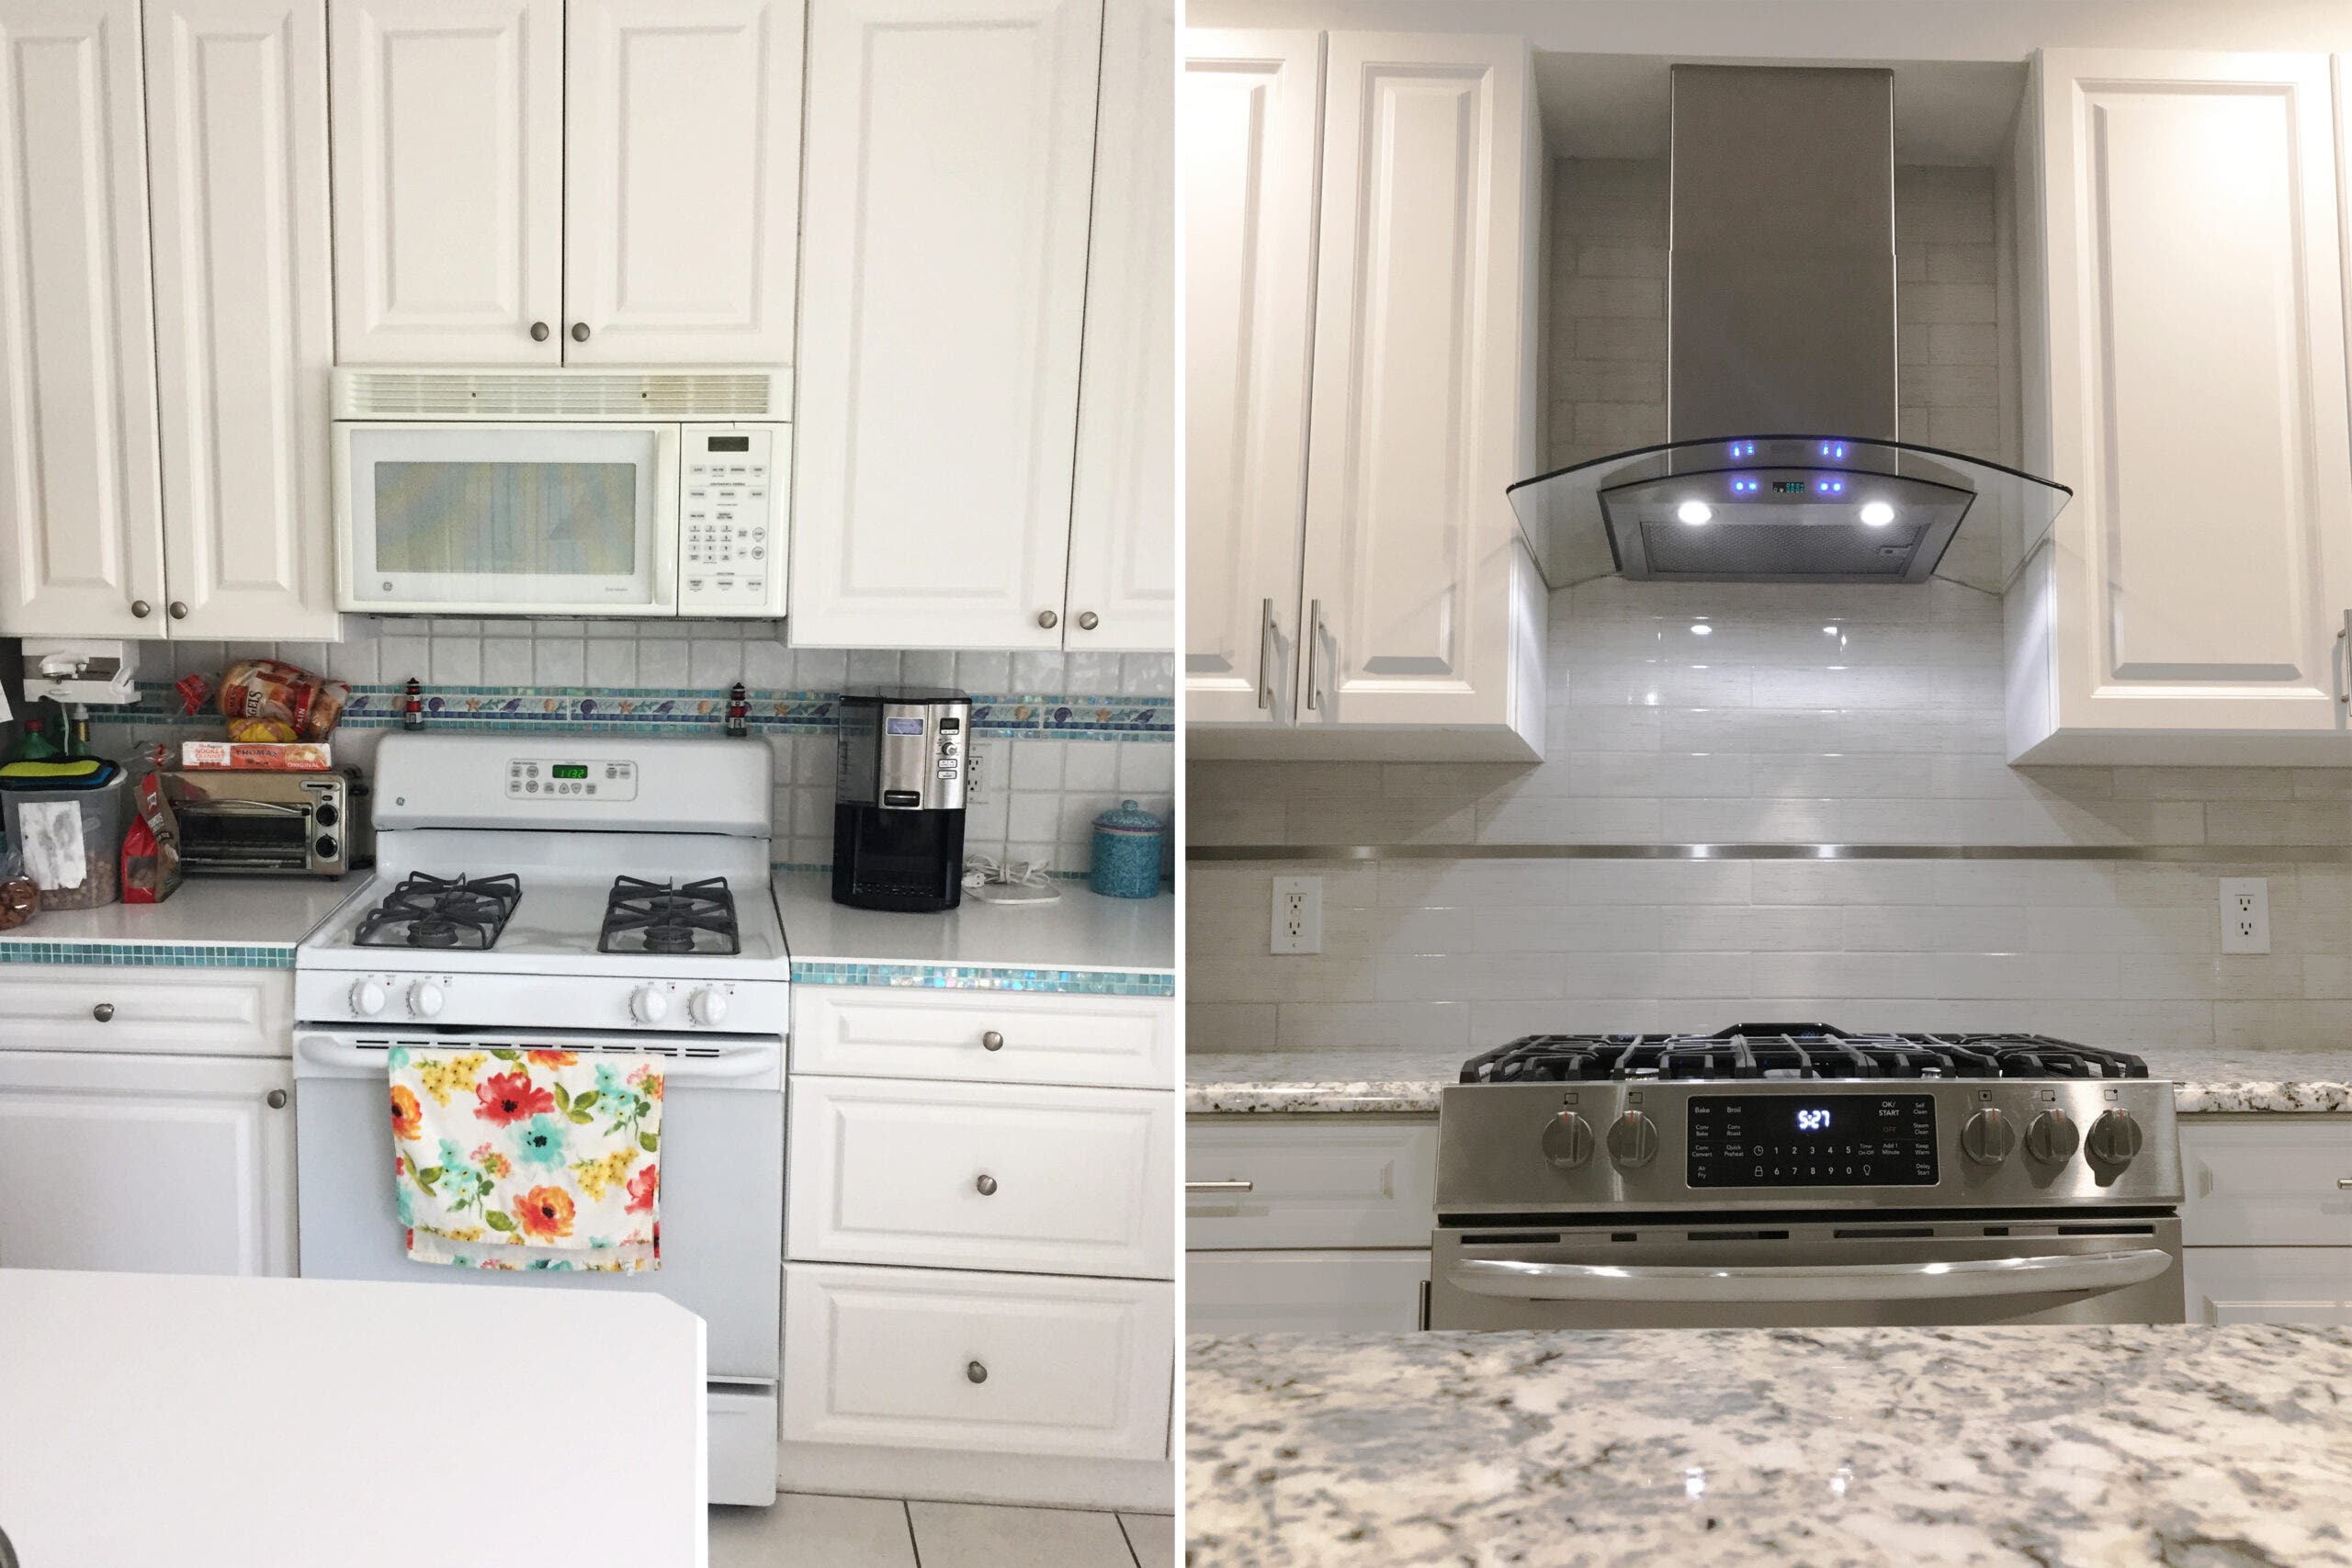
Replace range hood can significantly enhance the functionality and aesthetics of your kitchen. Whether you’re upgrading to a more powerful ventilation system or simply refreshing the look of your cooking space, it’s essential to approach the replacement process with careful planning and attention to detail. In this comprehensive guide, we’ll provide a step-by-step walkthrough for replacing your range hood, covering everything from preparation and installation to testing and maintenance.
1. Pre-Installation Preparation:
Before diving into the installation process, take the time to prepare your kitchen and gather the necessary tools and materials. Here’s what you’ll need:
- New range hood: Select a replacement range hood that fits the dimensions of your existing space and meets your ventilation needs. Consider factors such as size, style, and ventilation power.
- Tools: Gather basic tools such as a screwdriver, adjustable wrench, tape measure, level, and drill. You may also need a stud finder and wire strippers for certain installations.
- Safety equipment: Ensure you have safety equipment on hand, including gloves, safety goggles, and a respirator mask to protect against dust and fumes.
- Turn off power: Before beginning any work, shut off the power to the existing range hood at the circuit breaker to prevent electrical accidents.
2. Removal of Existing Range Hood:
Start by removing the old range hood to make way for the new one. Follow these steps:
- Disconnect power: Use a voltage tester to verify that the power is off, then disconnect the electrical wiring from the old range hood.
- Remove screws: Unscrew and remove the mounting screws that secure the range hood to the wall or cabinet.
- Disconnect ductwork: If your range hood is ducted to the outside, disconnect the ductwork from the hood and seal the opening to prevent drafts.
- Detach the old hood: Carefully lift the old range hood away from the wall or cabinet, taking care not to damage any surrounding surfaces.
3. Installation of New Range Hood:
With the old range hood removed, it’s time to install the new one. Follow these steps for a successful installation:
- Position the new hood: Hold the new range hood in place, ensuring that it is level and centered over the cooking area. Use a pencil to mark the locations of the mounting holes on the wall or cabinet.
- Drill pilot holes: Use a drill to create pilot holes at the marked locations, taking care to avoid damaging any wiring or plumbing behind the wall.
- Mount the hood: Secure the range hood in place using the provided mounting screws, making sure it is level and securely attached to the wall or cabinet.
- Connect ductwork: If your range hood is ducted, connect the ductwork to the hood using appropriate fittings and sealants to prevent leaks.
- Wire the hood: Follow the manufacturer’s instructions to connect the electrical wiring of the new range hood, ensuring proper grounding and insulation.
4. Testing and Adjustment:
Once the new range hood is securely installed, it’s time to test its functionality and make any necessary adjustments. Here’s what to do:
- Restore power: Turn the power back on at the circuit breaker and test the range hood’s lights and fan to ensure they are working correctly.
- Check ventilation: If your range hood is ducted, check for proper airflow by holding a piece of tissue near the vent while the fan is running. The tissue should be drawn towards the vent with strong, consistent airflow.
- Adjust settings: Adjust the fan speed and lighting settings as needed to suit your cooking preferences and kitchen environment.
5. Maintenance and Care:
To keep your new range hood operating smoothly and efficiently, follow these maintenance tips:
- Clean regularly: Wipe down the exterior surfaces of the range hood with a damp cloth and mild detergent to remove grease and dirt buildup. Clean or replace the filters regularly to maintain optimal airflow.
- Check for leaks: Periodically inspect the ductwork and connections for any signs of leaks or damage, and repair or replace any worn components as needed.
- Schedule professional inspection: Consider scheduling an annual inspection and maintenance service by a qualified technician to ensure that your range hood is functioning safely and efficiently.
6. Considerations for Choosing a New Range Hood:
When selecting a new range hood, there are several factors to consider:
- Ventilation type: Choose between ducted and ductless range hoods based on your kitchen’s layout and ventilation options. Ducted hoods vent air outside, while ductless hoods use filters to recirculate air.
- CFM rating: The cubic feet per minute (CFM) rating indicates the hood’s airflow capacity. Select a hood with a CFM rating appropriate for your stove’s size and cooking habits.
- Noise level: Consider the noise level of the range hood’s fan motor, especially if your kitchen is open to living or dining areas where noise may be disruptive.
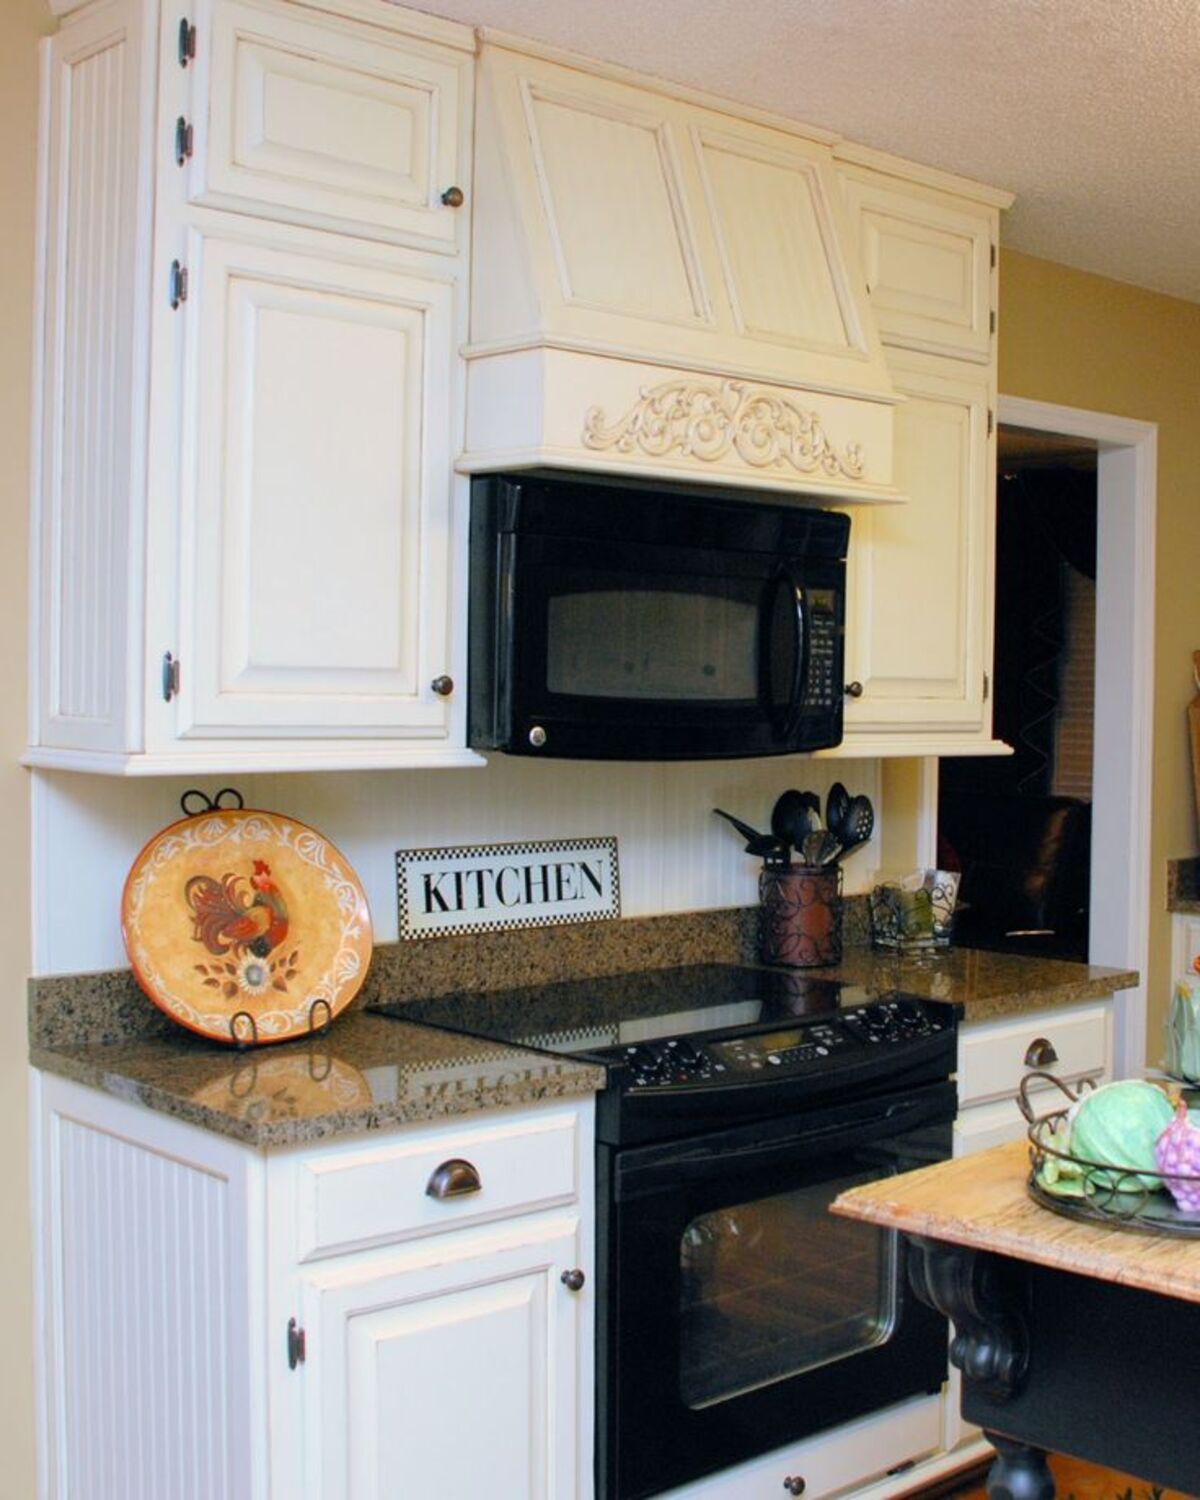
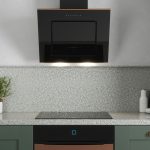
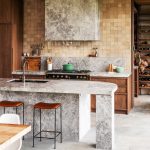
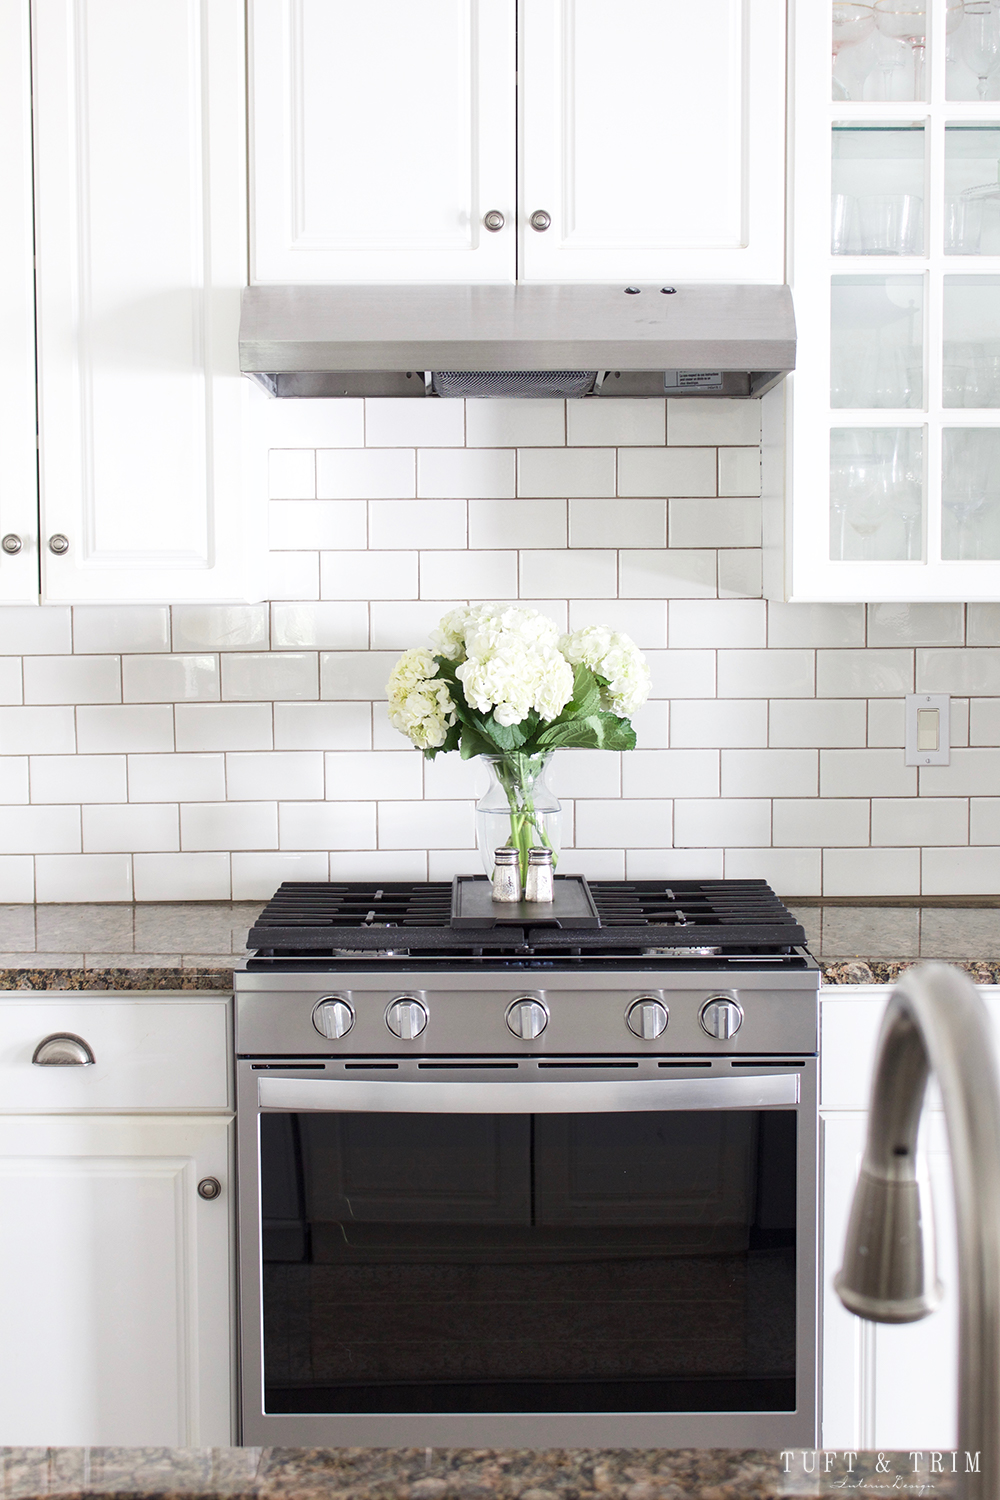
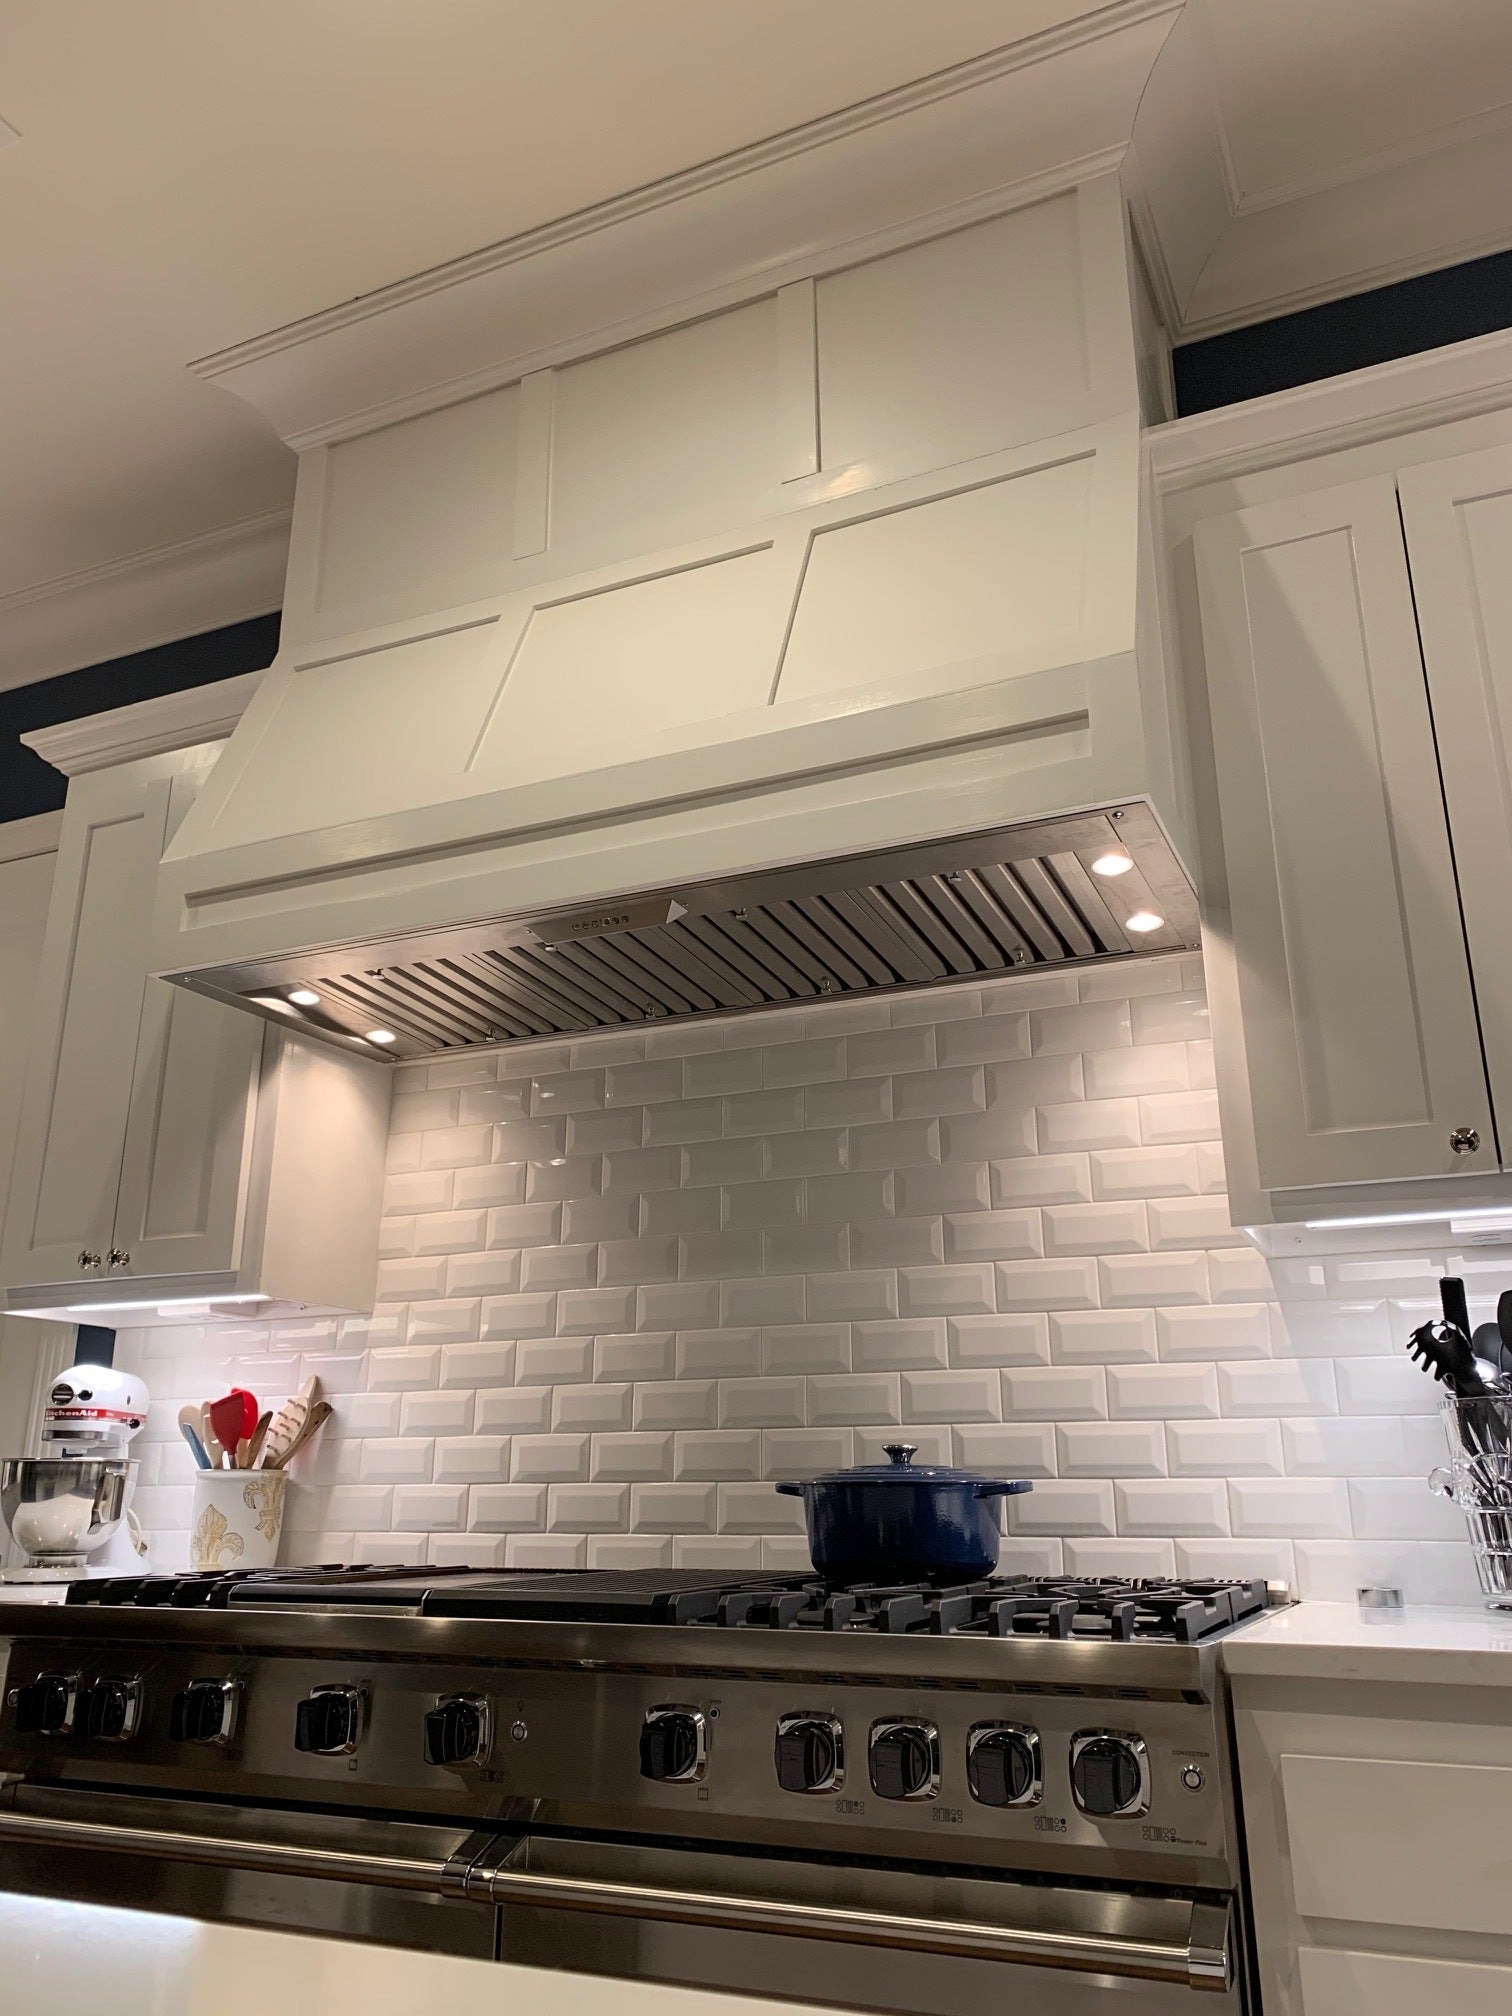
- Style and design: Look for a range hood that complements your kitchen’s décor and matches your personal style preferences. Options include under-cabinet, wall-mounted, island, and downdraft hoods in various finishes and designs.
7. Installation Tips and Tricks:
- Use a stud finder: Before drilling into the wall or cabinet, use a stud finder to locate and mark the positions of the wall studs for secure mounting.
- Recruit assistance: Range hoods can be heavy and awkward to install alone. Enlist the help of a friend or family member to assist with lifting and positioning the hood during installation.
- Follow the instructions: Always refer to the manufacturer’s installation instructions and guidelines to ensure proper installation and avoid voiding warranties.

8. Upgrading Features:
Consider upgrading your range hood with additional features to enhance its functionality:
- LED lighting: LED lights provide bright, energy-efficient illumination of the cooking area and can last longer than traditional incandescent bulbs.
- Variable fan speeds: Opt for a range hood with multiple fan speed settings to adjust airflow and noise levels according to your cooking needs.
- Heat sensors: Some range hoods are equipped with heat sensors that automatically adjust fan speed based on cooking activity and temperature changes.
9. Energy Efficiency:
Choose an energy-efficient range hood to reduce energy consumption and operating costs. Look for hoods with ENERGY STAR certification, which meet strict efficiency criteria set by the Environmental Protection Agency (EPA).
10. Professional Installation:
If you’re unsure about installing the range hood yourself or encounter any challenges during the process, consider hiring a professional installer or electrician to ensure proper installation and compliance with local building codes and regulations.
By considering these additional points and tips, you can make the most of your range hood replacement project and enjoy a more comfortable and efficient kitchen environment.
Conclusion:
Replacing your range hood is a rewarding home improvement project that can enhance the functionality and appearance of your kitchen. By following this step-by-step guide and taking care to select the right hood for your needs, you can enjoy improved ventilation, enhanced cooking comfort, and a more stylish kitchen environment for years to come.