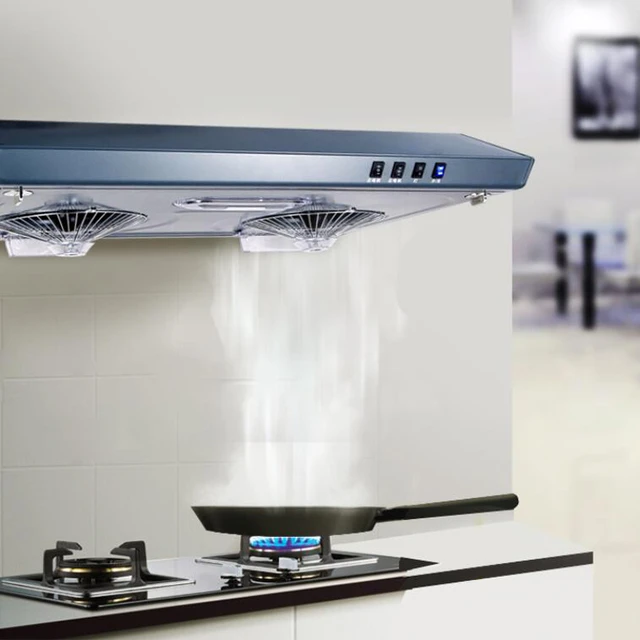
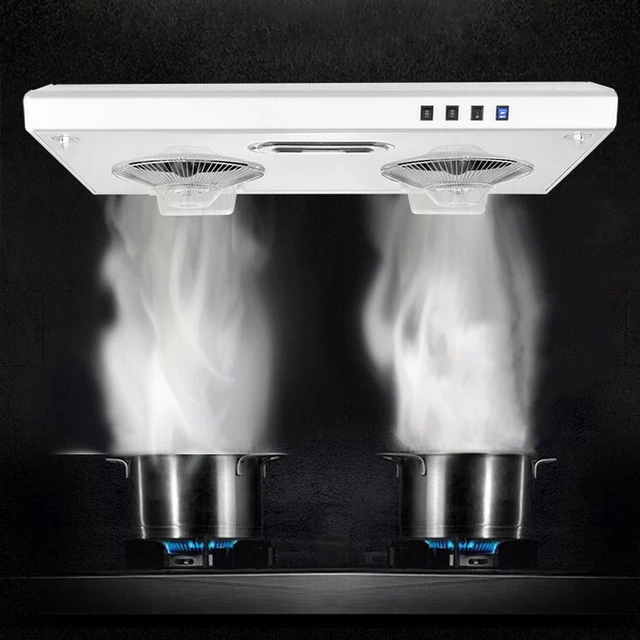
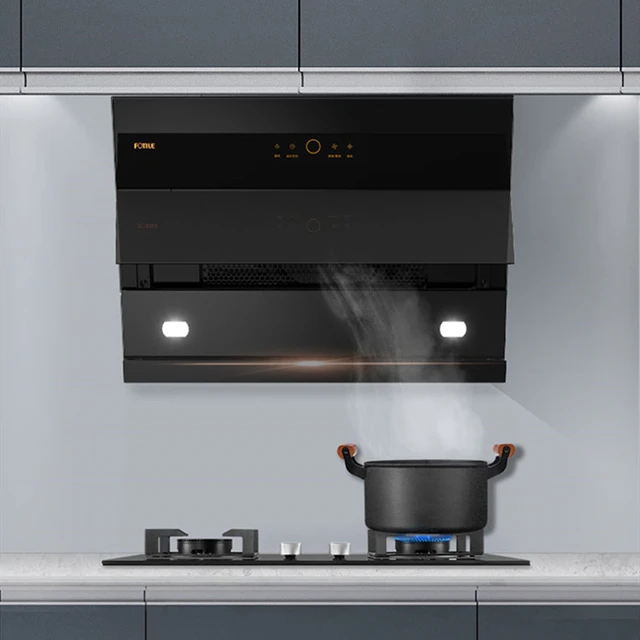
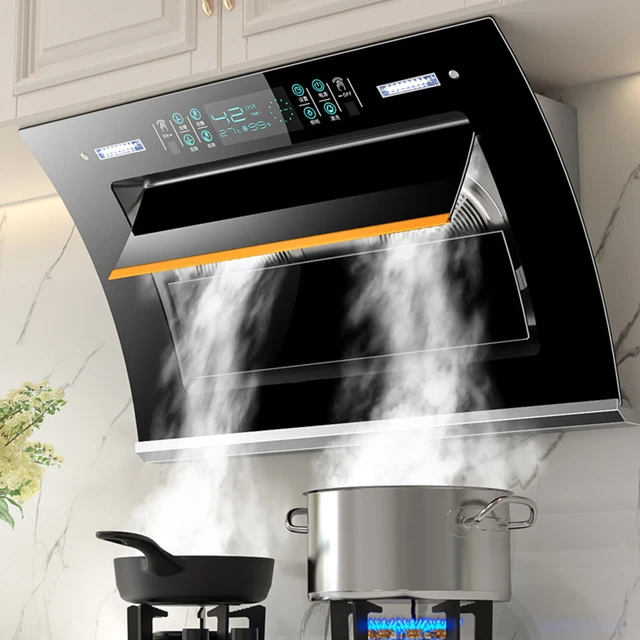
Introduction:
Installing a range hood is an essential step in any kitchen renovation or upgrade project. Not only does a range hood help to remove smoke, odors, and grease from the air while cooking, but it also adds a stylish focal point to the kitchen. Proper installation of a range hood is crucial to ensure optimal performance and safety. In this comprehensive guide, we’ll walk you through the step-by-step process of installing a range hood, covering everything from preparation and mounting to wiring and testing.
Step 1: Gather Your Materials and Tools:
Before you begin the installation process, gather all the necessary materials and tools. Here’s a list of what you’ll need:
- Range hood
- Mounting hardware (screws, brackets, etc.)
- Ductwork (if venting to the outside)
- Electrical wiring and connectors
- Screwdriver (flathead and Phillips)
- Drill with appropriate drill bits
- Level
- Tape measure
- Stud finder
- Wire strippers
- Safety goggles and gloves
Ensure that you have all the required components and tools on hand before starting the installation process.
Step 2: Choose the Right Location:
Carefully select the location for your range hood, taking into consideration factors such as the size of the hood, the distance from the cooktop, and the proximity to electrical and ductwork connections. Ideally, the range hood should be centered over the cooktop for optimal ventilation.
Use a stud finder to locate the studs in the wall or ceiling where the range hood will be mounted. Mark the positions of the studs with a pencil to serve as reference points during installation.
Step 3: Prepare the Area:
Before installing the range hood, prepare the area by ensuring that it is clean and free of any obstacles or debris. If you are replacing an existing range hood, remove it from the wall or ceiling and disconnect any electrical or ductwork connections.
If venting to the outside, measure and cut a hole in the wall or ceiling for the ductwork. Make sure the hole is the appropriate size and located in the correct position for the duct to connect to the range hood.
Step 4: Mount the Range Hood:
Using the mounting hardware provided with the range hood, position the hood against the wall or ceiling at the desired location. Use a level to ensure that the hood is straight and aligned properly.
Once the hood is properly positioned, mark the locations of the mounting holes on the wall or ceiling. Drill pilot holes for the screws, then secure the hood in place using the screws and brackets provided.
Step 5: Connect the Ductwork:
If venting to the outside, connect the ductwork to the range hood using duct connectors and tape or screws to secure the joints. Ensure that the ductwork is properly aligned and sealed to prevent air leaks.
Step 6: Wire the Range Hood:
If the range hood requires electrical wiring, carefully follow the manufacturer’s instructions for wiring and connection. Turn off the power to the circuit before beginning any electrical work, and use wire strippers to remove the insulation from the wires.
Connect the wires from the range hood to the corresponding wires in the electrical junction box, using wire connectors to secure the connections. Double-check the wiring to ensure it is correct and secure before proceeding.
Step 7: Test the Range Hood:
Once the range hood is securely mounted and properly wired, it’s time to test its functionality. Turn on the power to the circuit and switch on the range hood to ensure that it operates correctly.
Check for proper airflow and ventilation by holding a piece of paper or tissue near the hood while it is running. The paper should be drawn towards the hood, indicating that air is being properly exhausted.
Step 8: Make Final Adjustments:
After testing the range hood, make any necessary adjustments to ensure that it is functioning properly and aligned correctly. Use a level to check for any unevenness or misalignment, and adjust the mounting brackets as needed.
If necessary, paint or touch up any exposed surfaces or mounting hardware to blend with the surrounding décor.
Step 9: Secure and Finish Installation:
After ensuring that the range hood is functioning correctly and aligned properly, it’s time to secure any loose components and finish the installation. Double-check all screws and brackets to ensure they are tightened securely to the wall or ceiling.
If the range hood includes a chimney or decorative cover, attach it according to the manufacturer’s instructions. This will give the installation a polished look and hide any exposed ductwork or wiring.
Step 10: Clean Up:
Once the installation is complete, clean up any debris or dust that may have accumulated during the process. Wipe down the range hood and surrounding area to remove any fingerprints or smudges.
Dispose of any packaging materials or old appliances in an appropriate manner, and return your tools to their designated storage areas.
Step 11: Final Inspection:
Before considering the installation complete, perform a final inspection of the range hood and its surroundings. Check for any signs of damage or defects, and ensure that all components are in good working order.
Test the range hood once more to confirm that it operates smoothly and efficiently. Address any issues or concerns that arise during the final inspection to ensure your satisfaction with the installation.
Step 12: Enjoy Your New Range Hood:
With the installation complete and the range hood fully functional, take a moment to appreciate the improved ventilation and aesthetics it brings to your kitchen. Enjoy cooking in a cleaner, fresher environment, free from smoke, odors, and grease.
Regularly maintain and clean your range hood to keep it operating at peak performance and prolong its lifespan. Follow the manufacturer’s recommendations for cleaning and maintenance to ensure optimal results.
Conclusion:
Installing a range hood may seem like a daunting task, but with proper planning and execution, it can be completed successfully in just a few hours. By following the step-by-step guide outlined above and consulting the manufacturer’s instructions, you can ensure that your range hood is installed safely and effectively, providing you with years of reliable performance and ventilation in your kitchen. Enjoy the improved air quality and aesthetics that a properly installed range hood brings to your cooking space.