Introduction
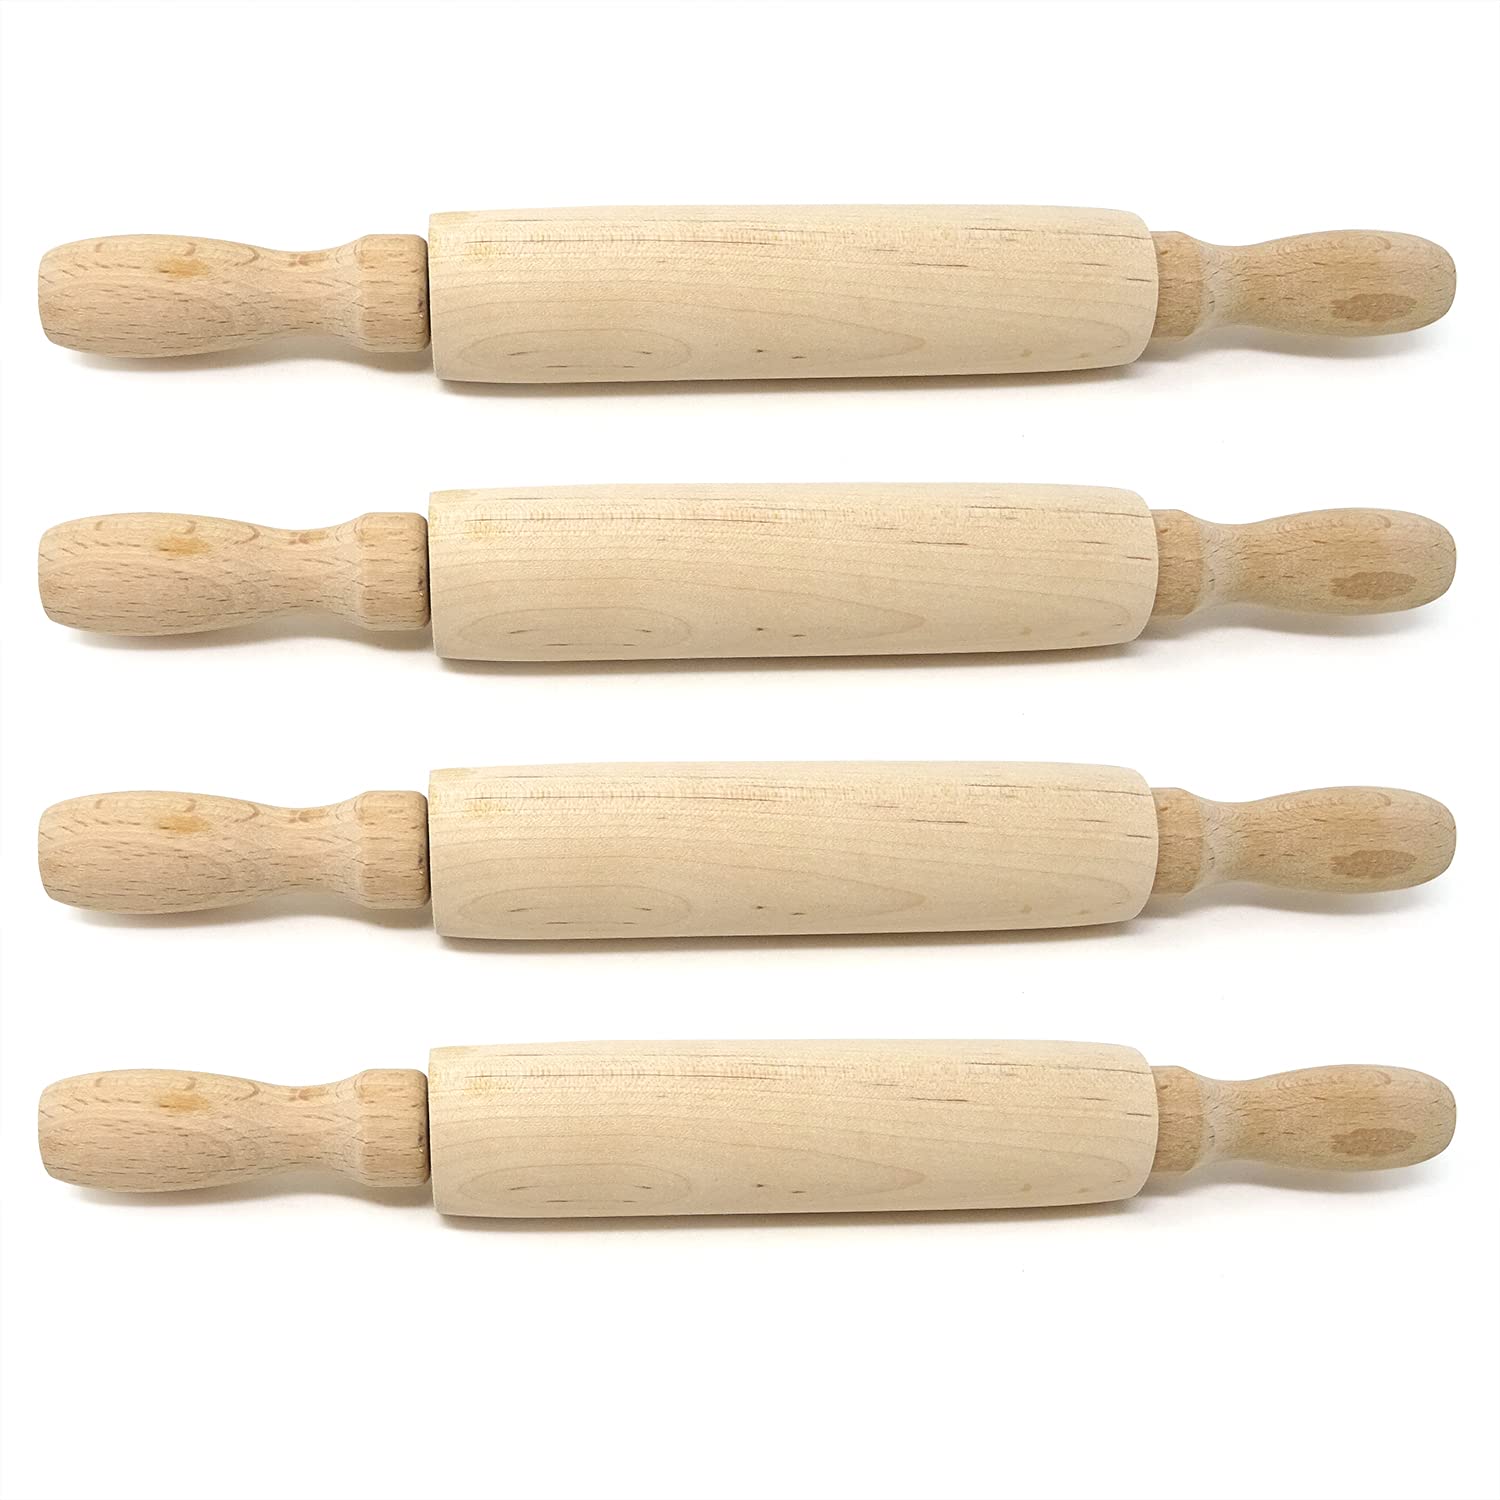
Creating your own rolling pin can be a rewarding DIY project, especially for those who love baking or woodworking. Not only can you customize it to fit your style and preferences, but you’ll also gain a useful tool that you crafted yourself. This guide will take you through each step of crafting a rolling pin from scratch, including selecting materials, cutting, shaping, and finishing.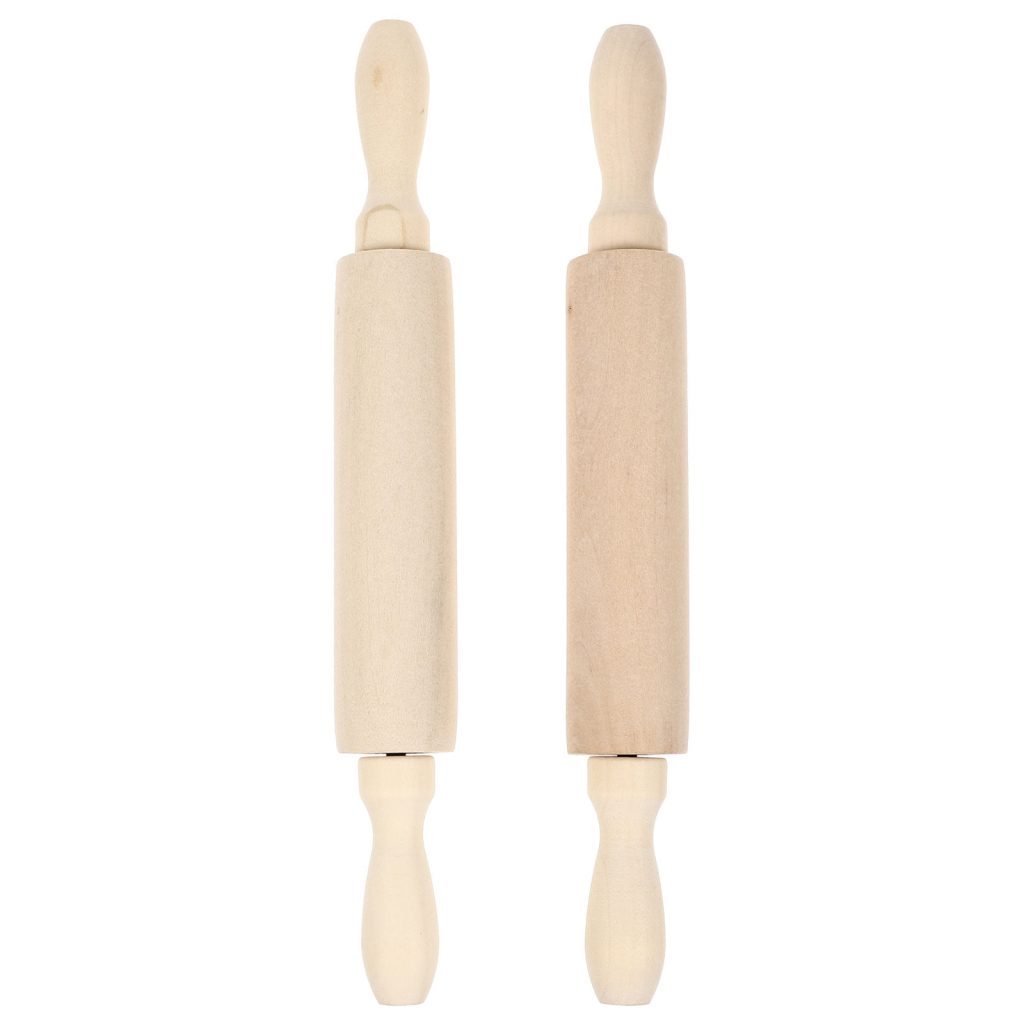
Gather Your Materials and Tools
Materials:
- Wood: Choose a hardwood like maple, oak, or walnut for durability. A piece of wood about 12-18 inches long and 2 inches in diameter should work well.
- Wood Finish: Food-safe mineral oil or beeswax for finishing.
- Wood Glue: For any necessary joins or repairs.
- Sandpaper: Various grits (e.g., 80, 120, 220) for smoothing.
Tools:
- Saw: A hand saw or miter saw to cut the wood to size.
- Drill: For creating handles, if desired.
- Lathe (optional): For turning the wood into a rounded shape.
- Clamps: To secure the wood while working.
- Measuring Tape or Ruler: For accurate measurements.
- Pencil: For marking measurements on the wood.
Selecting and Preparing the Wood
a. Choose Your Wood
Select a hardwood for durability and ease of finishing. Avoid softwoods like pine, as they can be less durable and more prone to dents.
b. Measure and Cut
Measure the length of the rolling pin based on your preference. A common length is between 12-18 inches. Mark this length on your piece of wood and cut it using a saw. If you want to add handles, you’ll need extra length to accommodate them.
c. Optional: Turn the Wood
If you have access to a lathe, you can turn the wood to create a perfectly cylindrical shape. If not, you can use sandpaper and a dowel or pipe to manually shape and smooth the wood.
Design Your Rolling Pin
Before you start, sketch out your design. Consider the following:
- Handle Style: Traditional handles, ball handles, or no handles at all?
- Decorative Elements: Carvings, woodburned patterns, or painted designs?
- Size & Diameter: Tailor it to your most common baking needs.
Prepare the Dowel
- Cut to Length: If needed, use a saw to trim the dowel to your desired length.
- Smooth the Surface: Start with 100-grit sandpaper to remove any rough spots, then progress to 220 and finally 400 grit for a silky finish.
Add Handles (optional)
- Mark & Drill: If incorporating handles, mark their positions on the dowel ends and drill holes slightly smaller than the screws you’ll be using.
- Attach Handles: Apply a small amount of wood glue into the holes, insert screws, and securely attach the handles. Clamp and let dry.
Personalize & Decorate
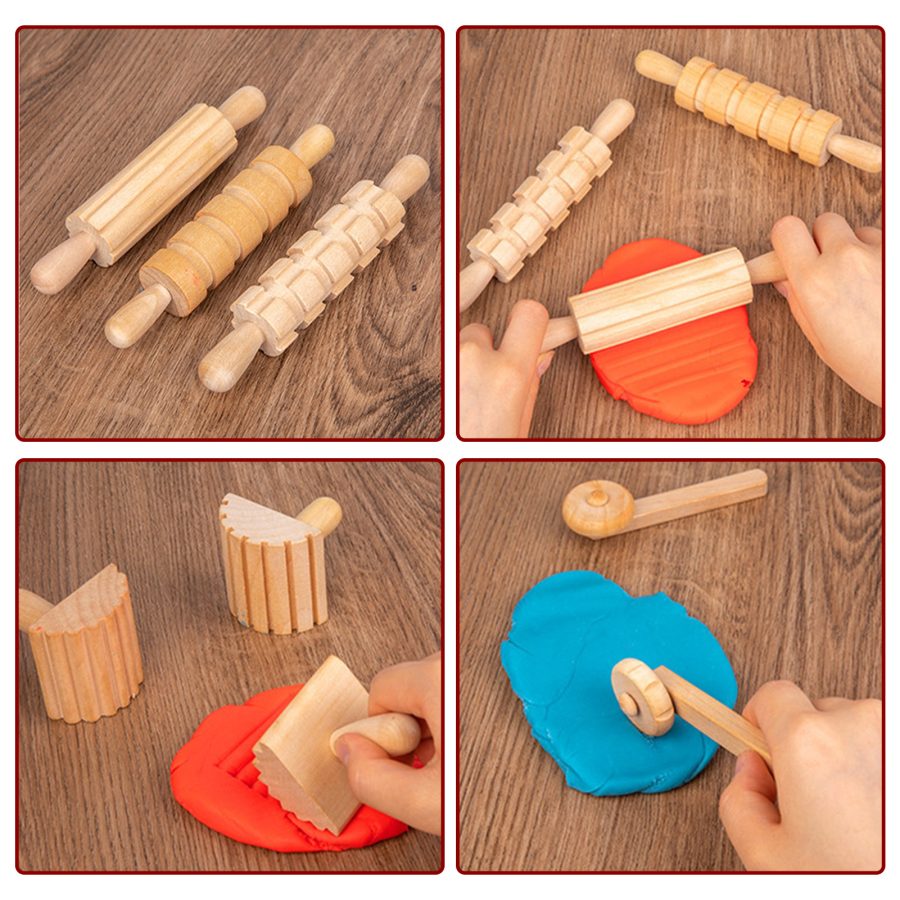
- Carving or Woodburning: Use carving tools or a woodburning pen to add your chosen designs. Practice on scrap wood first.
- Paint or Stain: Apply food-safe paint or stain following the manufacturer’s instructions. Allow adequate drying time.
Finishing Touches
- Seal the Wood: Using a clean cloth, apply a liberal coat of food-safe oil, such as mineral oil or beeswax, to protect the wood and prevent it from absorbing moisture. Let it soak in overnight, then wipe off any excess.
Final Inspection & Care
- Inspect your rolling pin for any rough spots or unfinished edges. Sand if necessary.
- Maintain your rolling pin by cleaning it with a damp cloth after each use and reapplying oil periodically to keep it conditioned.
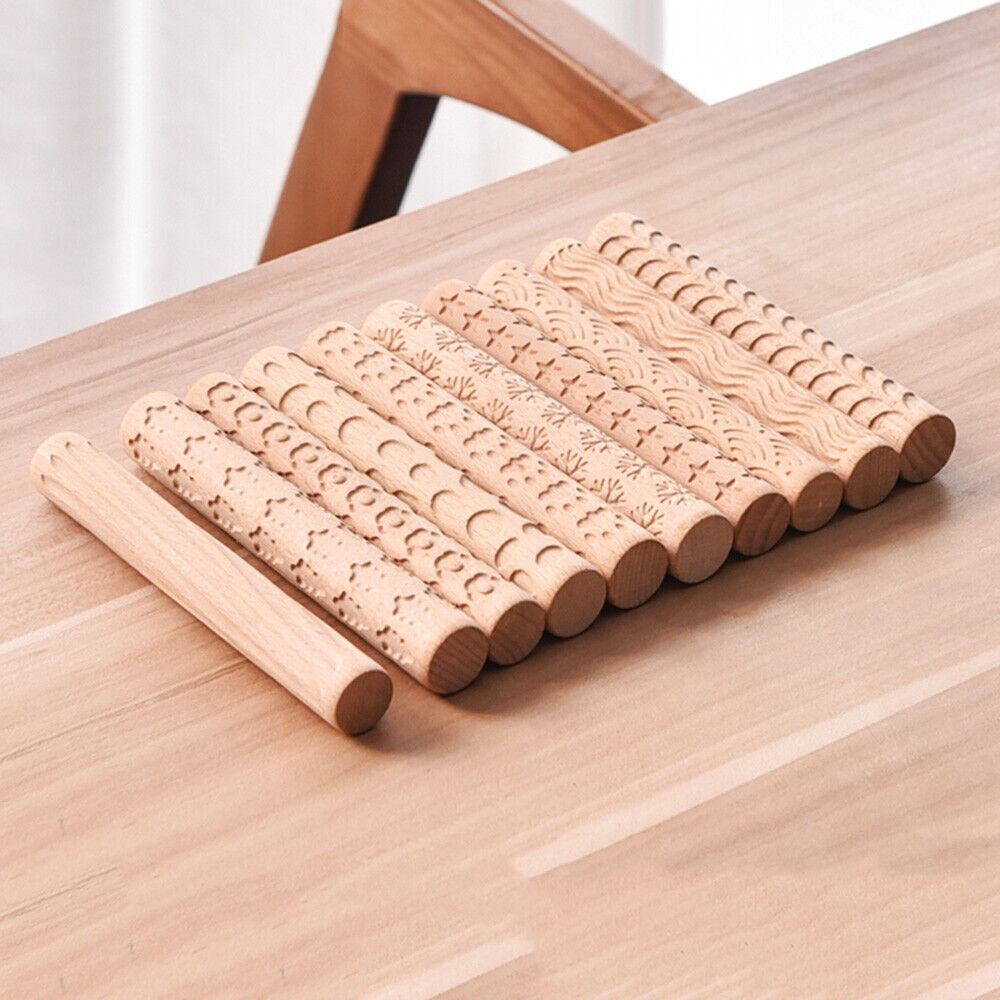 Shaping the Rolling Pin
a. Sanding
Start with a coarse grit sandpaper (e.g., 80) to smooth out any rough areas and remove splinters. Progress to finer grits (e.g., 120, 220) to achieve a smooth finish. Pay special attention to the handles, if you’ve included them, as they should be comfortable to grip.
b. Shaping Handles (If Desired)
If you want handles on your rolling pin, you’ll need to drill holes at the ends of the rolling pin or add separate handle pieces:
- Drill Holes: Use a drill bit that matches the diameter of your handle dowels. Drill evenly spaced holes at both ends of the rolling pin.
- Attach Handles: Insert the dowels or handle pieces into the holes and secure with wood glue. Clamp them in place and allow the glue to dry thoroughly.
Finishing the Rolling Pin
a. Apply Finish
To protect the wood and make it safe for food contact, apply a food-safe finish. Mineral oil or beeswax is ideal:
- Apply the Finish: Rub a generous amount of mineral oil or beeswax onto the surface of the rolling pin. Use a clean cloth to ensure even coverage.
- Let It Soak: Allow the finish to soak into the wood for several hours or overnight.
- Buff the Surface: Wipe off any excess finish with a clean cloth and buff the surface to a smooth shine.
b. Let It Cure
Allow the rolling pin to cure for 24 hours before using it. This ensures that the finish has fully set and is safe for food contact.
Selecting and Preparing the Wood
Choose a straight-grained piece of hardwood that’s free from knots and defects. Cut the wood to the desired length plus a few inches extra for trimming later. Ensure the wood is dry to prevent warping.
Cutting the Shape
Using your saw, carefully cut along the lines of your marked design. For a round rolling pin, cut a rectangular block slightly wider than the intended diameter. If incorporating handles, cut separate pieces according to your design.
Shaping and Smoothing
For a round rolling pin, use a lathe if you have access to one, carefully turning the wood until it forms a smooth cylinder. Alternatively, you can manually shape the wood using sandpaper, starting with a coarse grit (80) to remove rough edges and gradually moving to finer grits (120, 220, then 400) for a polished finish. Sand the ends flat if they will not be attached to handles.
Adding Handles (Optional)
If your design includes handles, drill holes at each end of the rolling pin body where the dowels will fit. Apply a small amount of wood glue into the holes, insert the dowels, and clamp them in place until the glue dries. Sand the joints smooth.
Finishing Touches
Wipe the entire rolling pin with a food-safe wood finish, such as mineral oil or a beeswax mixture. This not only enhances the natural beauty of the wood but also protects it from moisture and food stains. Apply several thin coats, allowing each coat to soak in before adding the next.
Final Inspection and Use
Inspect your rolling pin for any rough spots or splinters. Make sure all surfaces are smooth to the touch. Your homemade rolling pin is now ready to be used! Remember to clean it with a damp cloth after each use and reapply the wood finish periodically to maintain its condition.
Using and Maintaining Your Rolling Pin
a. Use Your Rolling Pin
Once your rolling pin is ready, you can use it for rolling out dough. For best results, lightly flour the rolling pin before use to prevent sticking.
b. Clean and Maintain
After use, clean your rolling pin with a damp cloth and mild soap. Avoid soaking it in water or using harsh chemicals. Reapply the food-safe finish periodically to maintain the wood and prevent drying out.
Troubleshooting and Tips
a. Wood Splitting or Cracking
If you notice any splitting or cracking in the wood, sand down the affected area and reapply the finish. Ensure your wood is properly dried before crafting to minimize these issues.
b. Handle Issues
If the handles are loose or wobbly, check the glue and clamps to ensure a secure fit. You may need to reapply wood glue and allow it to dry fully.
c. Customization Ideas
Feel free to personalize your rolling pin by carving patterns or adding inlays. Just ensure any additions are smooth and do not interfere with the rolling surface.
Conclusion
Crafting your own rolling pin is a gratifying project that combines woodworking skills with practical baking tools. By following this guide, you’ll create a rolling pin tailored to your preferences, adding a personal touch to your kitchen. Enjoy the process, and happy baking!
