Introduction:
Installing a range hood is an essential upgrade for any kitchen, providing improved air quality, odor removal, and grease control. Whether you’re renovating your kitchen or upgrading your existing ventilation system, a range hood installation can significantly enhance the functionality and aesthetics of your cooking space. In this comprehensive guide, we’ll walk you through the step-by-step process of installing a range hood, from preparation and planning to the final adjustments.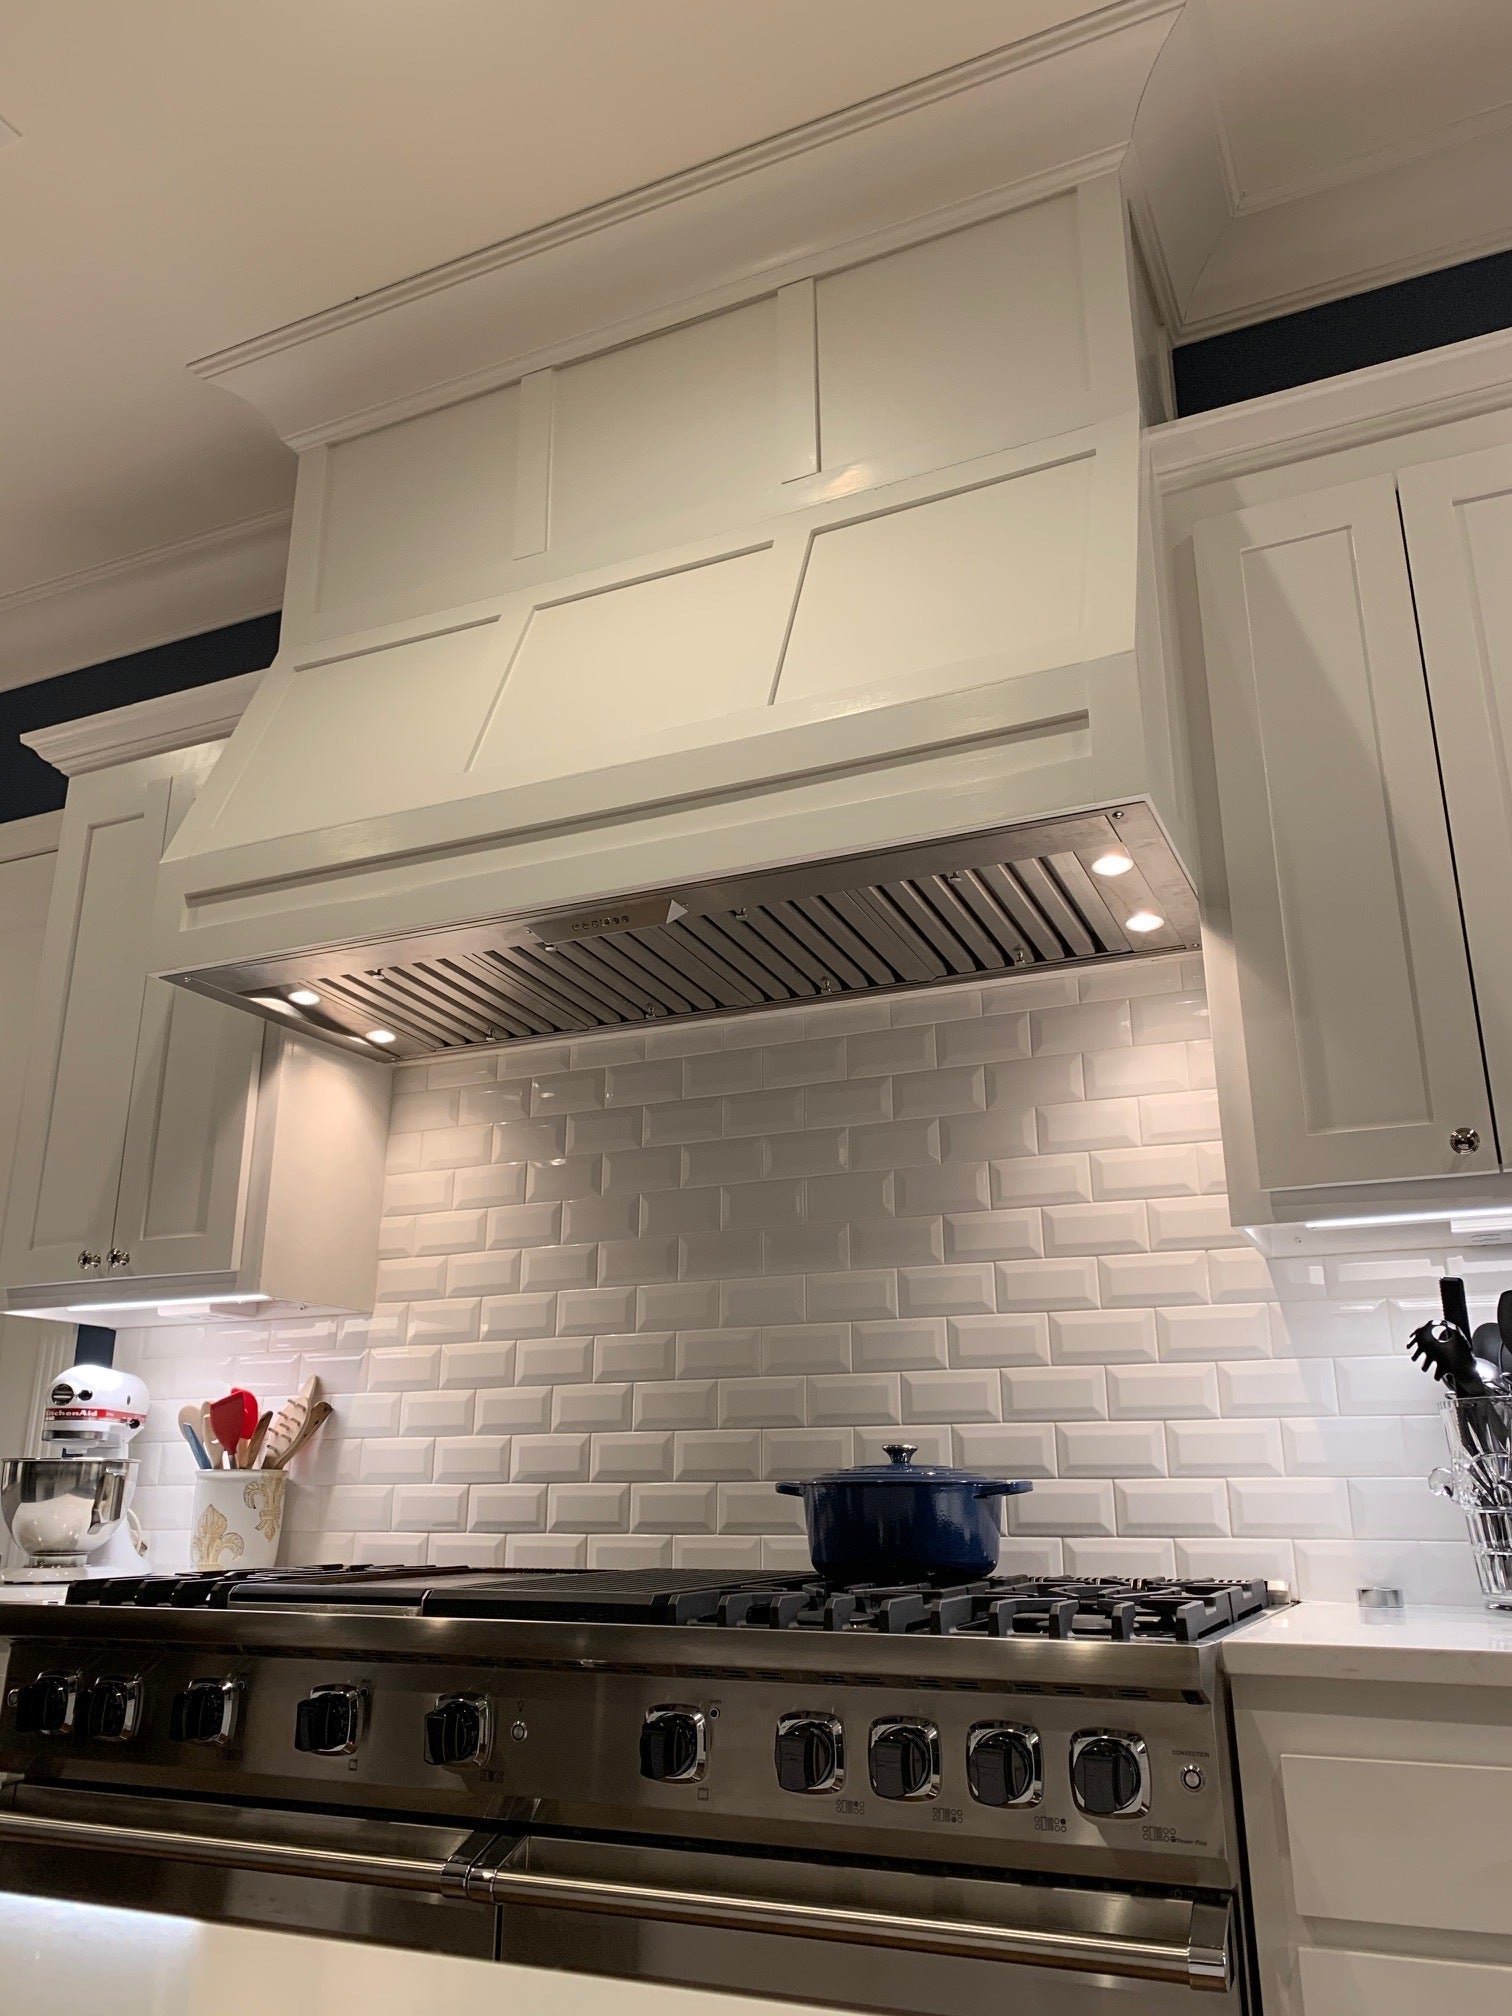
Assessing Your Kitchen Layout Before you begin the installation process, assess your kitchen layout to determine the optimal location for your range hood.
Consider factors such as the proximity to the cooking surface, the presence of existing ductwork or electrical wiring, and the overall aesthetics of your kitchen design. Choose a location that provides adequate clearance above the cooktop or range and allows for efficient ventilation.
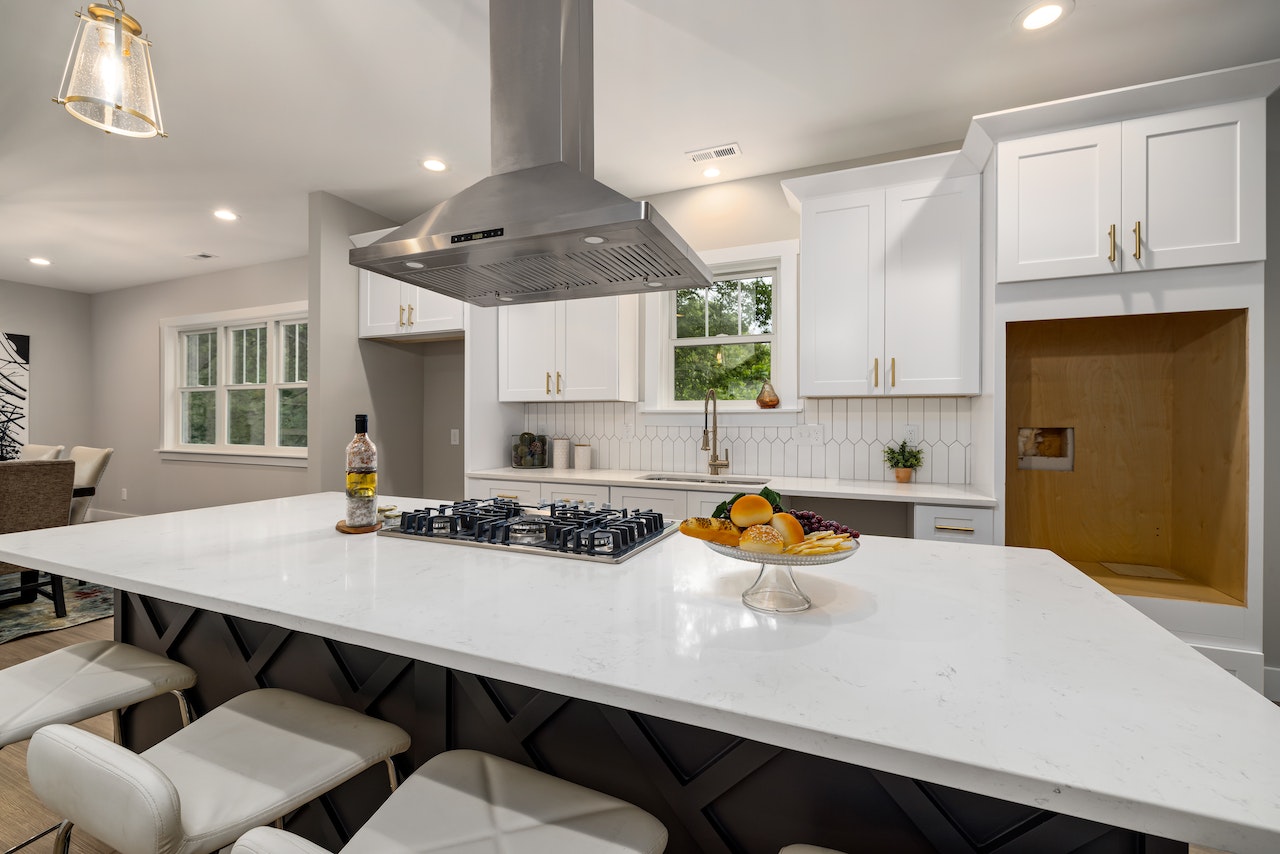
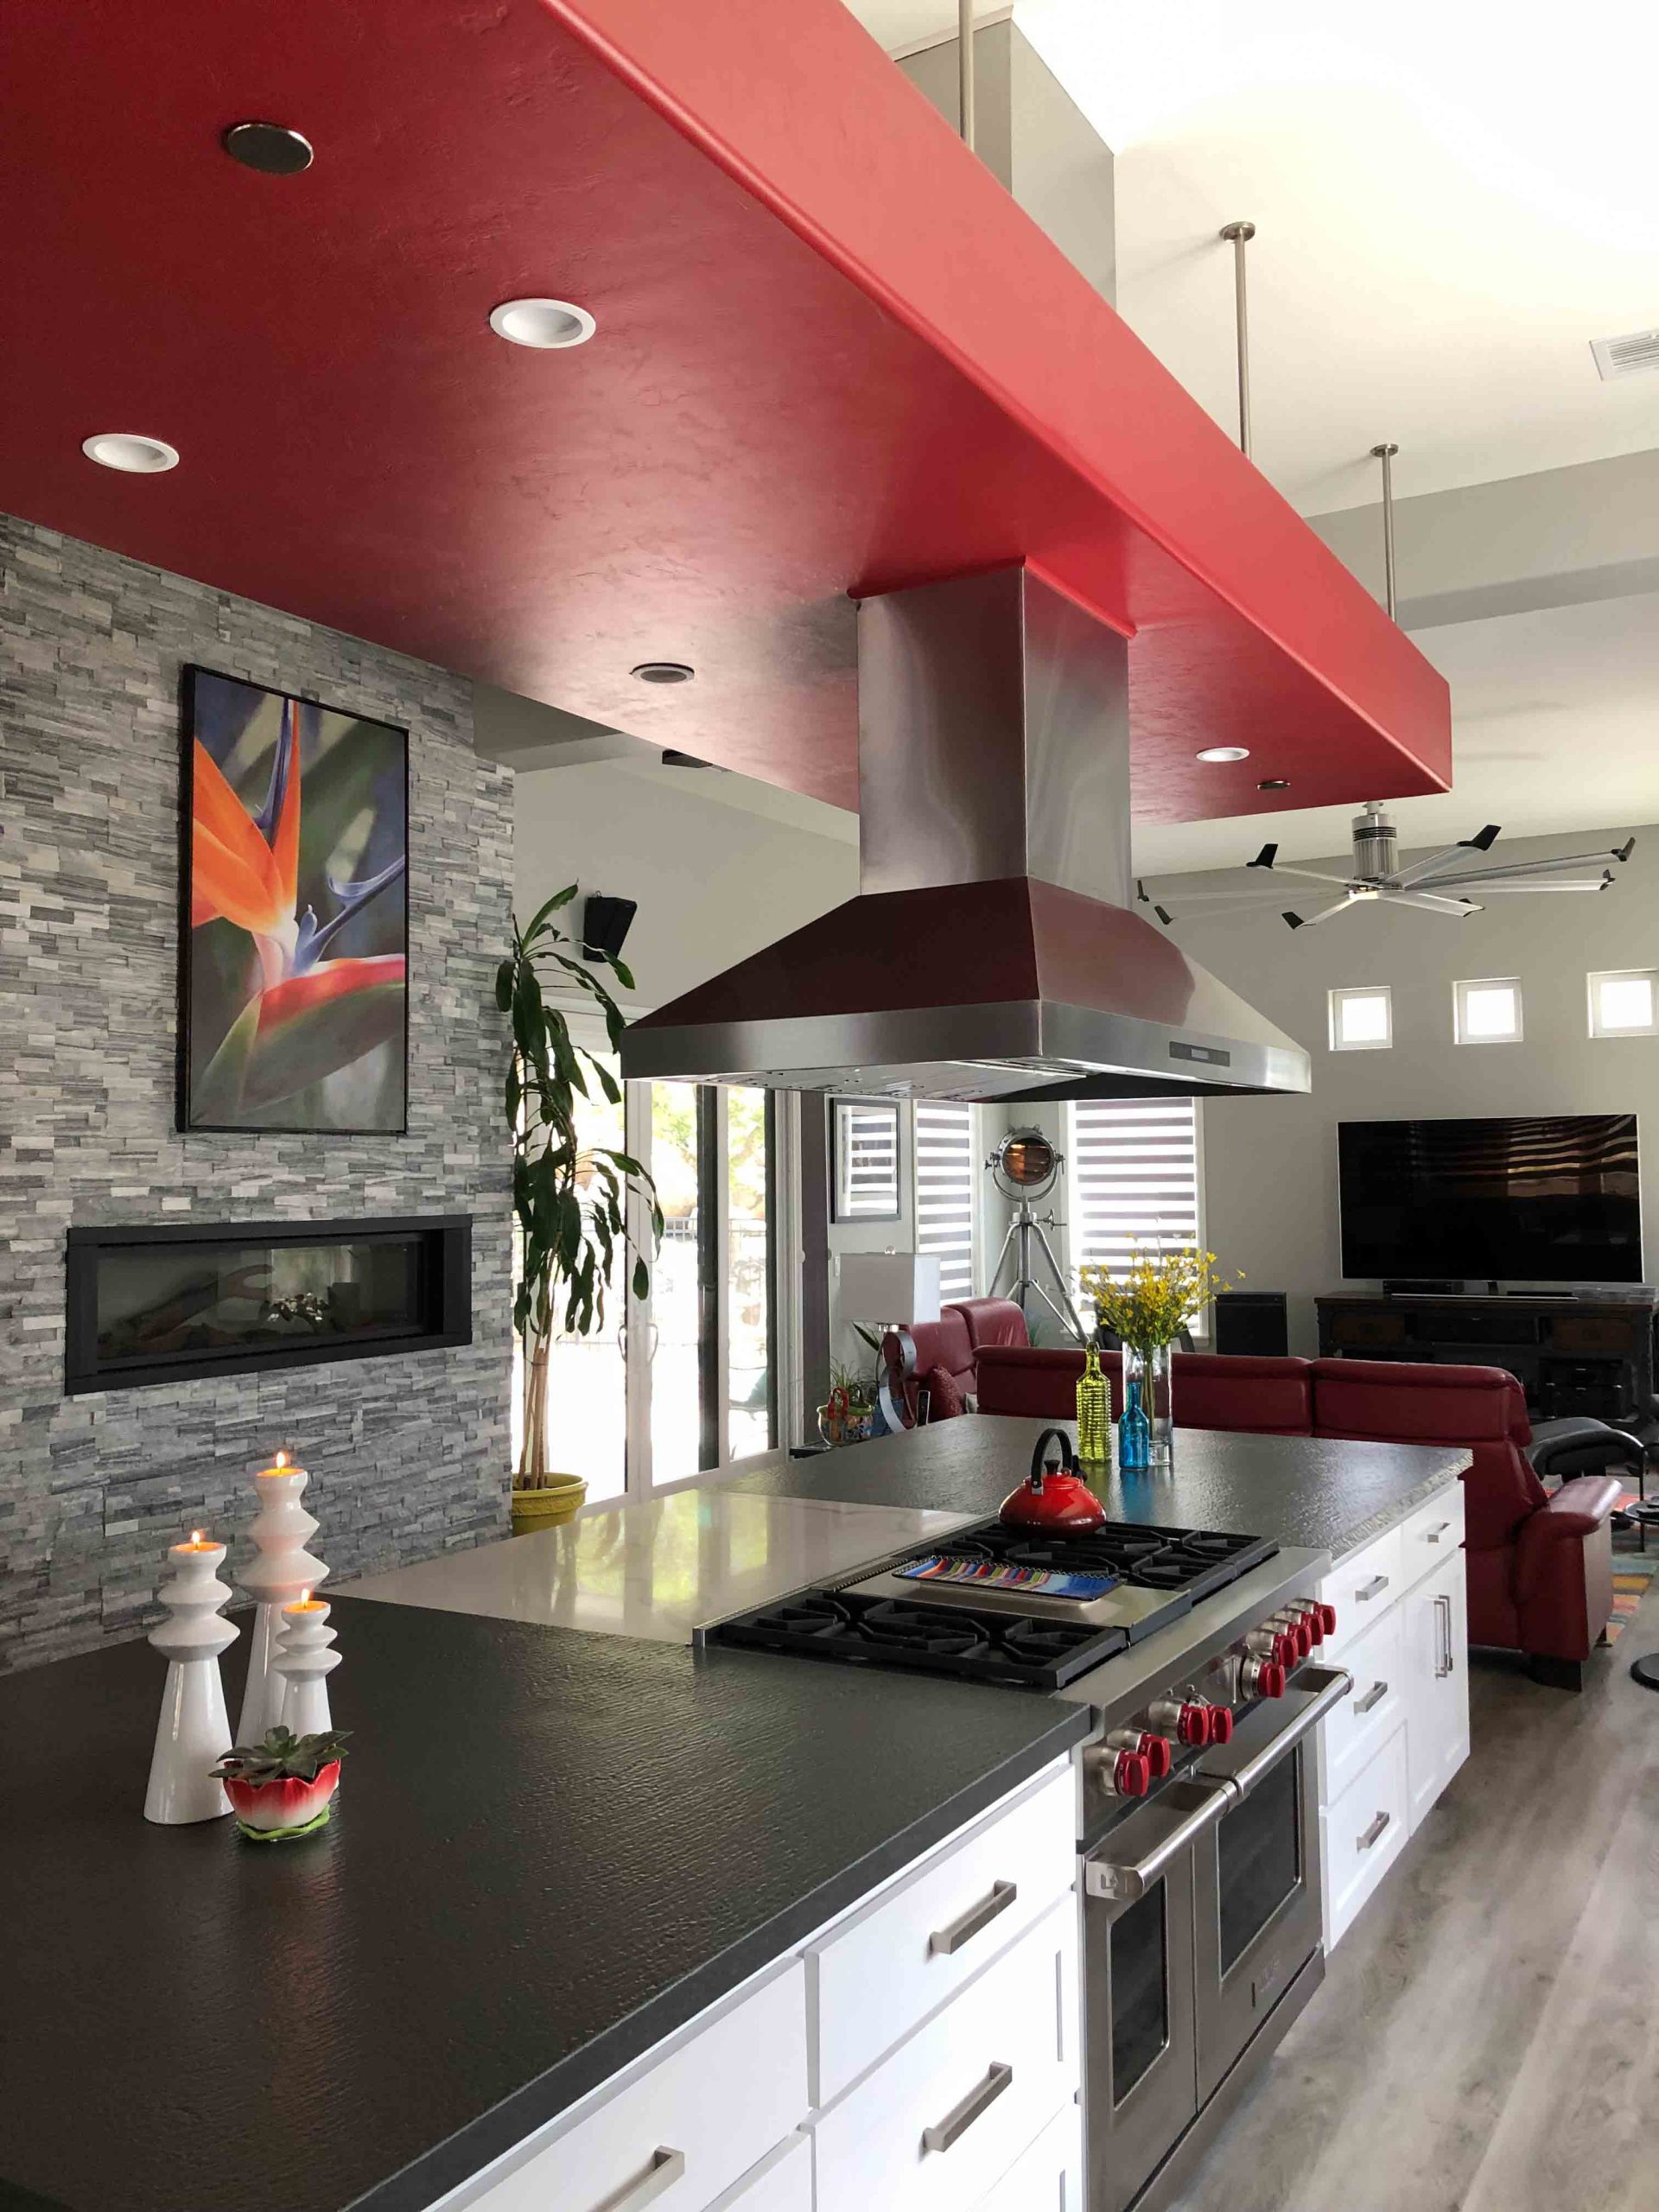
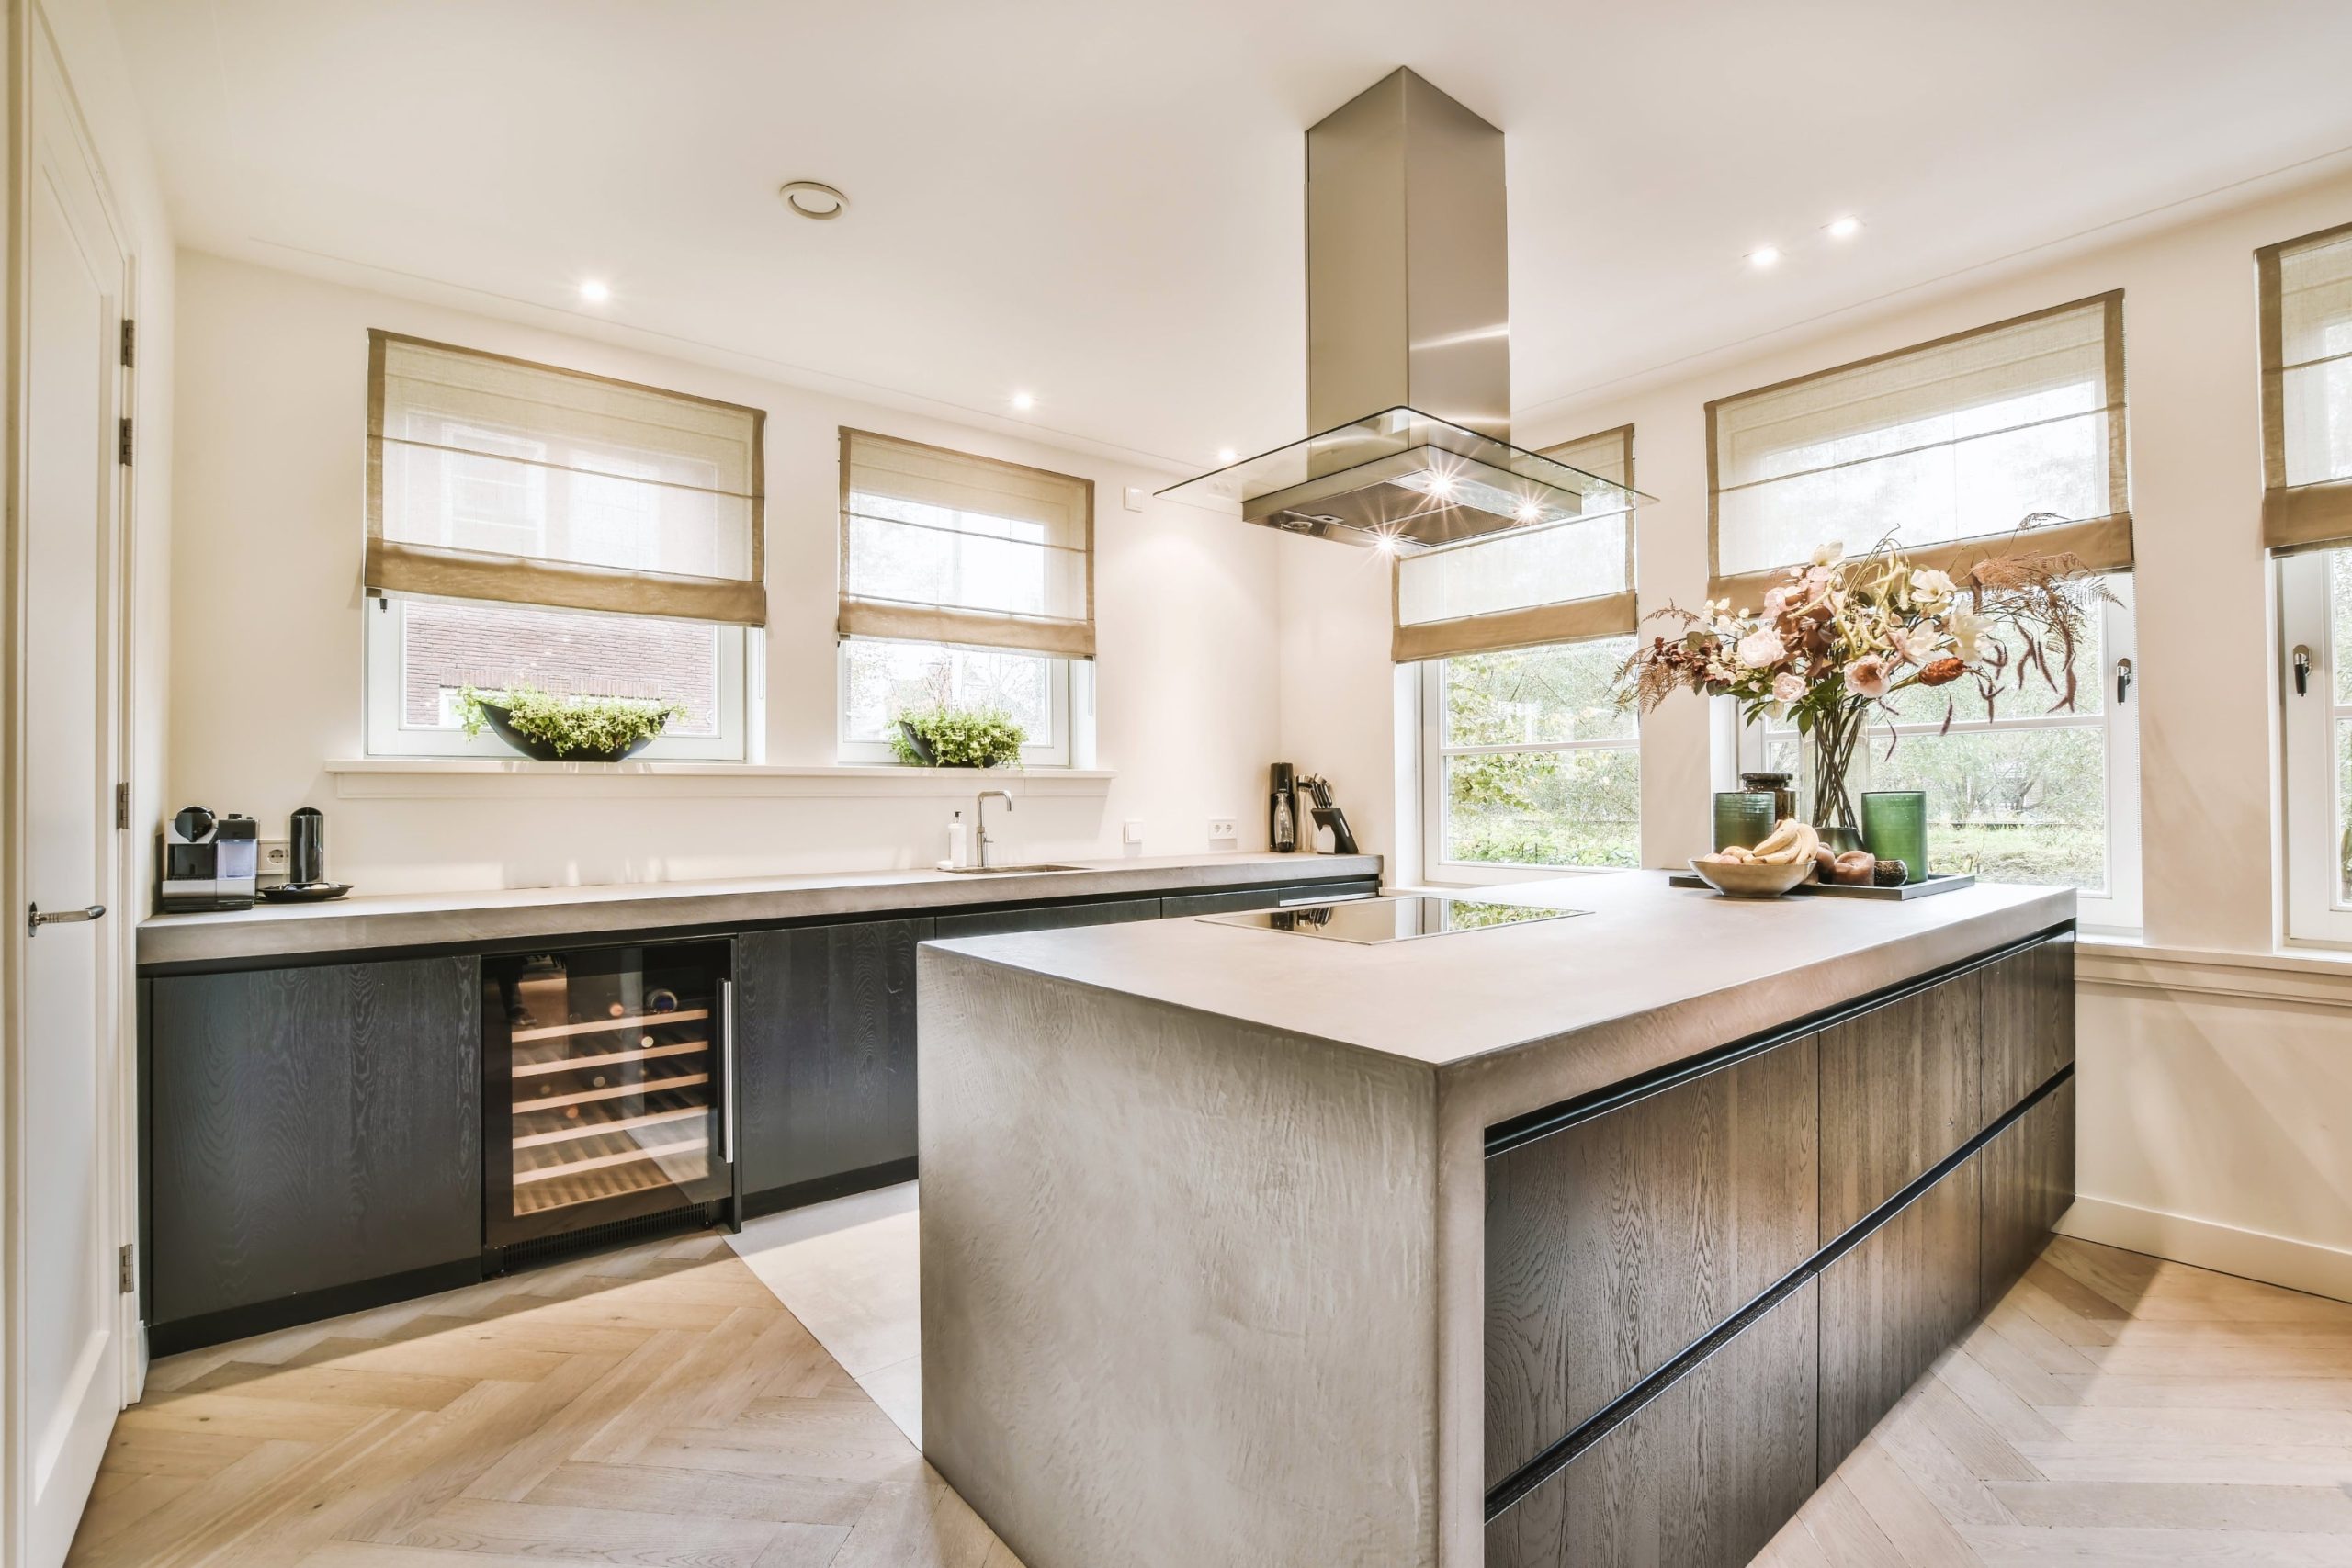
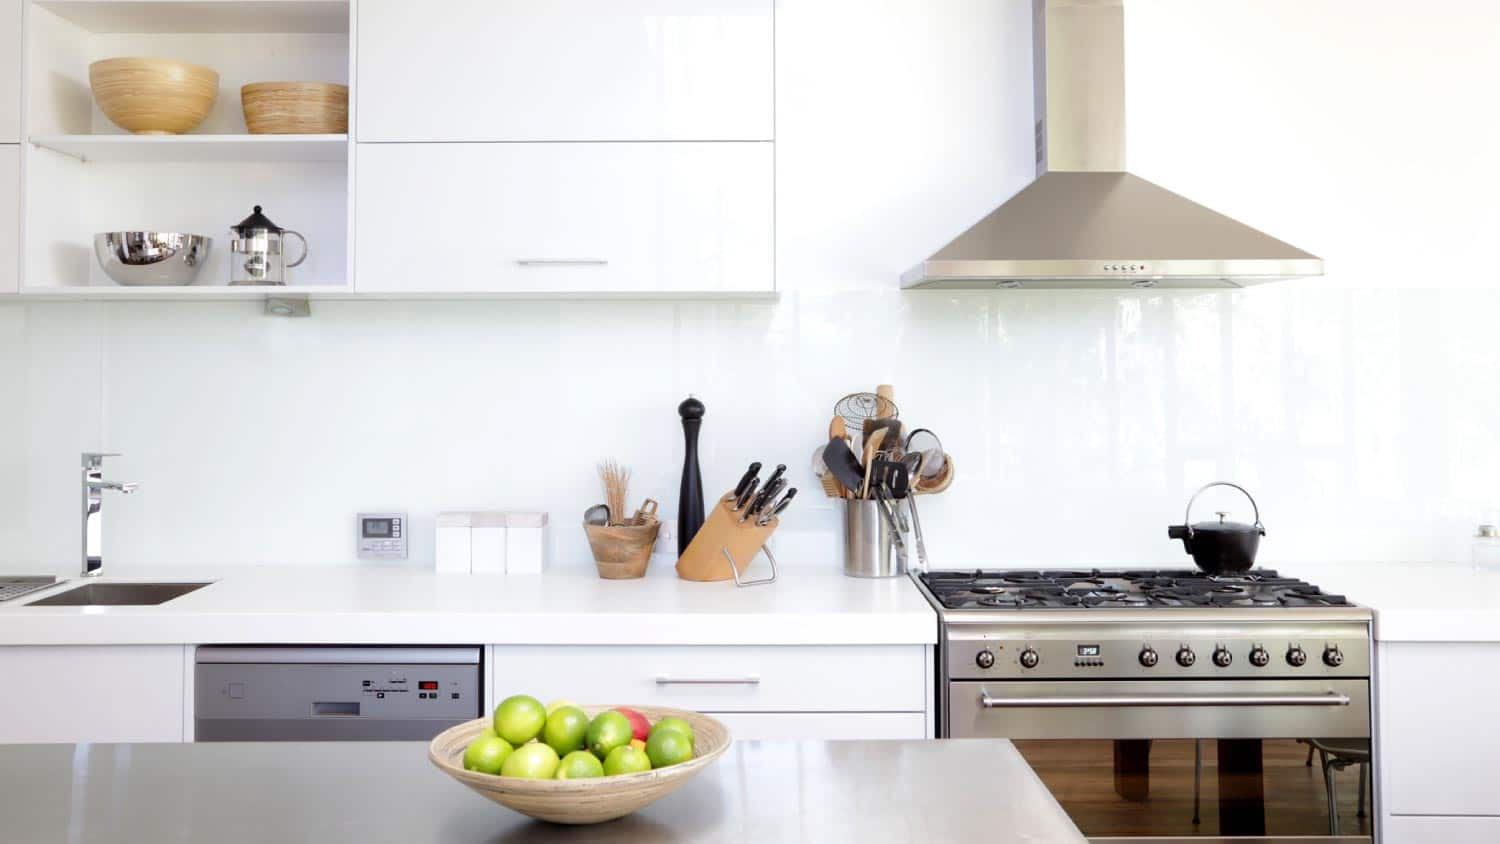
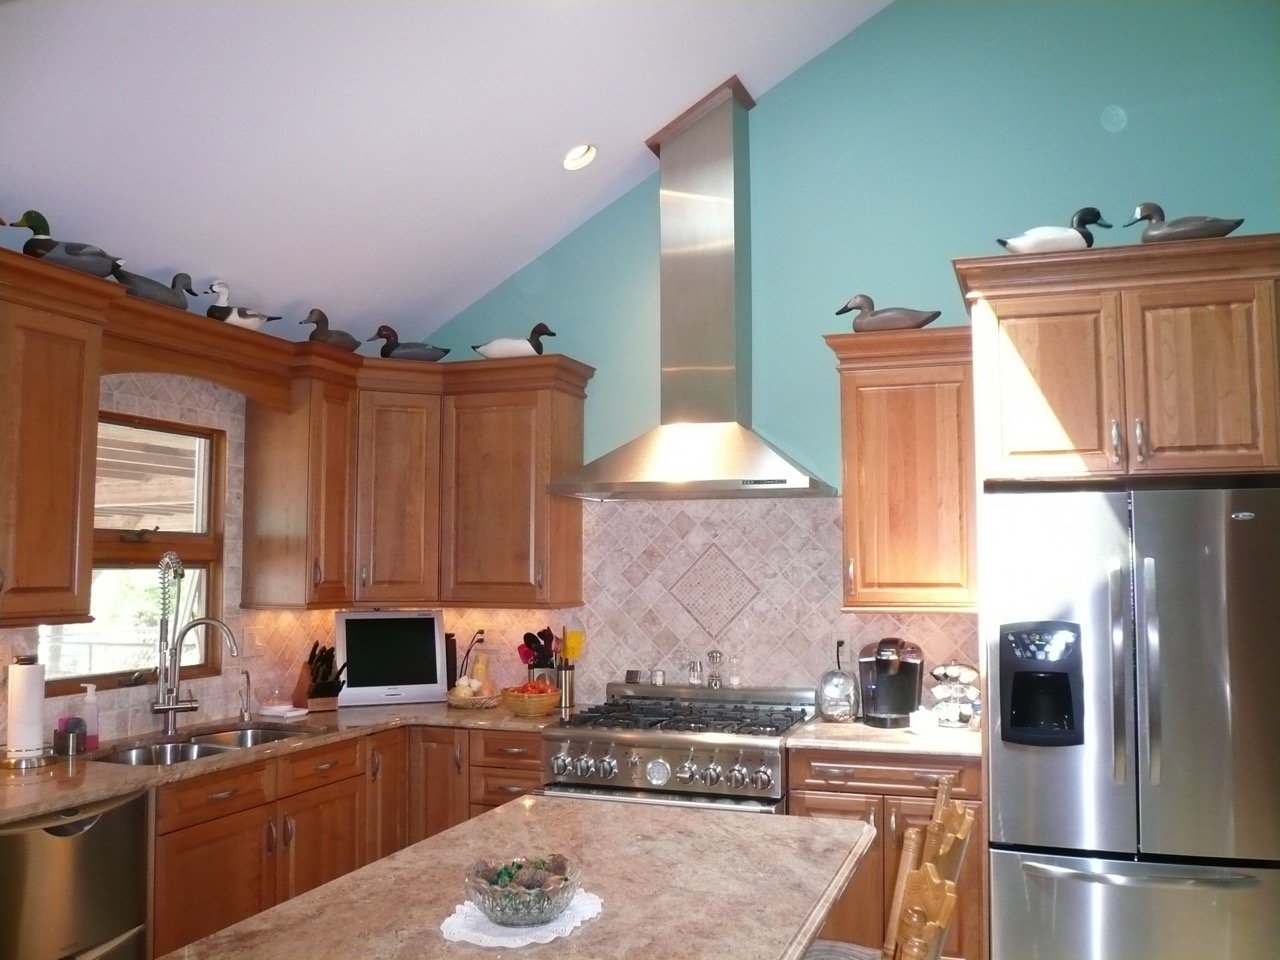
Selecting the Right Range Hood Next, select the appropriate range hood for your kitchen based on your ventilation needs, cooking habits, and aesthetic preferences. Range hoods come in various styles, sizes, and configurations, including wall-mounted, under-cabinet, island, and downdraft models. Consider factors such as airflow capacity (measured in cubic feet per minute or CFM), noise level, energy efficiency, and additional features such as built-in lighting and adjustable fan speeds.
Preparing for Installation Before installing the range hood, gather all the necessary tools and materials, including a power drill, screwdriver, measuring tape, level, ductwork (if required), mounting brackets, and hardware. Turn off power to the existing range hood or cooktop at the circuit breaker to ensure safety during the installation process. If you’re replacing an existing range hood, remove it carefully and disconnect any electrical or duct connections.
Mounting the Range Hood Begin by positioning the range hood in the chosen location and marking the mounting holes on the wall or cabinet.
Use a level to ensure that the hood is aligned properly before securing it in place with mounting brackets or screws. If your range hood requires ductwork for external ventilation, connect the duct to the hood according to the manufacturer’s instructions, ensuring a secure and airtight fit.
Electrical Wiring (if applicable) If your range hood requires electrical wiring, carefully follow the manufacturer’s instructions to connect the power supply. This may involve wiring the hood directly into the electrical circuit or installing a plug-in cord and outlet. If you’re not comfortable working with electrical wiring, consider hiring a licensed electrician to ensure proper installation and compliance with local building codes.
Testing and Adjustments Once the range hood is securely mounted and connected, test the ventilation system to ensure proper operation.
Turn on the fan and check for adequate airflow and noise levels, adjusting the fan speed or settings as needed. Verify that the hood effectively removes smoke, steam, and cooking odors from the kitchen environment. Make any necessary adjustments to the installation, such as leveling the hood or tightening mounting screws, to ensure optimal performance.
Finishing Touches Finally, complete the installation by securing any remaining components, such as the grease filters or chimney extension (if applicable). Clean the exterior surfaces of the range hood with a mild detergent and water to remove any dust or debris accumulated during installation. Step back and admire your newly installed range hood, which not only enhances the functionality of your kitchen but also adds a stylish focal point to the space.
Assessing Your Kitchen Layout
- Take precise measurements of the space where you plan to install the range hood, including the width, depth, and height available.
- Consider the aesthetic impact of the range hood on your kitchen design. Choose a style and finish that complements your existing decor and cabinetry.
- Evaluate the ventilation needs of your kitchen, especially if you frequently cook with strong-smelling ingredients or use high-heat cooking methods.
Selecting the Right Range Hood
- Research different brands and models to find one that offers the features and performance you desire within your budget.
- Pay attention to the noise level of the range hood, particularly if you have an open-concept kitchen where noise may be more noticeable.
- Consider investing in a range hood with variable fan speeds or a boost function for times when extra ventilation is needed.
Preparing for Installation
- Clear the area around the installation site to provide ample space for maneuvering and working.
- Check the dimensions and specifications of the range hood against your kitchen layout to ensure a proper fit.
- If you’re installing a ducted range hood, measure the length and diameter of the ductwork needed to vent outside and purchase any additional materials required.
Mounting the Range Hood
- Use a stud finder to locate the studs in the wall or ceiling where you’ll be mounting the range hood. Secure the mounting brackets directly to the studs for maximum stability.
- If you’re installing an under-cabinet range hood, ensure there is enough clearance between the bottom of the hood and the cooktop surface to prevent interference with cooking pots and pans.
- Double-check the alignment of the range hood with the cooktop or range before finalizing the installation to ensure proper functionality and aesthetics.
Electrical Wiring (if applicable)
- Follow all local building codes and regulations when wiring the range hood to the electrical supply.
- If you’re not comfortable working with electrical wiring, hire a qualified electrician to complete this step safely and correctly.
- Test the electrical connections with a voltage tester before turning on the power to the range hood to prevent any potential hazards or malfunctions.
Testing and Adjustments
- Run the range hood fan at different speeds to assess its performance and noise level in real-world conditions.
- Make any necessary adjustments to the fan speed or installation position to optimize airflow and ventilation efficiency.
- Check for any leaks or gaps in the ductwork that may compromise the effectiveness of the ventilation system and seal them accordingly.
Finishing Touches
- Install any additional accessories or features included with the range hood, such as LED lighting or remote control functionality.
- Clean and maintain the range hood regularly to ensure optimal performance and longevity. This includes cleaning or replacing the grease filters as needed and wiping down the exterior surfaces with a non-abrasive cleaner.
- Enjoy the benefits of your newly installed range hood, knowing that you’ve improved the air quality and functionality of your kitchen while enhancing its overall appeal.
Conclusion:
Installing a range hood is a rewarding home improvement project that can enhance the ventilation, cleanliness, and overall ambiance of your kitchen. By following this step-by-step guide and paying attention to detail, you can ensure a successful installation that improves air quality, reduces cooking odors, and enhances the efficiency of your cooking environment. Whether you’re a seasoned DIY enthusiast or hiring a professional contractor, a properly installed range hood is an investment in the long-term comfort and functionality of your home.