Introduction
When it comes to essential kitchen tools, the rolling pin often plays a supporting role, overshadowed by other high-tech gadgets or flashy appliances. Yet, this humble tool has stood the test of time, proving indispensable in a variety of culinary tasks. Understanding the rolling pin not only enhances our baking experiences but also deepens our appreciation for the art of cooking.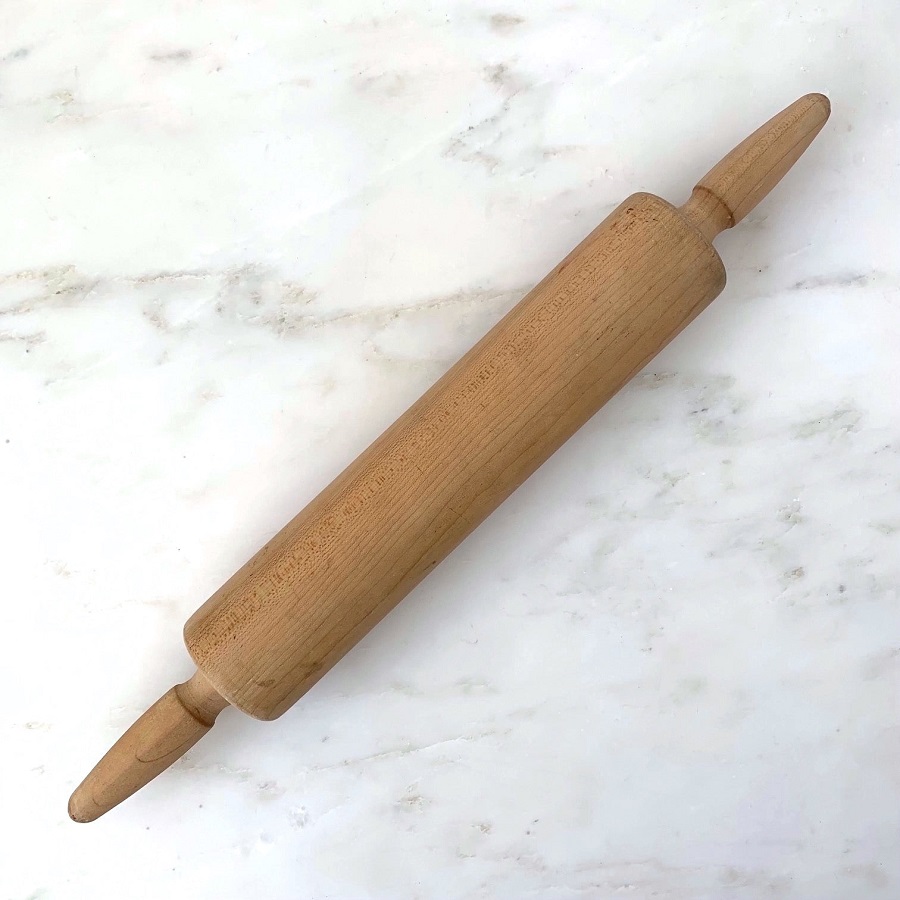
A Brief History of the Rolling Pin
The rolling pin’s origins date back thousands of years. Archaeological findings suggest that ancient Egyptians used wooden rolling pins, and variations have been discovered in other ancient cultures, including the Mesopotamians and the Romans. While the materials and shapes have evolved, the basic concept has remained remarkably consistent: a cylindrical tool used to flatten and shape dough.
Rollers were made from different materials, including wood, marble, and even silicone. Today, the rolling pin remains a staple in kitchens worldwide, cherished for its versatility in baking.
Types of Rolling Pins
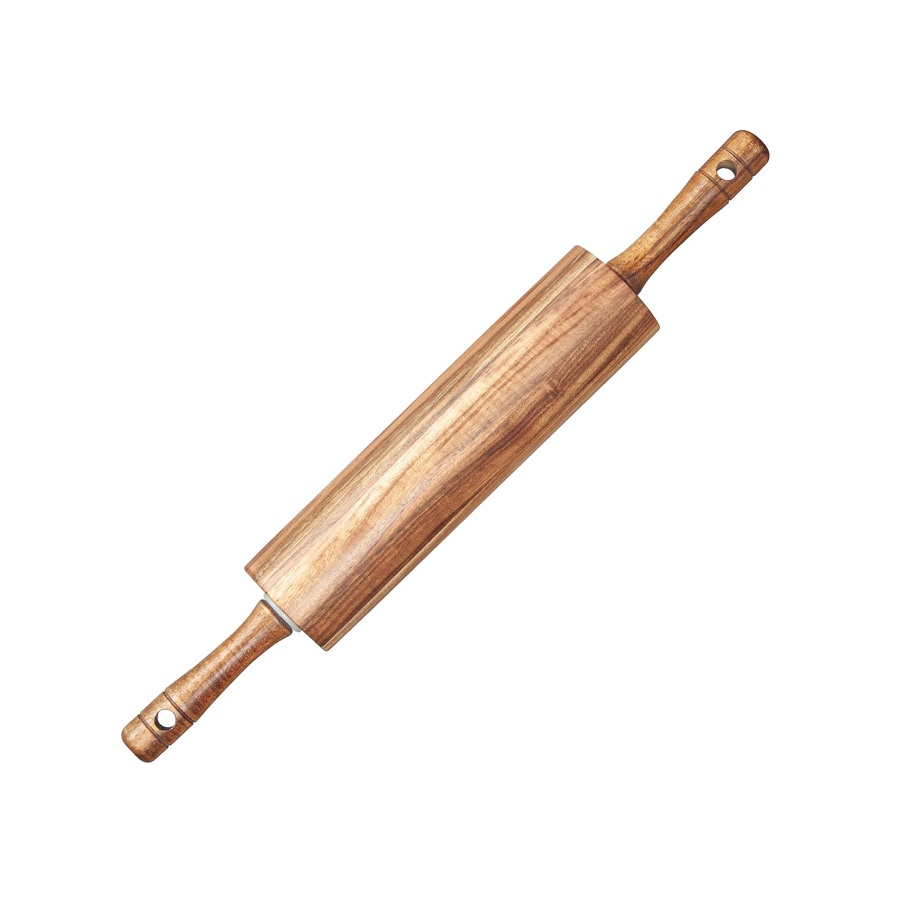
Classic Wooden Rolling Pin
The most common type is the wooden rolling pin, often made from hardwood like maple or beech. This traditional design features a thick barrel and handles on either side. The weight of the wood provides enough mass to efficiently roll out dough, making it suitable for pie crusts, pizza dough, and cookies.
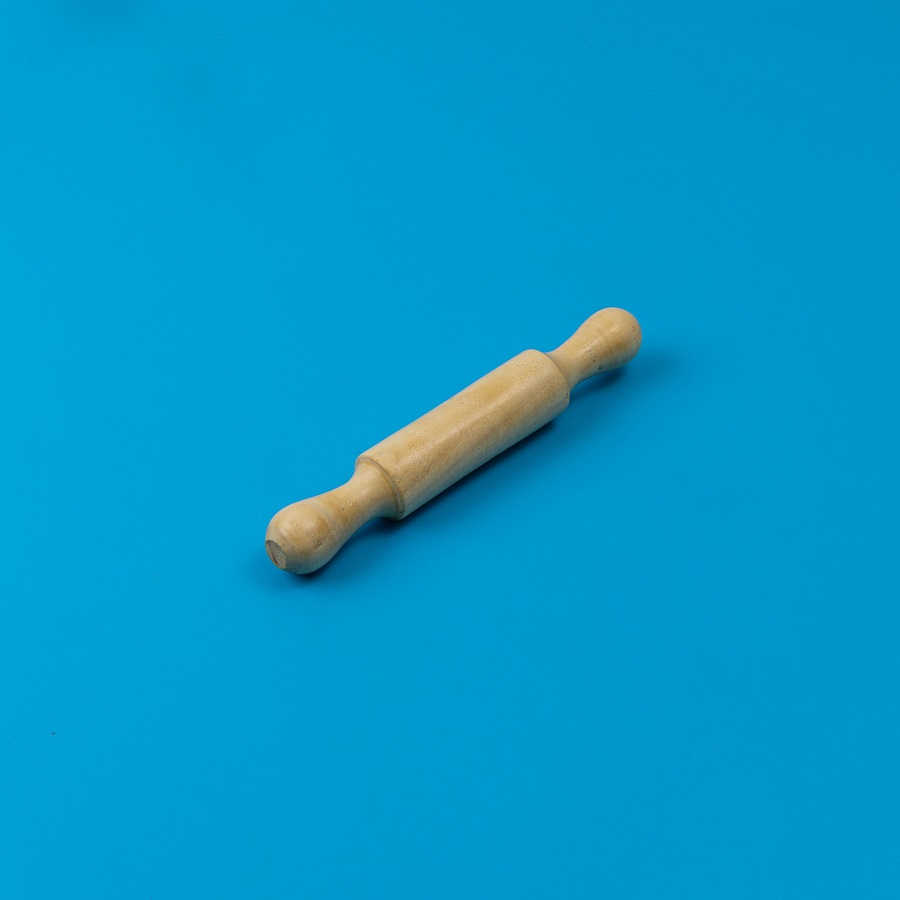
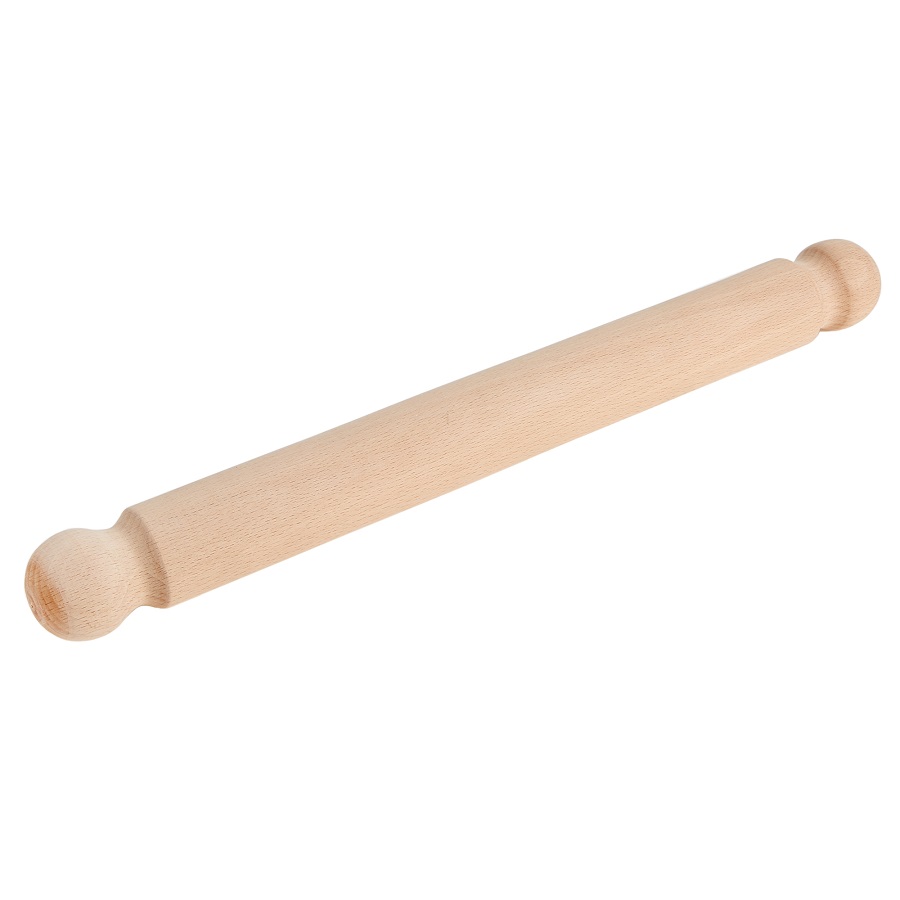
French Rolling Pin
With no handles and a tapered design, the French rolling pin allows for better control and maneuverability. Bakers appreciate this style for its ability to apply even pressure while allowing for increased sensitivity in developing dough thickness.
Marble Rolling Pin
Marble rolling pins are aesthetic and functional. They tend to be heavier and chillable, which helps to keep sensitive ingredients like butter cold during the mixing process. This is particularly advantageous when working with pastries where temperature control is crucial.
Silicone Rolling Pin
Silicone rolling pins are lightweight, flexible, and often non-stick. They are easy to clean and are less likely to stick to dough, making them a popular choice for baking enthusiasts. Some come with adjustable rings that help achieve uniform thickness.
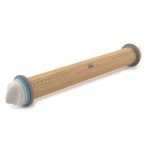
Adjustable Rolling Pin
Equipped with removable rings or guides, adjustable rolling pins allow bakers to achieve precise dough thickness consistently. This is especially helpful when recipes specify certain measurements—no more guesswork!
 Using a Rolling Pin: Techniques and Tips
Using a rolling pin effectively is a skill that, when mastered, greatly enhances the baking experience. Here are some techniques and tips:
1. Flour Your Surface: Before rolling out dough, lightly dust the work surface and the pin with flour to prevent sticking. Be careful not to over-flour, as this can affect the dough’s texture.
2. Chill Your Dough: For certain types of dough—like puff pastry or shortcrust pastry—chilling helps maintain the fat’s integrity and can make rolling easier.
3. Start from the Center: When rolling out dough, start in the center and work your way outward. This technique ensures even thickness and prevents the edges from becoming too thin.
4. Rotate the Dough: Frequently lift and rotate the dough to maintain a circular shape and even thickness. This can also help prevent sticking.
5. Use Even Pressure: Apply consistent pressure as you roll, concentrating on uneven spots to flatten them out further.
6. Know When to Stop: Overworking dough can result in toughness. Roll it out just enough to achieve the desired thickness without excessive handling.
Beyond Baking: Other Uses for the Rolling Pin
While the rolling pin is most commonly associated with baking, its utility extends far beyond that. Here are a few alternative uses:
Crushing Nuts and Crackers: A rolling pin can flatten and crush items like nuts, crackers, or breadcrumbs, making it an excellent tool for recipes requiring a coarse or fine crumb texture.
Pasta and Tortillas: Use a rolling pin to stretch and shape homemade pasta or tortillas. This can give you more control than an automate machine or cutter.
Meat Tenderizing: A rolling pin can serve as a makeshift meat mallet; just be sure to wrap the meat properly to avoid mess.
Decorative Impressions: Strung with lace or textured fabric, a rolling pin can create unique designs and textural impressions on fondant or dough.
Care and Maintenance of Rolling Pins
To ensure your rolling pin lasts for years, proper care is essential:
- Cleaning: Most wooden and marble rolling pins can be wiped clean with a damp cloth. Avoid soaking them in water to prevent warping.
- Oil Regularly: For wooden rolling pins, occasional treatment with food-safe mineral oil helps maintain the wood’s condition and prevents cracking.
- Store Properly: Keep your rolling pin in a dry place, ideally hanging or in a container to avoid excessive bending or pressure from heavy items.
Techniques for Rolling Out Dough
Now that you’ve chosen your rolling pin and prepared your workspace, let’s get into the techniques.
Start with the Right Amount of Dough
- Depending on your recipe, make sure to have enough dough to cover the area you’re working with without stretching too thin.
Shape Before Rolling
- Give your dough a rough shape (like a disk) before rolling. This makes it easier to manage and keeps the dough uniform.
Rolling Motion
- Technique: Utilize even pressure while rolling. Start in the center and roll outwards in a circular motion.
- Tip: Lift the rolling pin every few rolls to ensure the dough isn’t sticking to the surface.
Turn the Dough
- Rotate your dough 90 degrees every few rolls. This helps to maintain an even thickness and prevents sticking.
Use Light Pressure
- If you find your dough is sticking, use a bench scraper to release it from the surface, and only apply light pressure as you roll. This helps keep the dough tender.
Check Thickness Consistently
- Use a thickness guide (like two wooden dowels of equal size) on either side of the dough to ensure an even thickness as you roll it out.
Rolling Different Types of Dough
- Pie Crust: Roll out the dough to about 1/8 inch thick, aiming for a round shape slightly larger than your pie dish.
- Cookies: Roll to even thickness depending on your desired cookie size, typically around 1/4 inch.
- Pasta: Aim to get as thin as possible; using a pasta machine after an initial roll is highly recommended.
Troubleshooting Common Issues
Even seasoned bakers encounter challenges. Here are some common issues and how to fix them:
1. Dough Sticking
- Solution: Use flour or parchment paper to separate the dough from the surface. You can also try chilling the dough again.
2. Uneven Dough
- Solution: If your dough is not rolling evenly, check that you’re applying consistent pressure and rotating the dough frequently.
3. Cracking Edges
- Solution: If the edges of your dough begin to crack, allow it to rest for a few minutes to relax the gluten before continuing to roll.
Cleaning and Storing Your Rolling Pin
To ensure longevity, properly clean and store your rolling pin:
1. Cleaning
- Wipe with a damp cloth after use. Avoid soaking or placing in the dishwasher, as it can warp wooden rolling pins.
2. Storing
- Store in a cool, dry place away from direct sunlight. Some bakers like to wrap a light cloth around their rolling pins to preserve them.
Conclusion
The rolling pin may appear deceptively simple, yet it holds a unique position in the culinary world, bridging tradition and function. Its versatility across various baking needs, from crafting the ideal pie crust to rolling out pasta, makes it an essential tool in any kitchen. By understanding the different types, techniques, and uses of this age-old instrument, we not only enhance our culinary skills but also connect with a long history of baking traditions. So the next time you prepare to roll out dough, take a moment to appreciate the rolling pin—it’s more than just a tool; it’s a bridge to countless delicious creations.