Introduction
Kitchen renovations often involve upgrading appliances to enhance both functionality and aesthetic appeal. One such upgrade that can significantly improve your cooking experience is installing a ductless range hood. These appliances, also known as recirculating hoods, are an excellent choice for those who want to eliminate grease, odors, and steam from their cooking area without the hassle of venting to the outside. If you’re a DIY enthusiast eager to undertake this project yourself, this comprehensive guide will walk you through the process of installing a ductless range hood with ease.
Pre-Installation Checklist
Before diving into the installation, ensure you have:
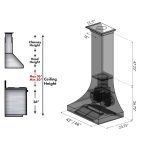
- Measurements: Accurately measure the space above your cooktop to select the right size of the ductless hood. Typically, the hood should be at least as wide as your cooking surface.
- Electrical Requirements: Verify that you have a suitable power source nearby. Most ductless range hoods require a standard 120V outlet.
- Tools & Materials: Gather necessary tools like a drill, screwdriver, level, pencil, stud finder, wire stripper, and safety goggles.
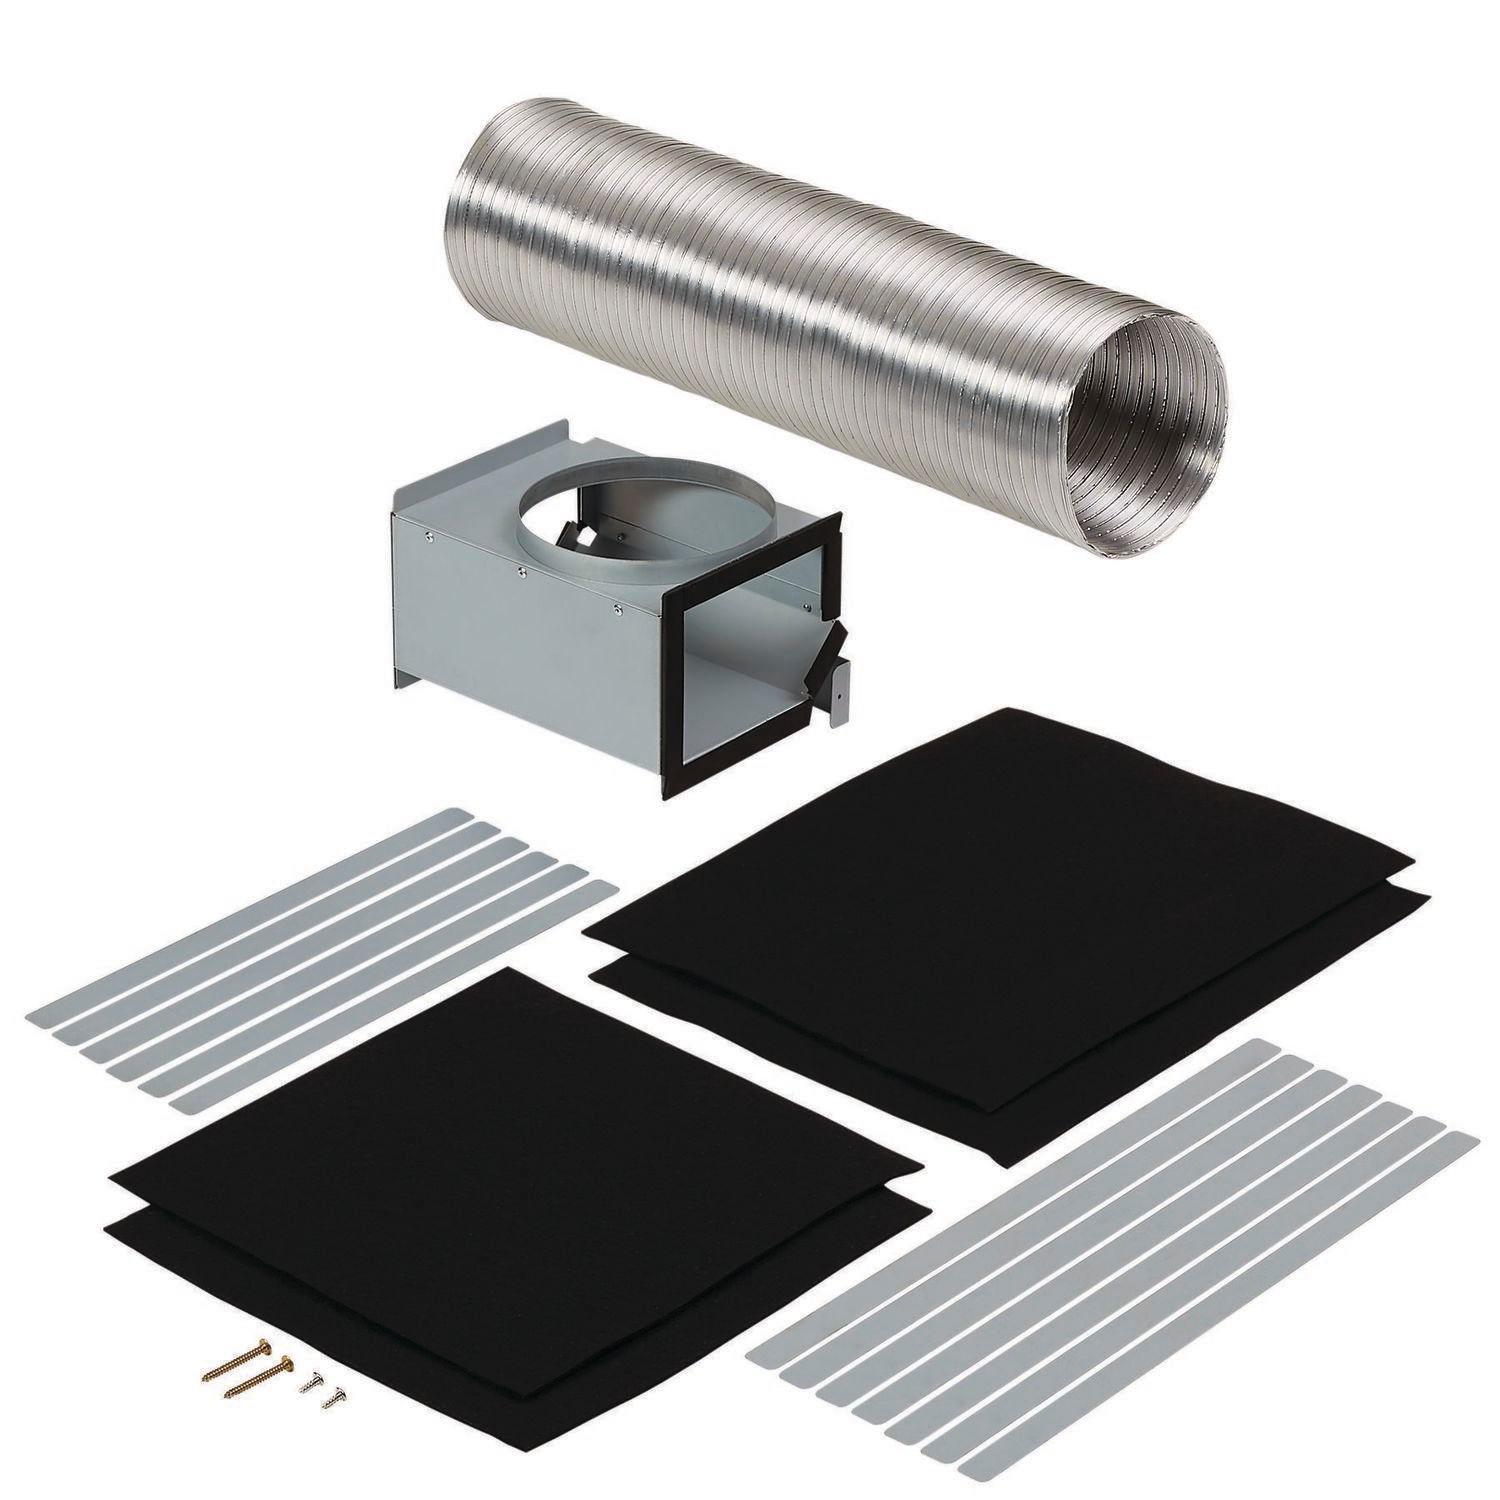
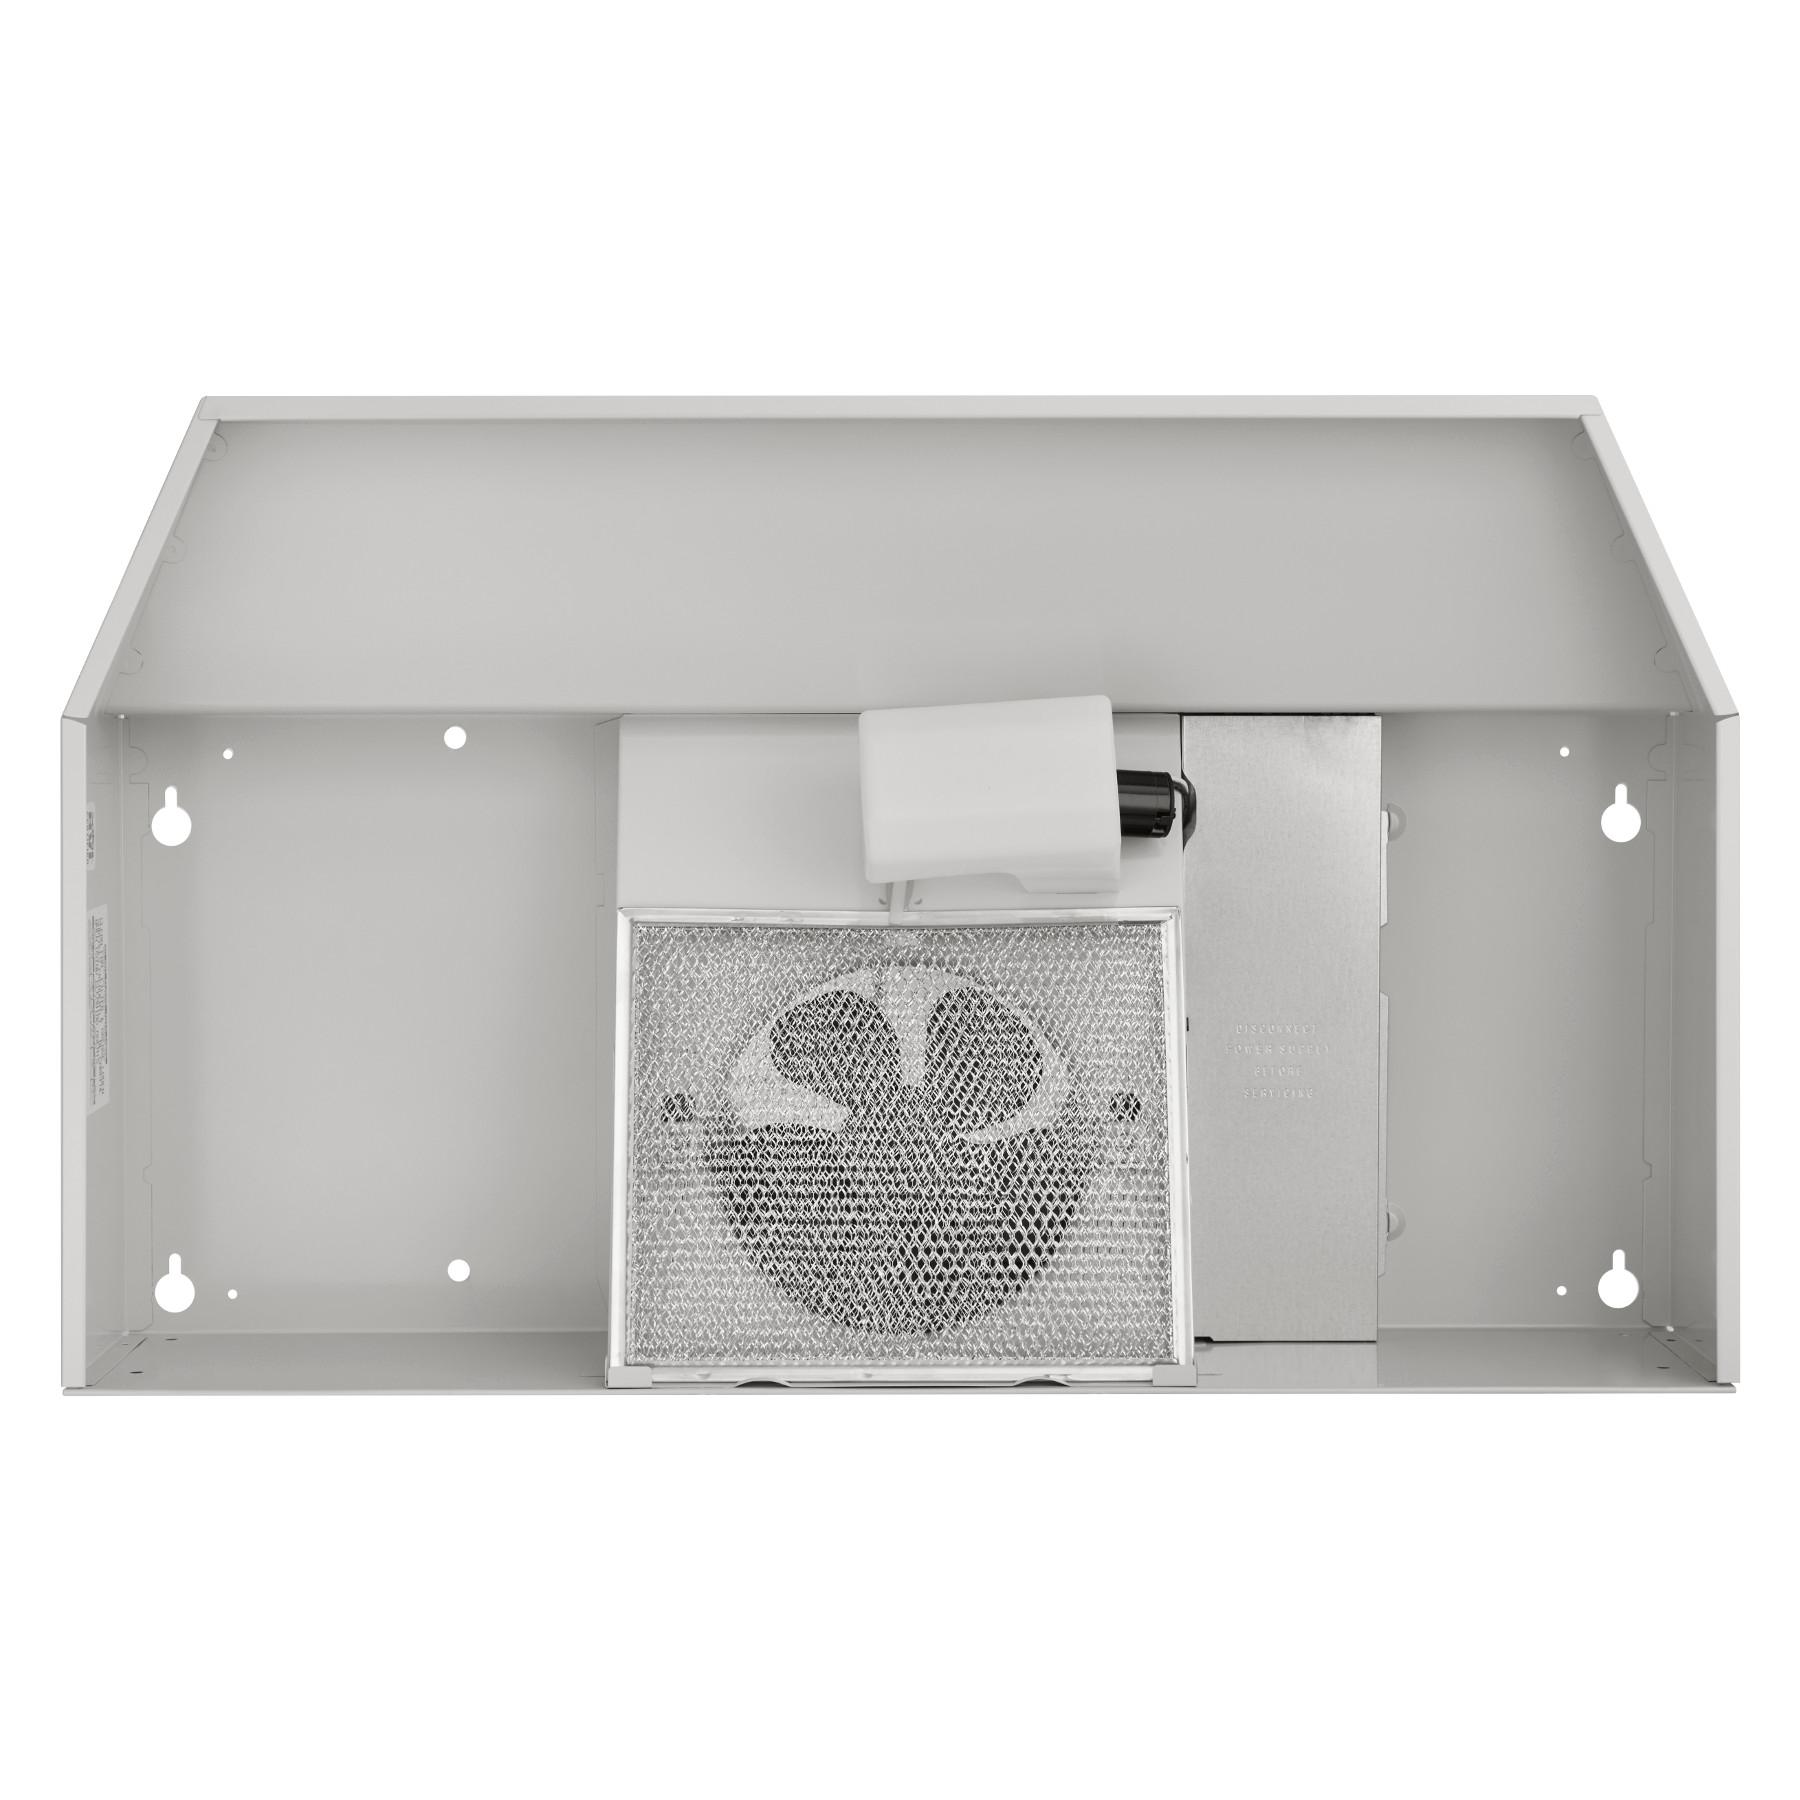
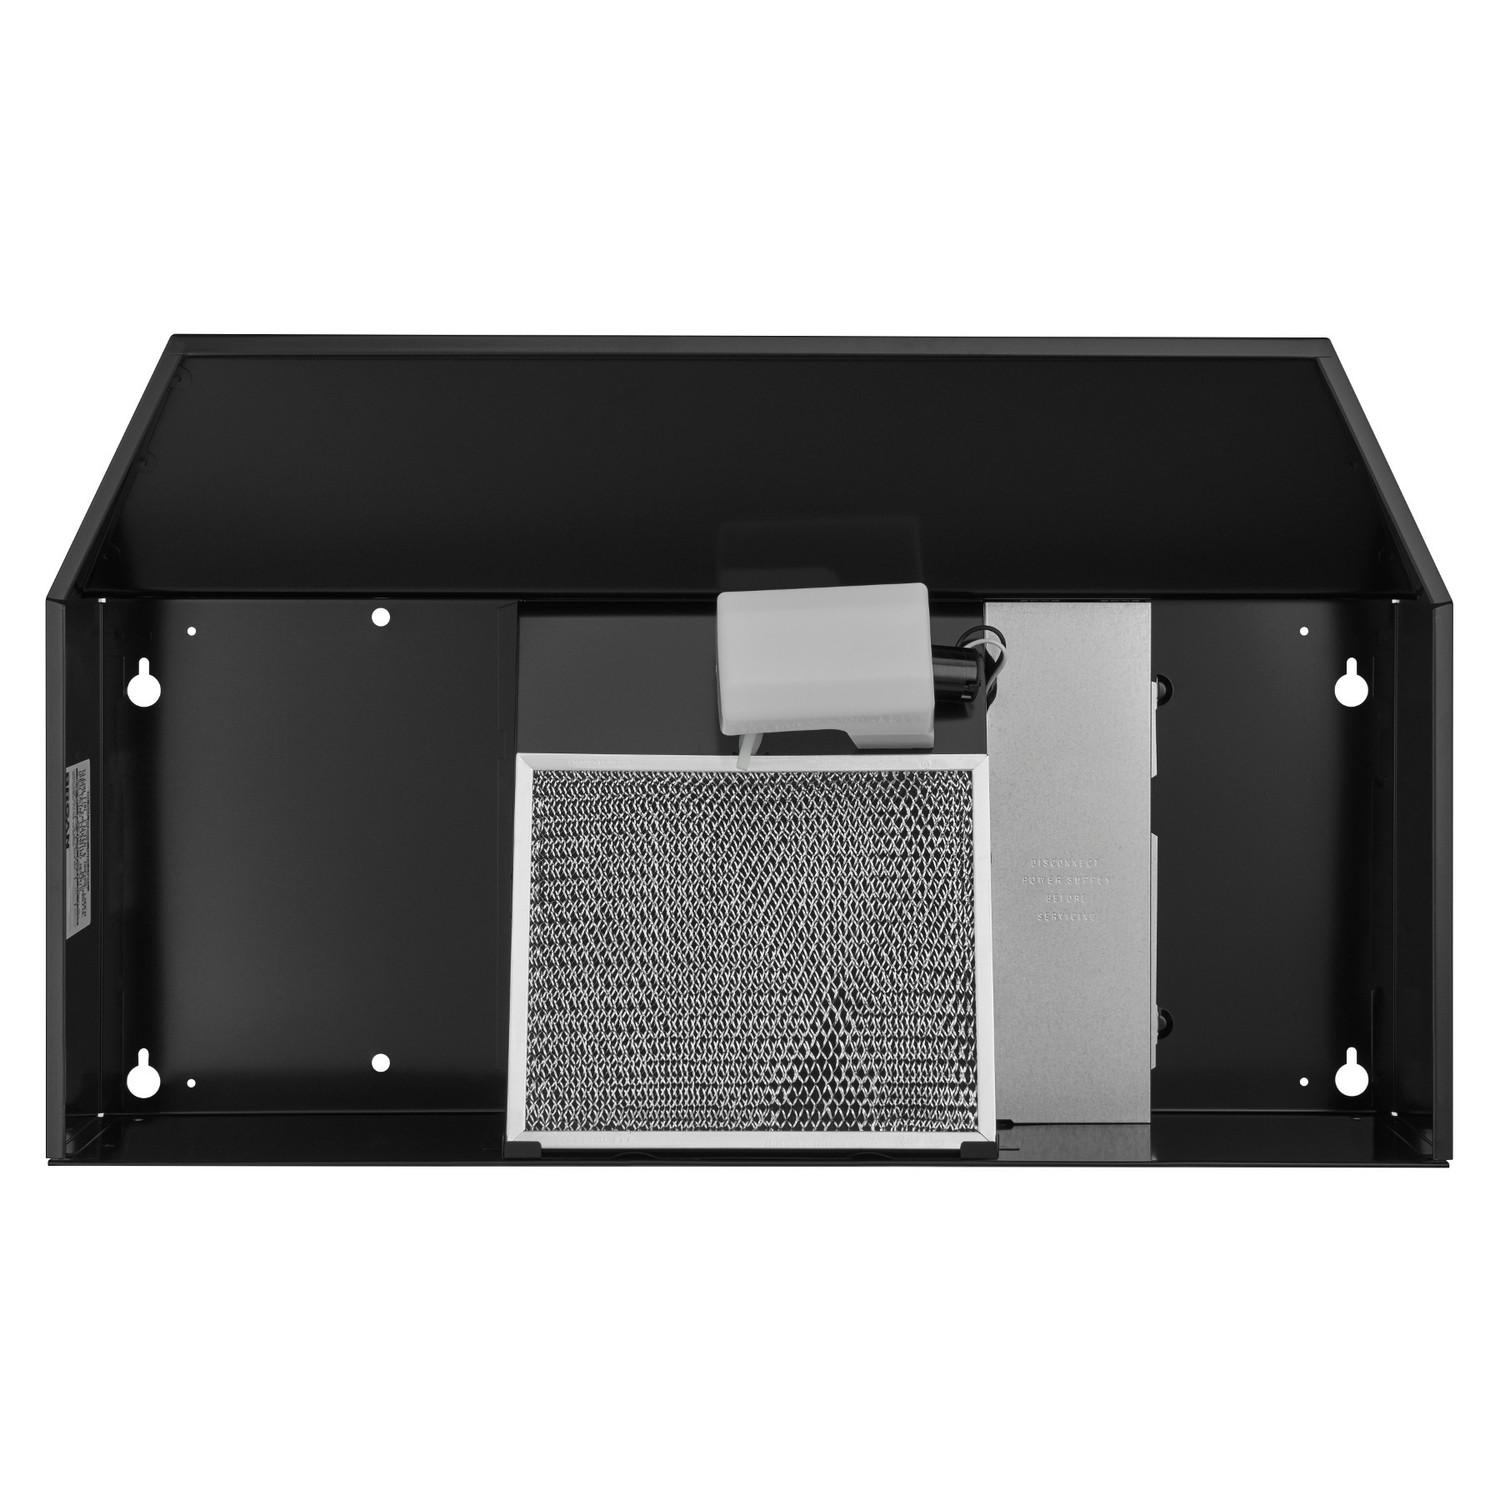
- Ductless Hood Kit: Ensure your kit includes a charcoal filter, which is crucial for absorbing odors in a ductless setup.
Step-by-Step Installation Guide
Step 1: Turn Off Power Supply
Safety first! Before starting any electrical work, turn off the power supply to the area where you’ll be working from your home’s main circuit breaker.
Step 2: Locate Studs & Mark Position
Use a stud finder to locate the wall studs where you plan to mount the hood. Mark the spots where screws will go, ensuring they align with the mounting brackets on the hood.
Step 3: Assemble the Hood (If Needed)
Some ductless range hoods may require assembly before installation. Follow the manufacturer’s instructions carefully to put together any parts.
Step 4: Install Mounting Bracket
Attach the mounting bracket to the wall using screws and a drill, ensuring it is level. Use the marks you made earlier to guide placement.
Step 5: Connect Electrical Wiring
If your hood comes with a plug, this step may be skipped. Otherwise, follow these steps:
- Carefully expose the wiring inside the electrical box on the hood.
- Connect the wires (typically black to black, white to white, and green or bare copper to ground) using wire nuts.
- Tuck the connections back into the box and secure the cover.
Step 6: Attach the Ductless Hood
Lift the hood onto the mounting bracket and secure it using the provided screws. Double-check for levelness.
Step 7: Install Charcoal Filter
Insert the charcoal filter into its designated slot within the hood. This is vital for odor removal in ductless systems.
Step 8: Test the Hood
Turn the power back on at the circuit breaker and test your new ductless range hood. Ensure all functions are working correctly, including the fan and any lights.
Maintenance Tips
- Replace Filters Regularly: Charcoal filters need to be replaced periodically, typically every 3 to 6 months, depending on usage.
- Clean the Hood: Regularly wipe down the exterior and interior of the hood with a damp cloth to remove grease and grime.
Additional Considerations for Optimal Performance
While the steps outlined above cover the basic installation of a ductless range hood, there are additional considerations to ensure optimal performance and longevity of your appliance.
Ventilation and Airflow
Even though ductless hoods do not require external venting, proper airflow within the kitchen is essential. Make sure the hood is not obstructed by cabinets or other appliances, as this can hinder its ability to capture and filter out contaminants effectively. Maintain a minimum clearance between the cooktop and the bottom of the hood as recommended by the manufacturer.
Noise Reduction
Ductless range hoods can generate varying levels of noise during operation. To minimize this, choose a model with noise-reducing features or plan its installation away from seating areas if possible. Additionally, regular maintenance, including cleaning and timely filter replacement, can help keep the hood operating quietly.
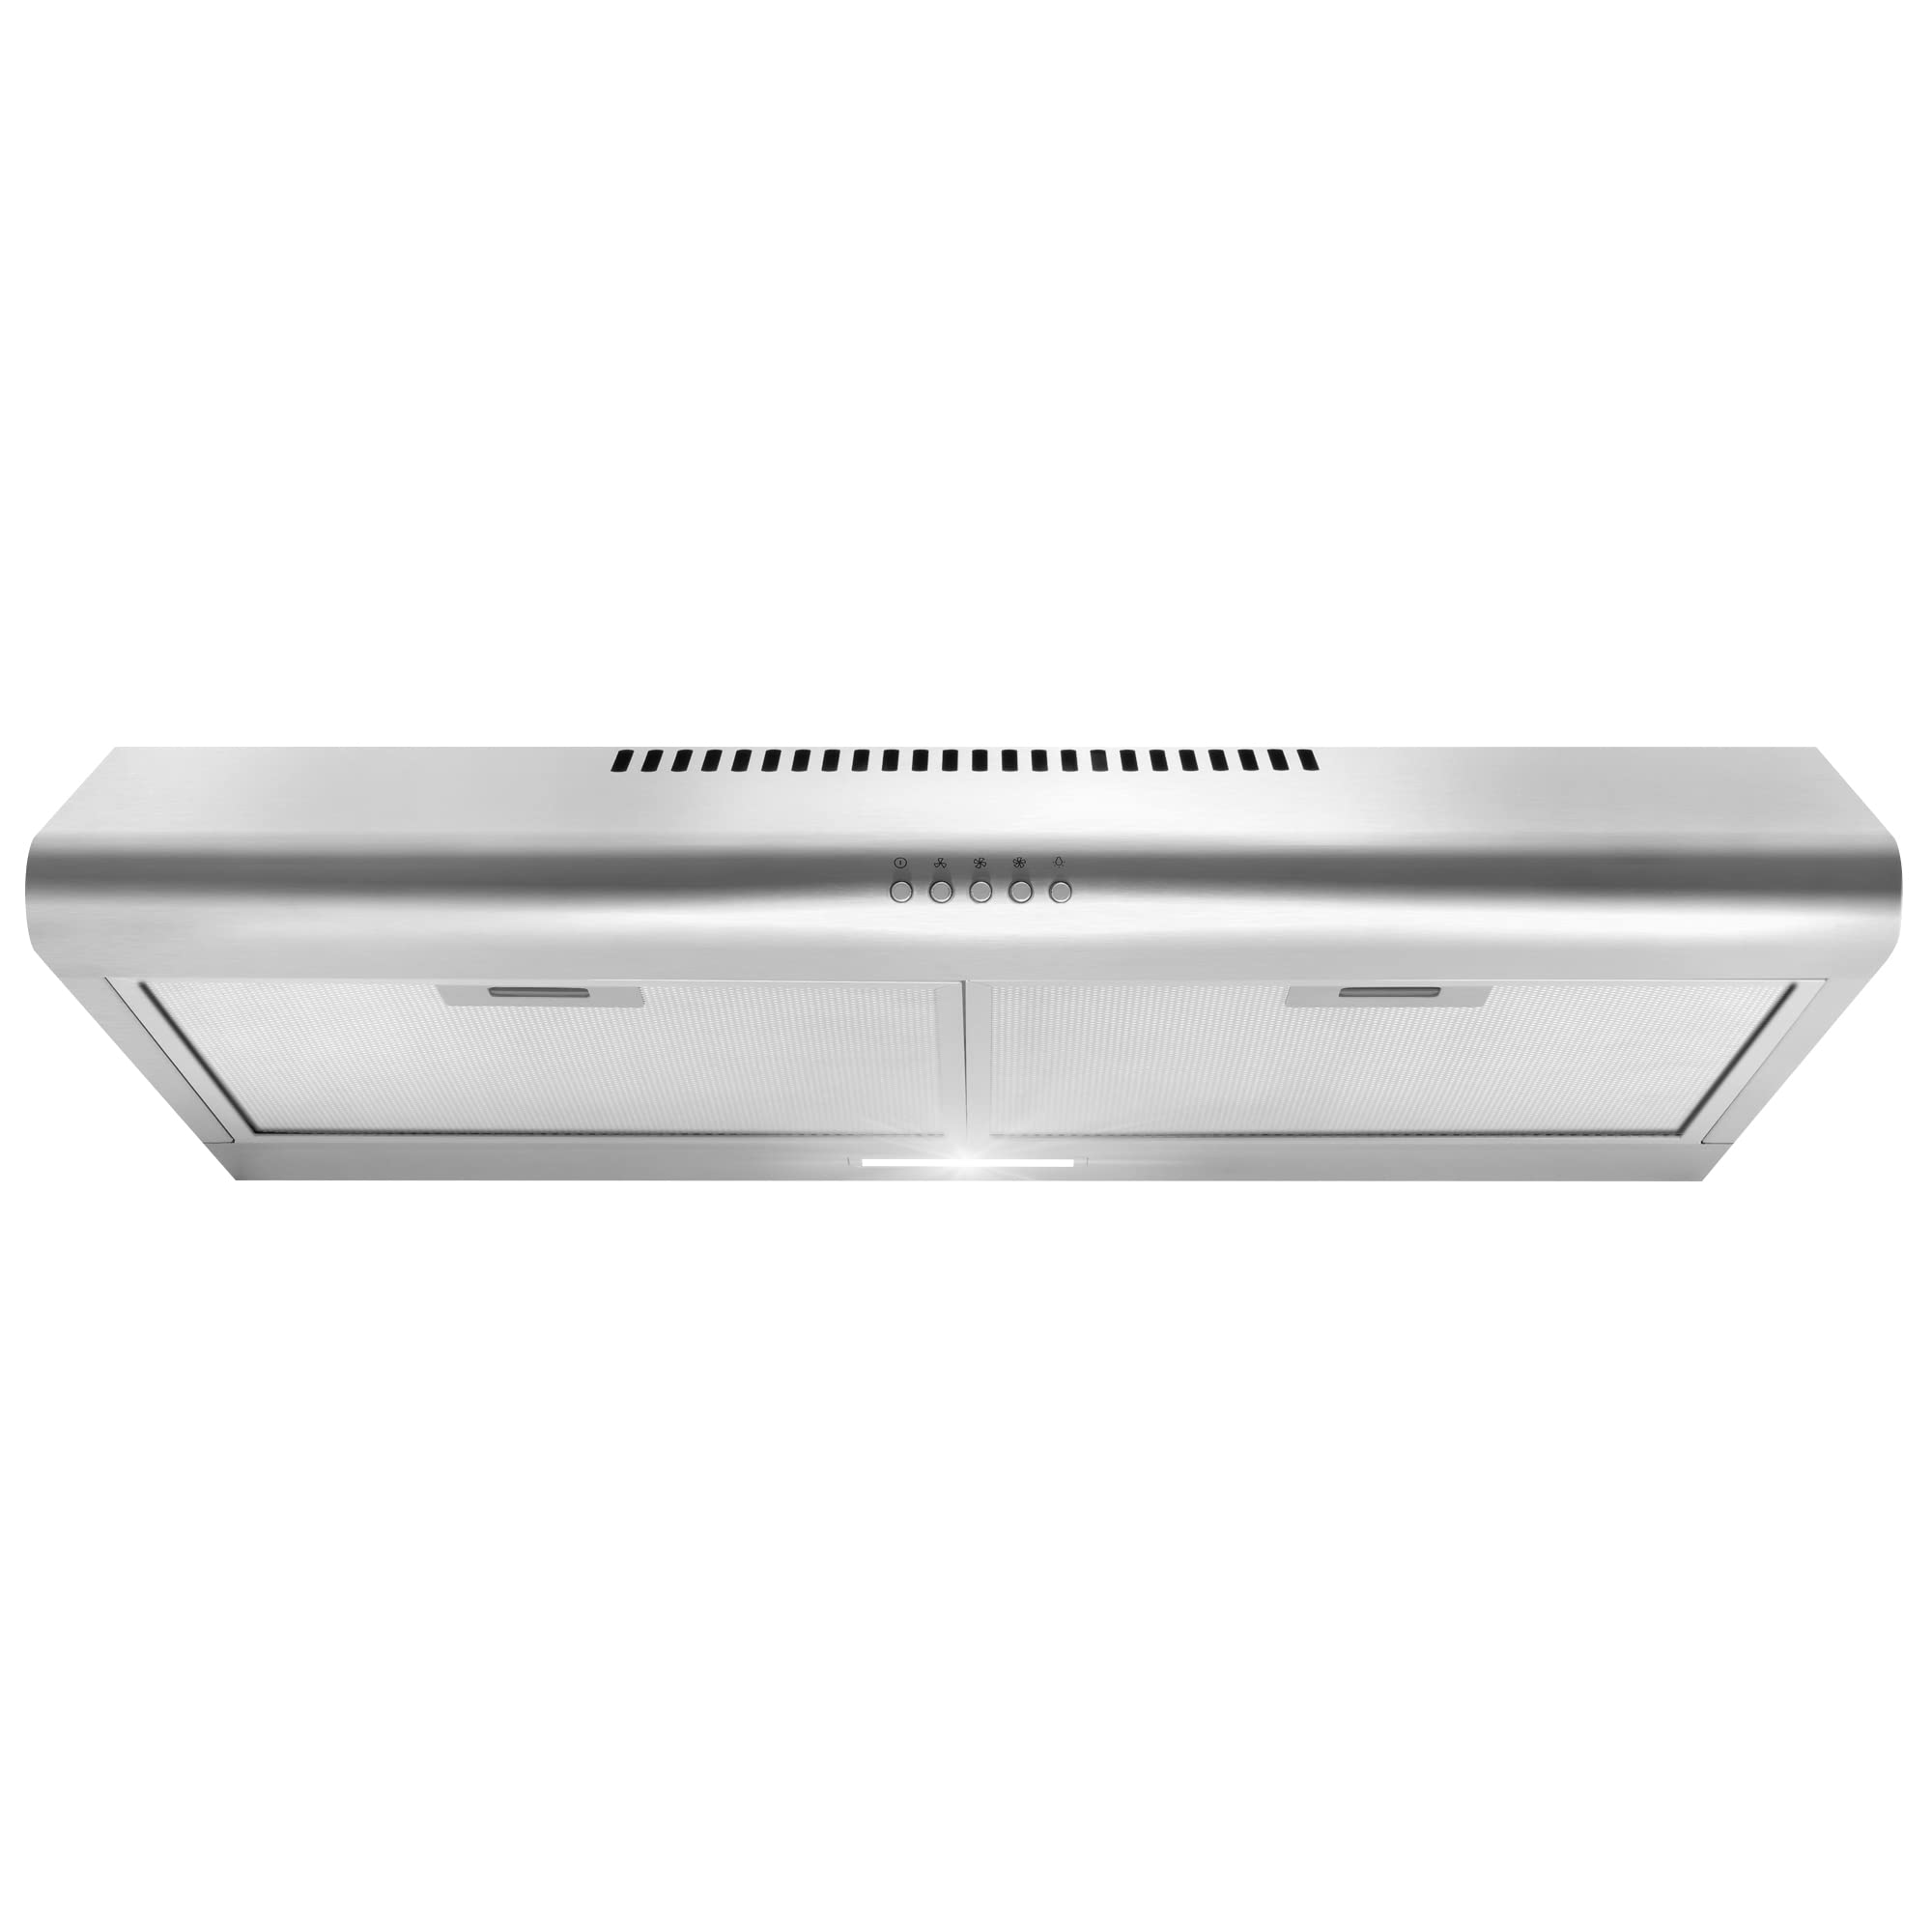
Lighting Integration
Many ductless range hoods come equipped with built-in lighting. When installing, consider how the hood’s light will interact with your existing kitchen lighting scheme. Properly aimed task lighting can significantly enhance your cooking experience. Adjust the position of the hood or consider installing dimmable bulbs to achieve the desired ambiance.
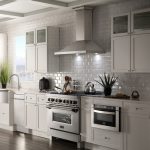
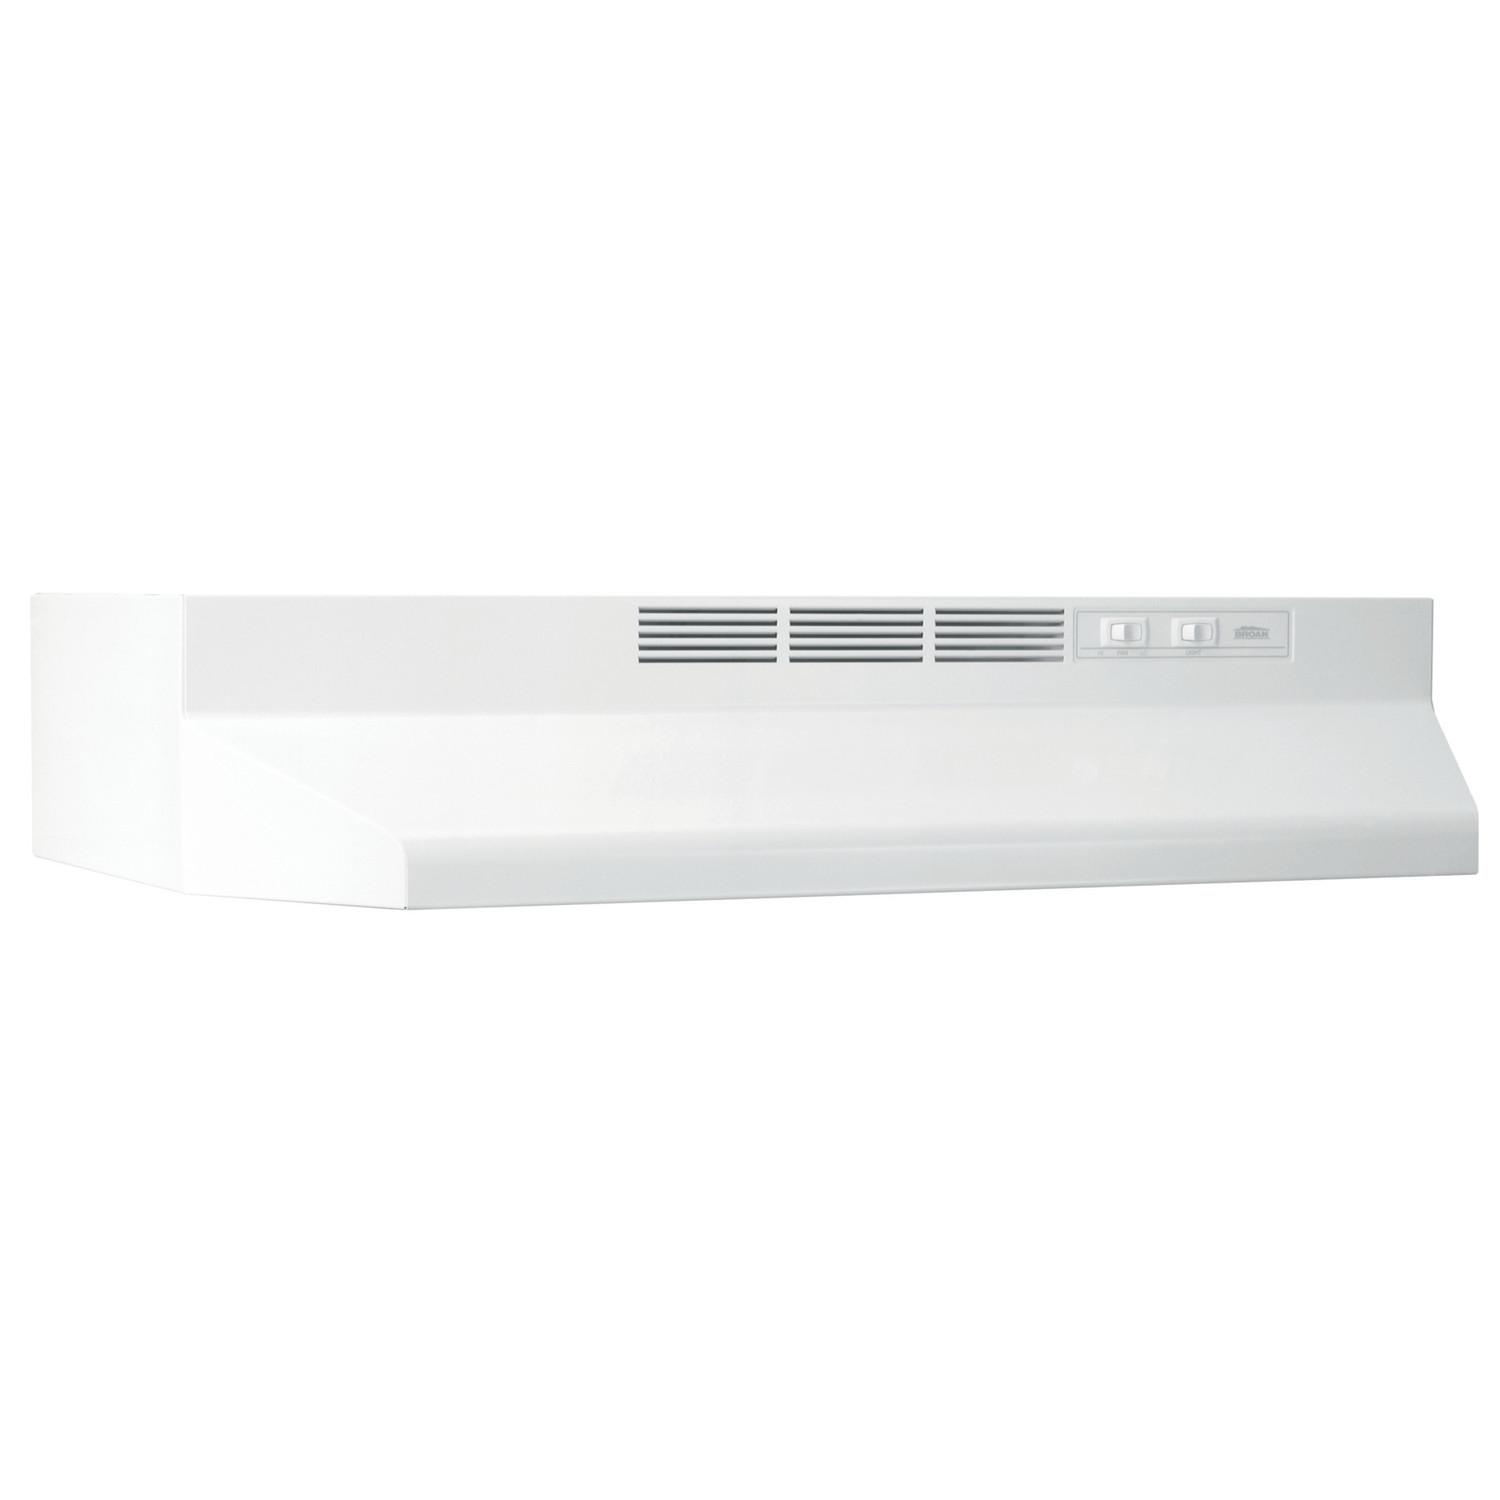
Aesthetics and Design
Your range hood is a noticeable element in your kitchen design. Select a style and finish that complements your kitchen’s overall theme. Whether it’s a sleek stainless steel model for a modern look or a wooden hood to match traditional cabinetry, the right choice can elevate the room’s visual appeal.
Troubleshooting Common Issues
- Weak Suction: Check that the charcoal filter isn’t clogged and replace it if needed. Also, ensure nothing is blocking the hood’s intake.
- Excessive Noise: Besides maintaining the hood, check for loose screws or parts that might be causing rattling noises. Tighten any loose components.
- Uneven Installation: If you notice the hood is not level after installation, gently loosen the mounting screws, adjust the hood, and retighten.
Future Upgrades
Consider that while a ductless hood is a practical solution for many kitchens, there might come a time when you want to upgrade to a ducted system. Plan your initial installation in a way that allows for easy conversion in the future, such as leaving space for venting if feasible.
By taking these additional considerations into account during and after installation, you’ll not only enjoy a more efficient and pleasant cooking environment but also ensure your investment in a ductless range hood is a long-lasting one. Remember, the key to success lies in careful planning, adherence to safety protocols, and following the manufacturer’s recommendations closely.
Uneven Mounting Surface
- Issue: The wall may not be perfectly flat, causing the hood to appear crooked.
- Solution: Use shims behind the mounting bracket to create a level surface. Adjust until the hood hangs straight, then secure the bracket firmly.
Inadequate Clearance
- Issue: You realize the hood is too close or too far from the cooktop.
- Solution: Refer to the manufacturer’s guidelines for the recommended distance between the cooktop and hood. Adjust the mounting height if possible, or consider using extension kits if available for your model.
Conclusion
Installing a ductless range hood is a straightforward DIY project that can greatly improve your kitchen’s air quality and appearance. With this comprehensive guide and a bit of patience, you can successfully install your new hood and enjoy a fresher, cleaner cooking environment. Remember, safety is paramount throughout the process, and always refer to the manufacturer’s instructions for model-specific guidance. Happy DIY-ing!