Introduction:
Revamping your kitchen with a stylish tiled range hood is a transformative project that not only enhances the aesthetics of your cooking space but also adds a touch of personalized design and functionality. A tiled range hood serves as a focal point, combining practicality with visual appeal to elevate the overall ambiance of your kitchen. In this comprehensive guide, we’ll delve into the process of creating a tiled range hood, from design considerations and material selection to installation techniques and maintenance tips.
1. Design Considerations:
Before diving into the project, it’s essential to consider the design aspects of your tiled range hood:
- Style: Determine the overall style and theme of your kitchen, whether it’s modern, traditional, rustic, or eclectic. Your range hood should complement the existing decor and architectural elements.
- Tile selection: Choose tiles that coordinate with your kitchen’s color palette and design scheme. Consider factors such as size, shape, texture, and finish to achieve the desired look.
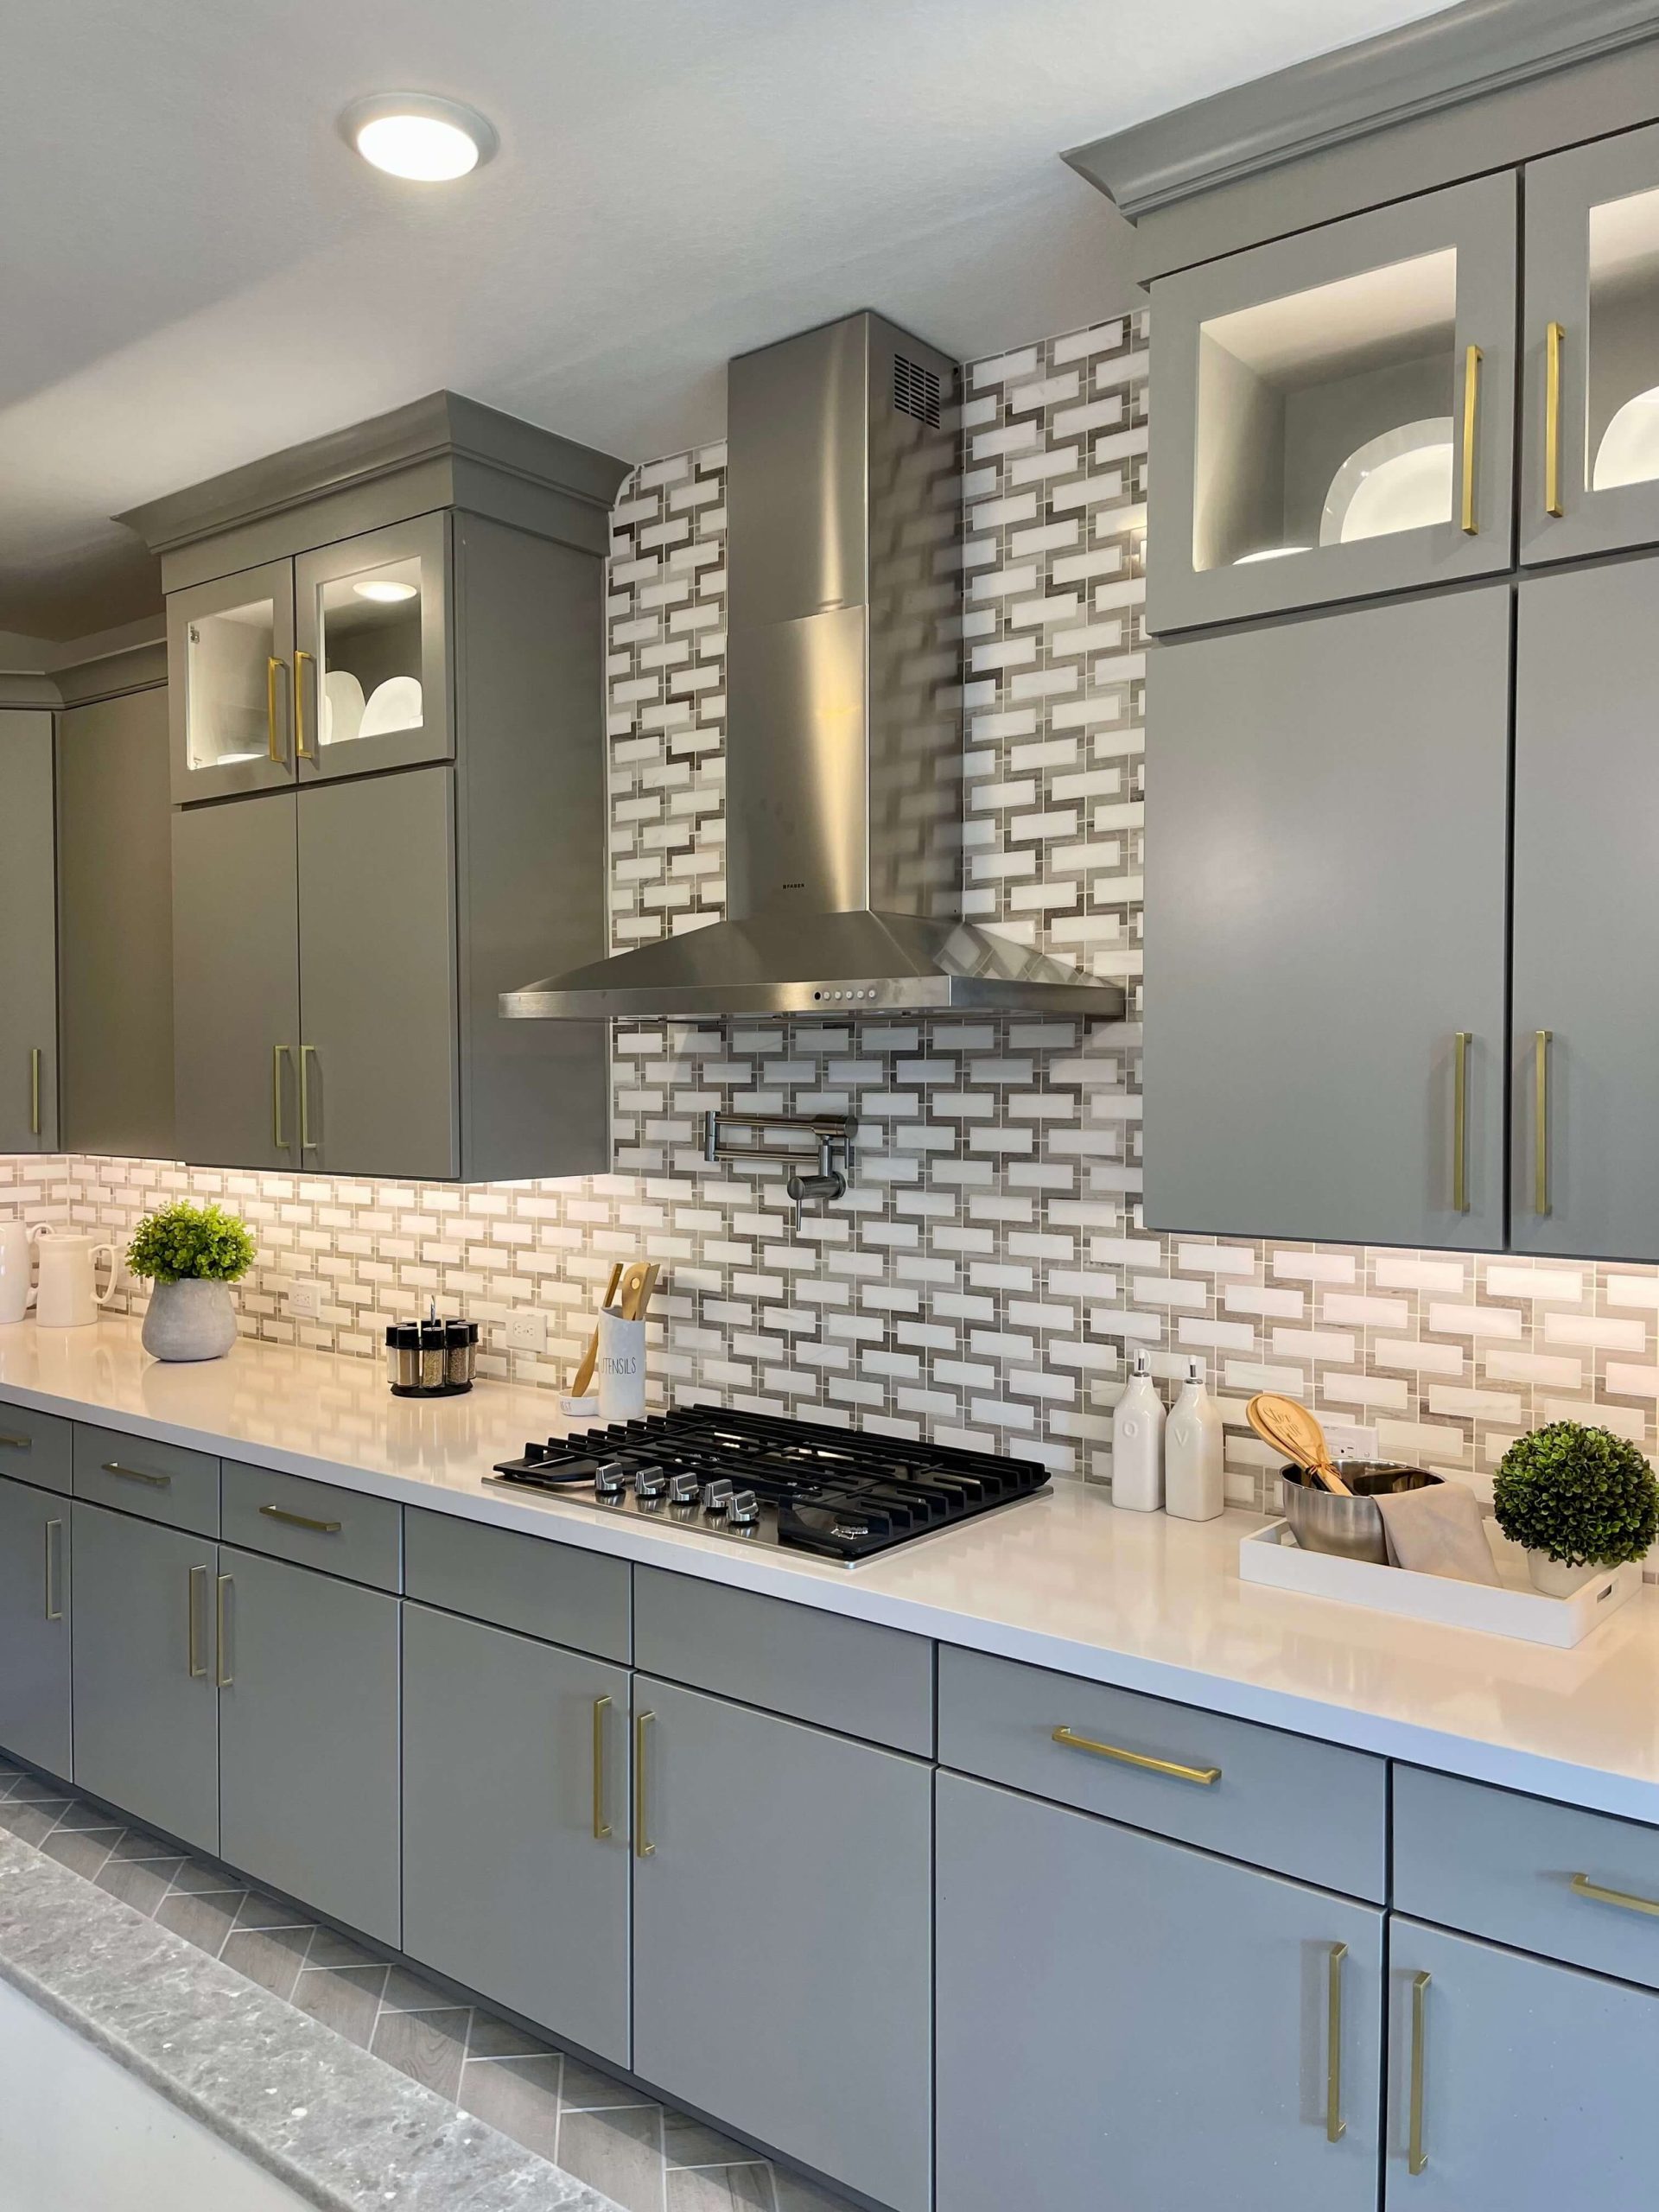
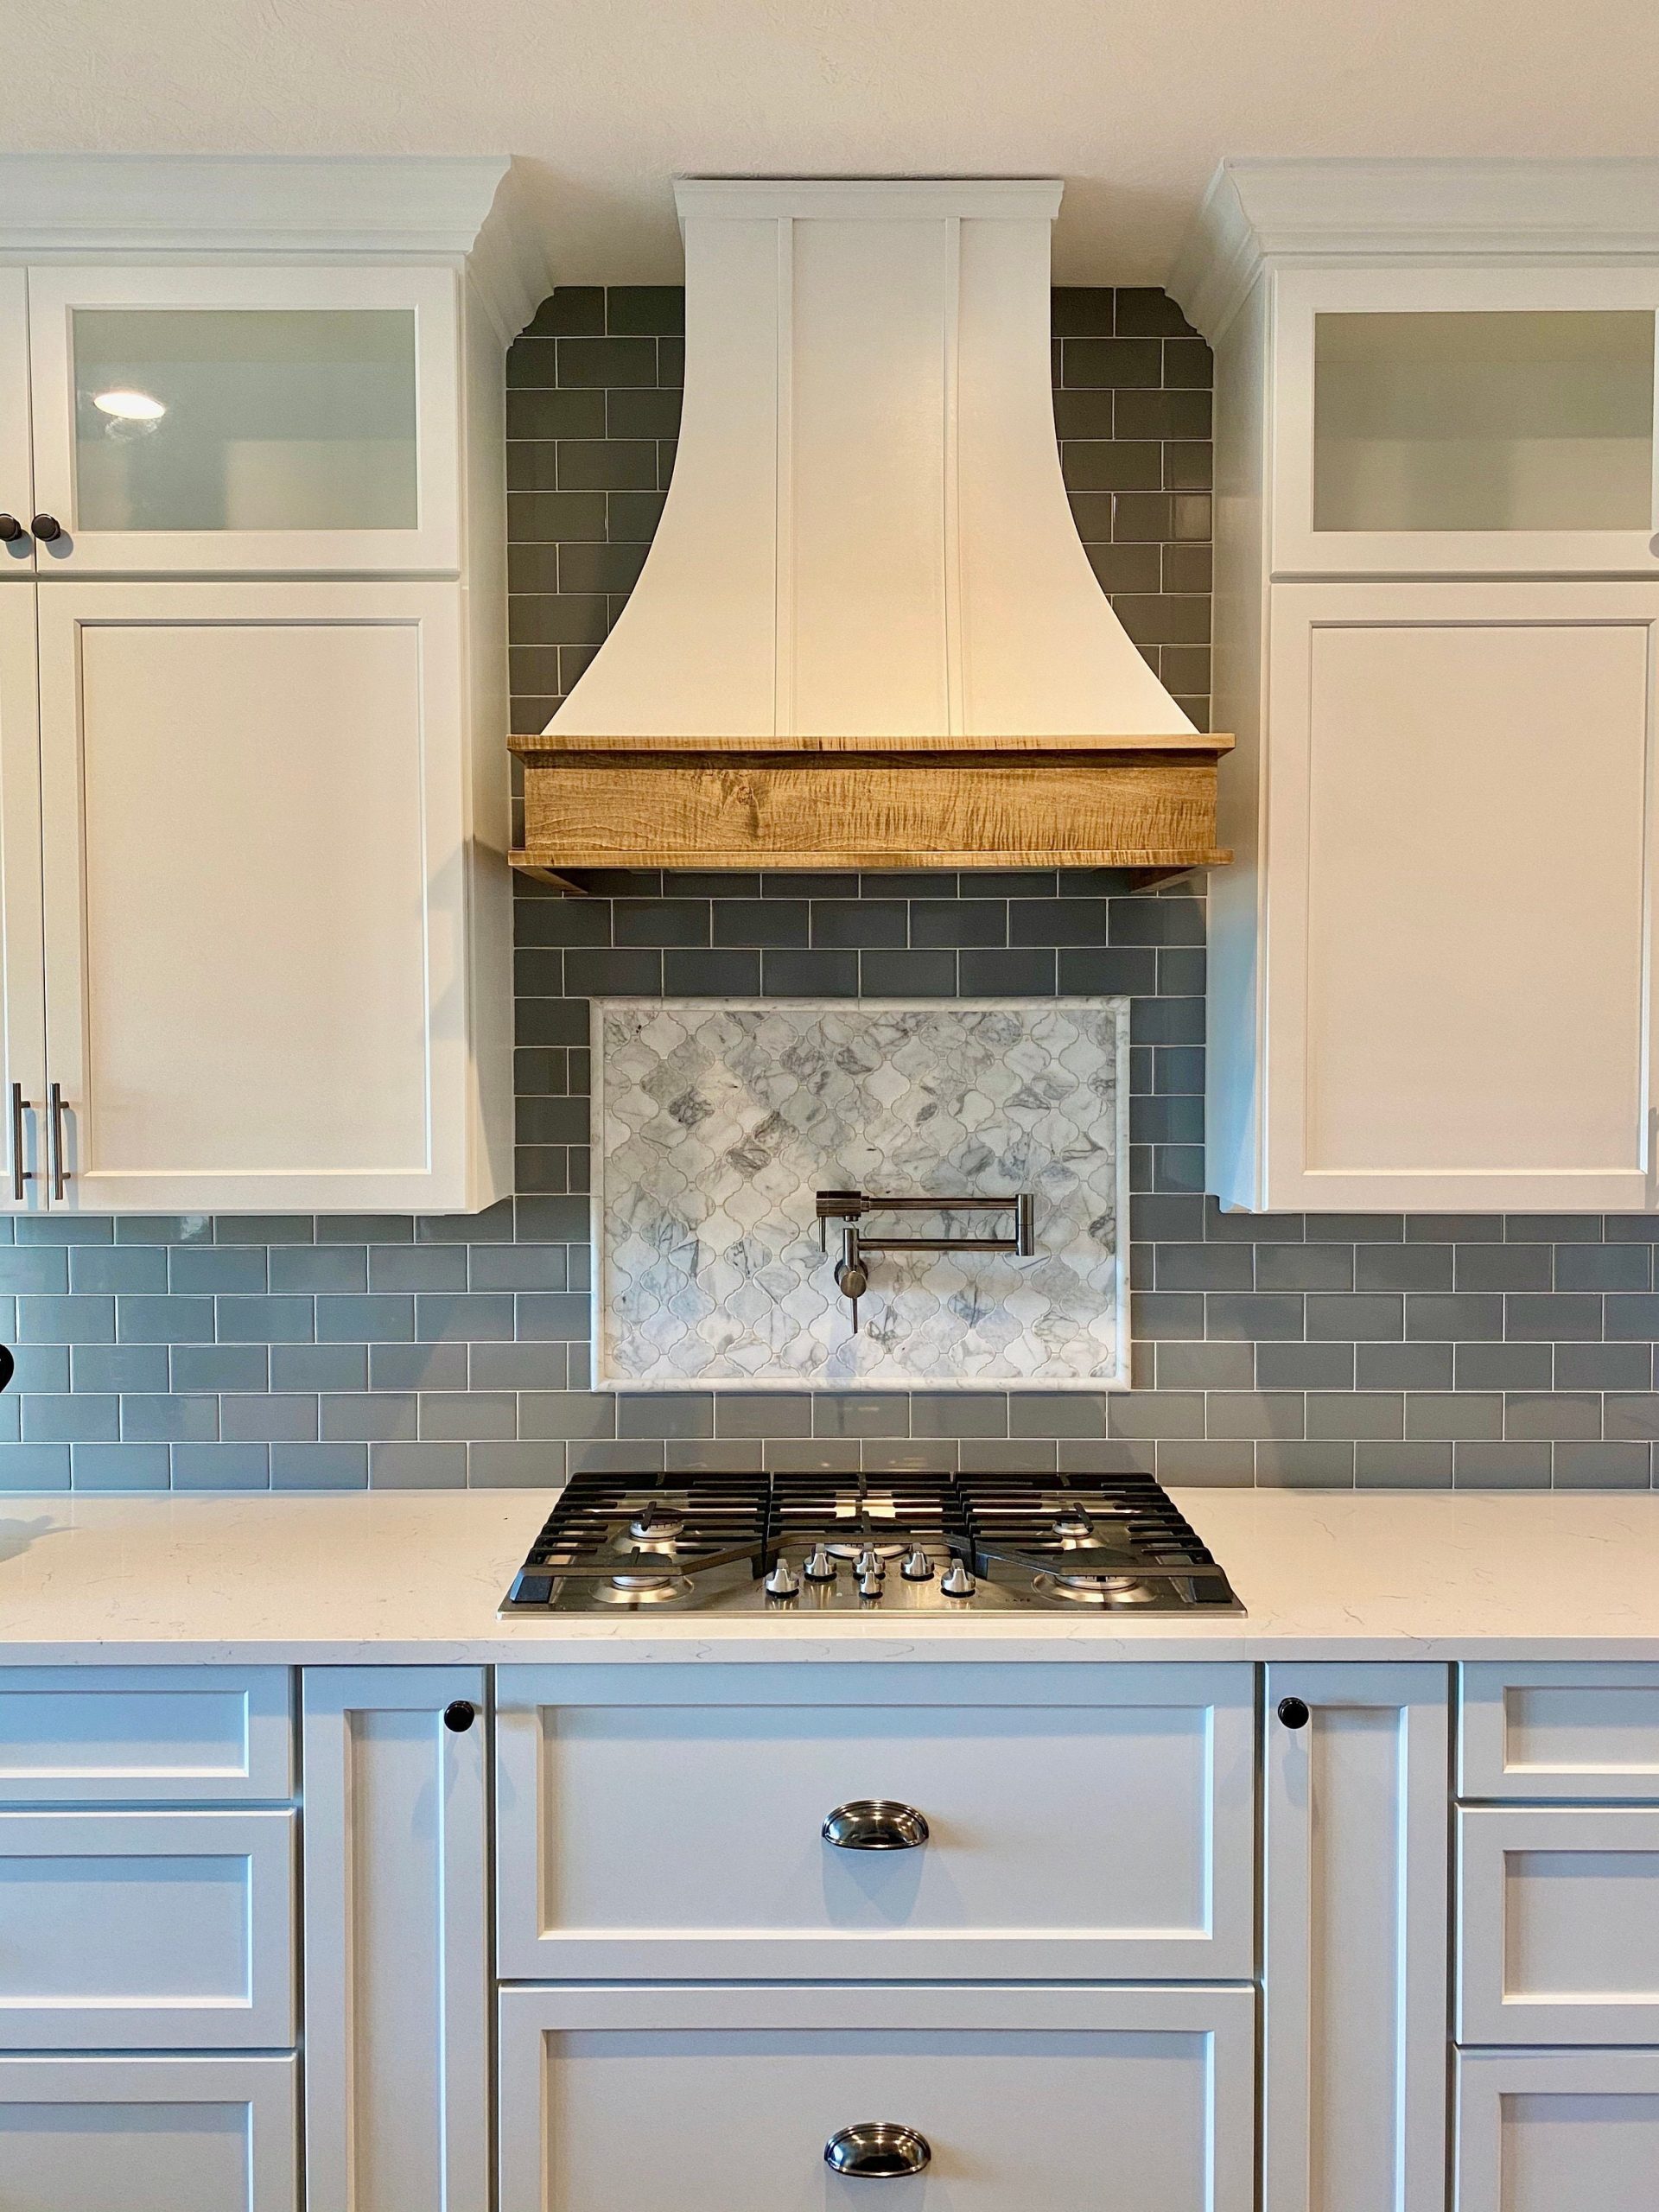
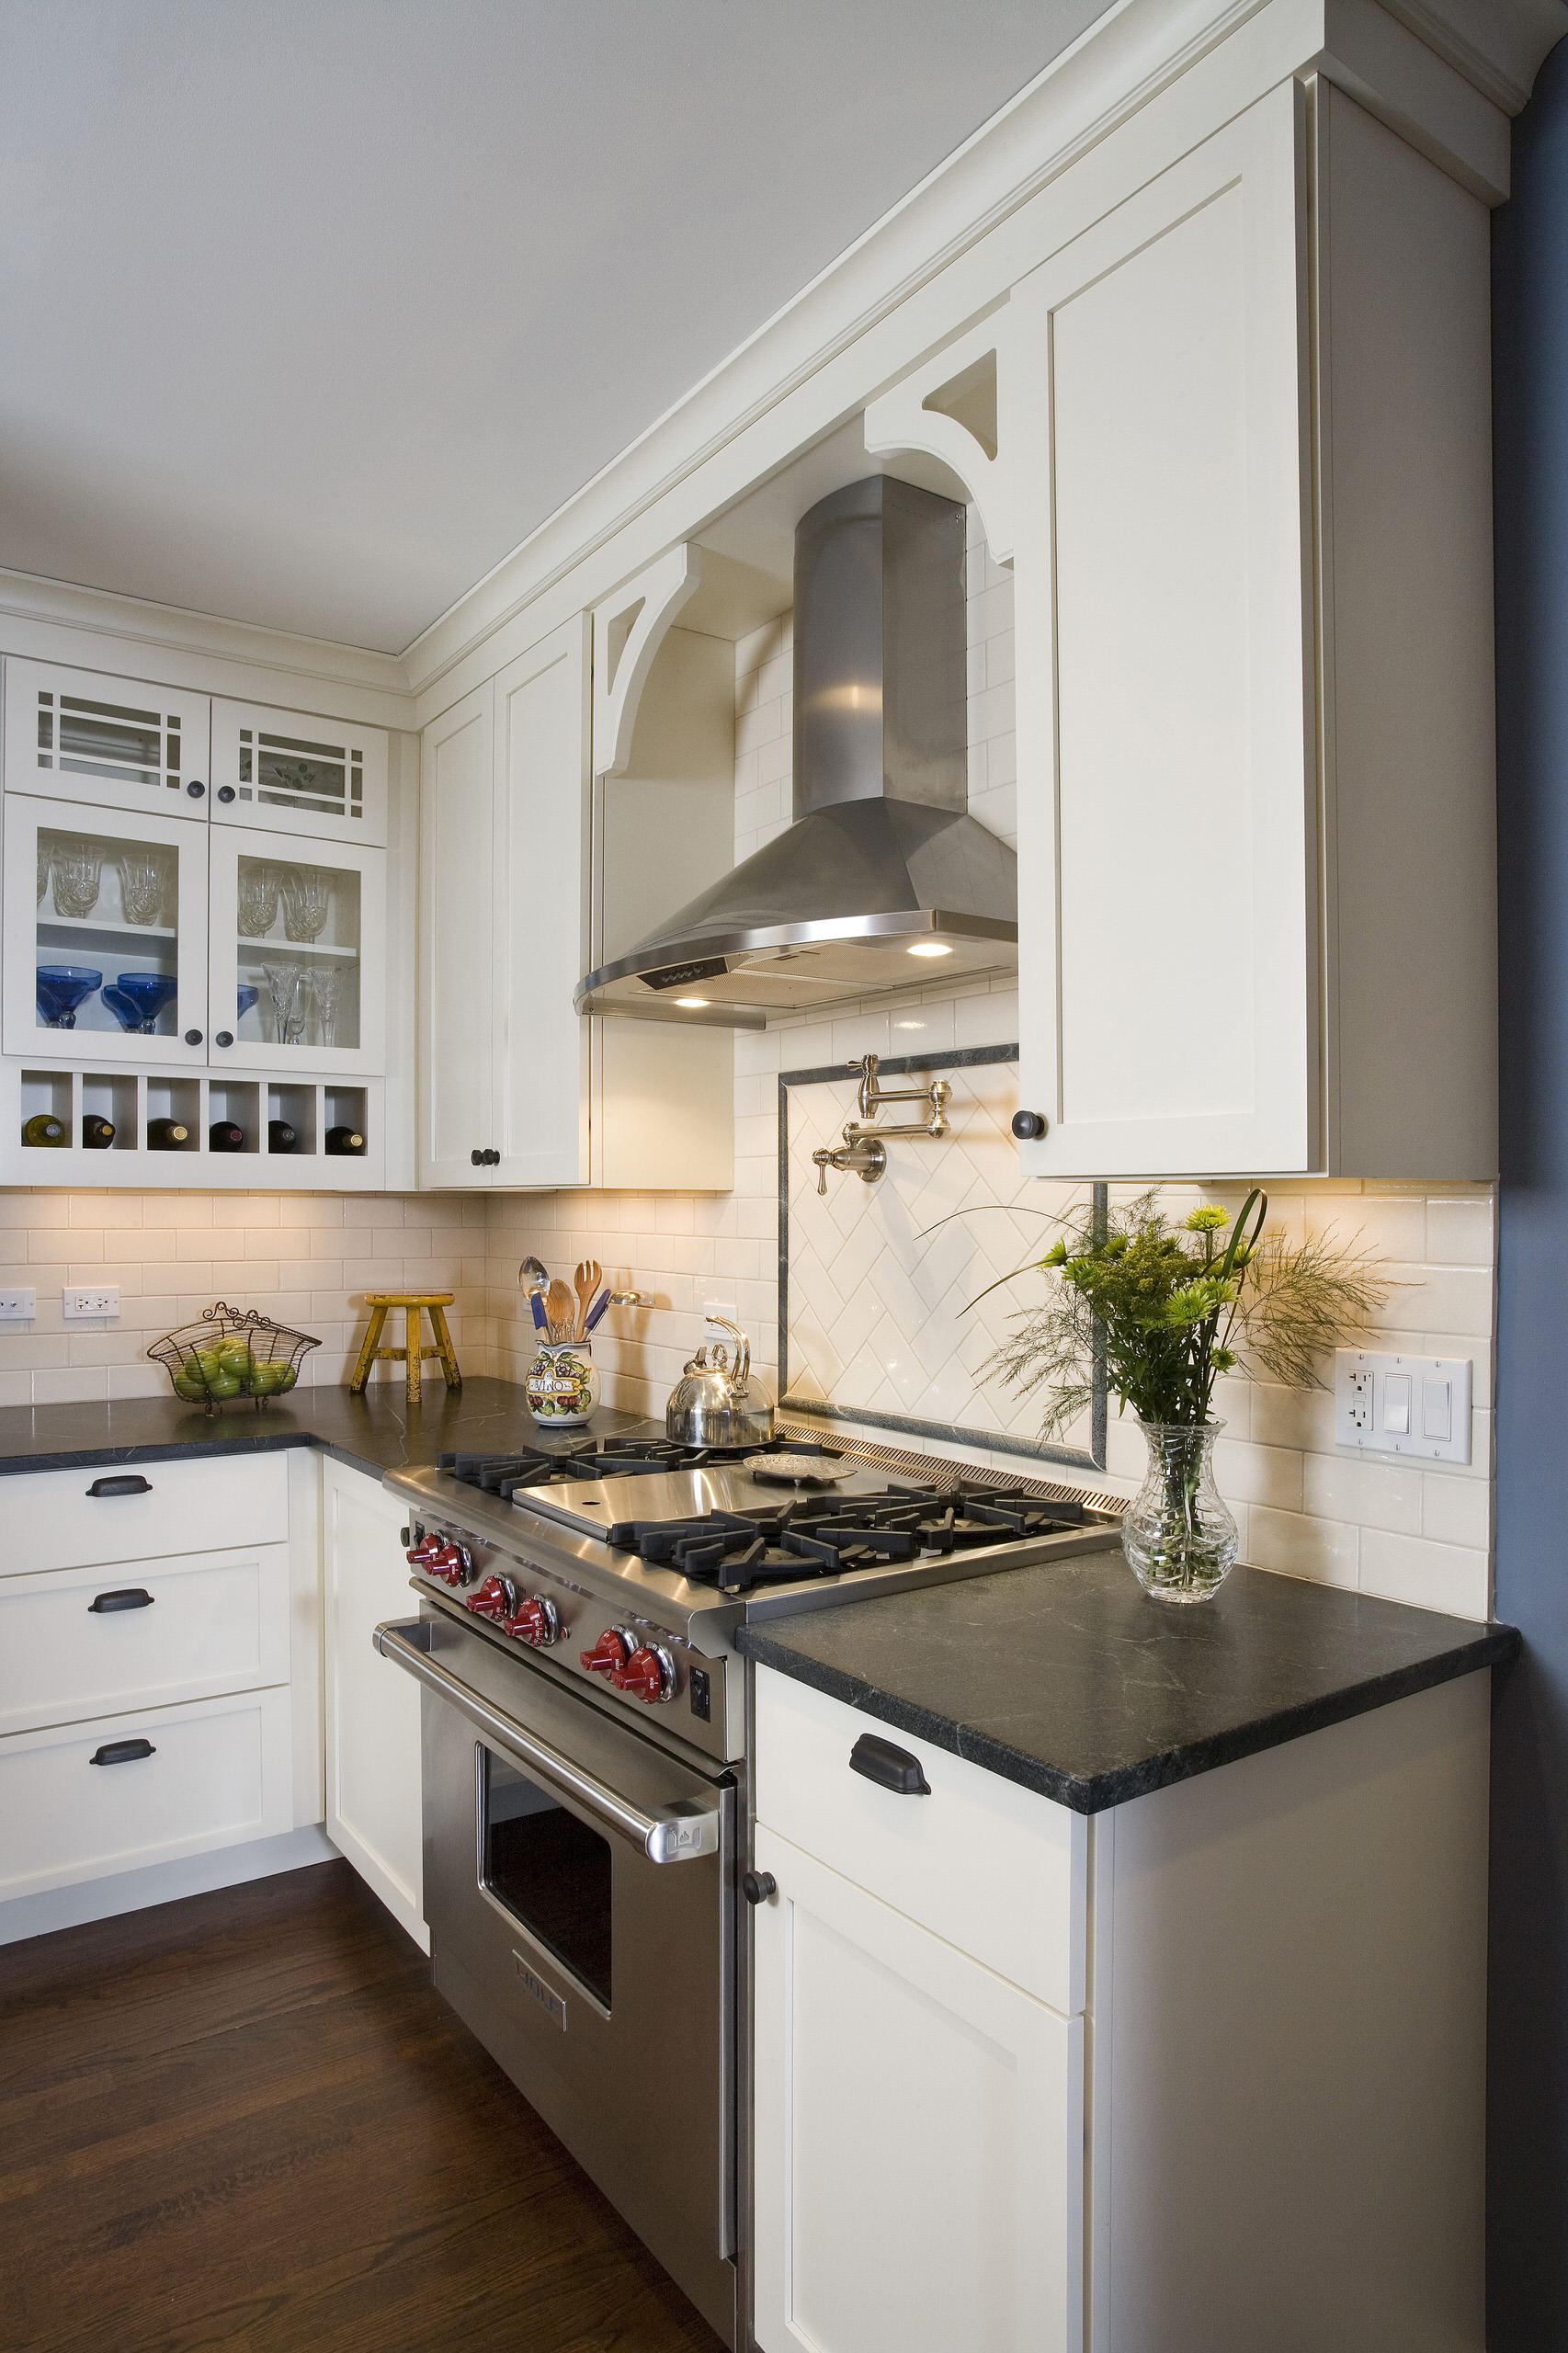
- Pattern and layout: Decide on a tile pattern and layout that suits your aesthetic preferences. Options range from classic subway tiles and geometric patterns to intricate mosaic designs and hand-painted motifs.
2. Material Selection:
When selecting materials for your tiled range hood, consider both aesthetic appeal and practicality:
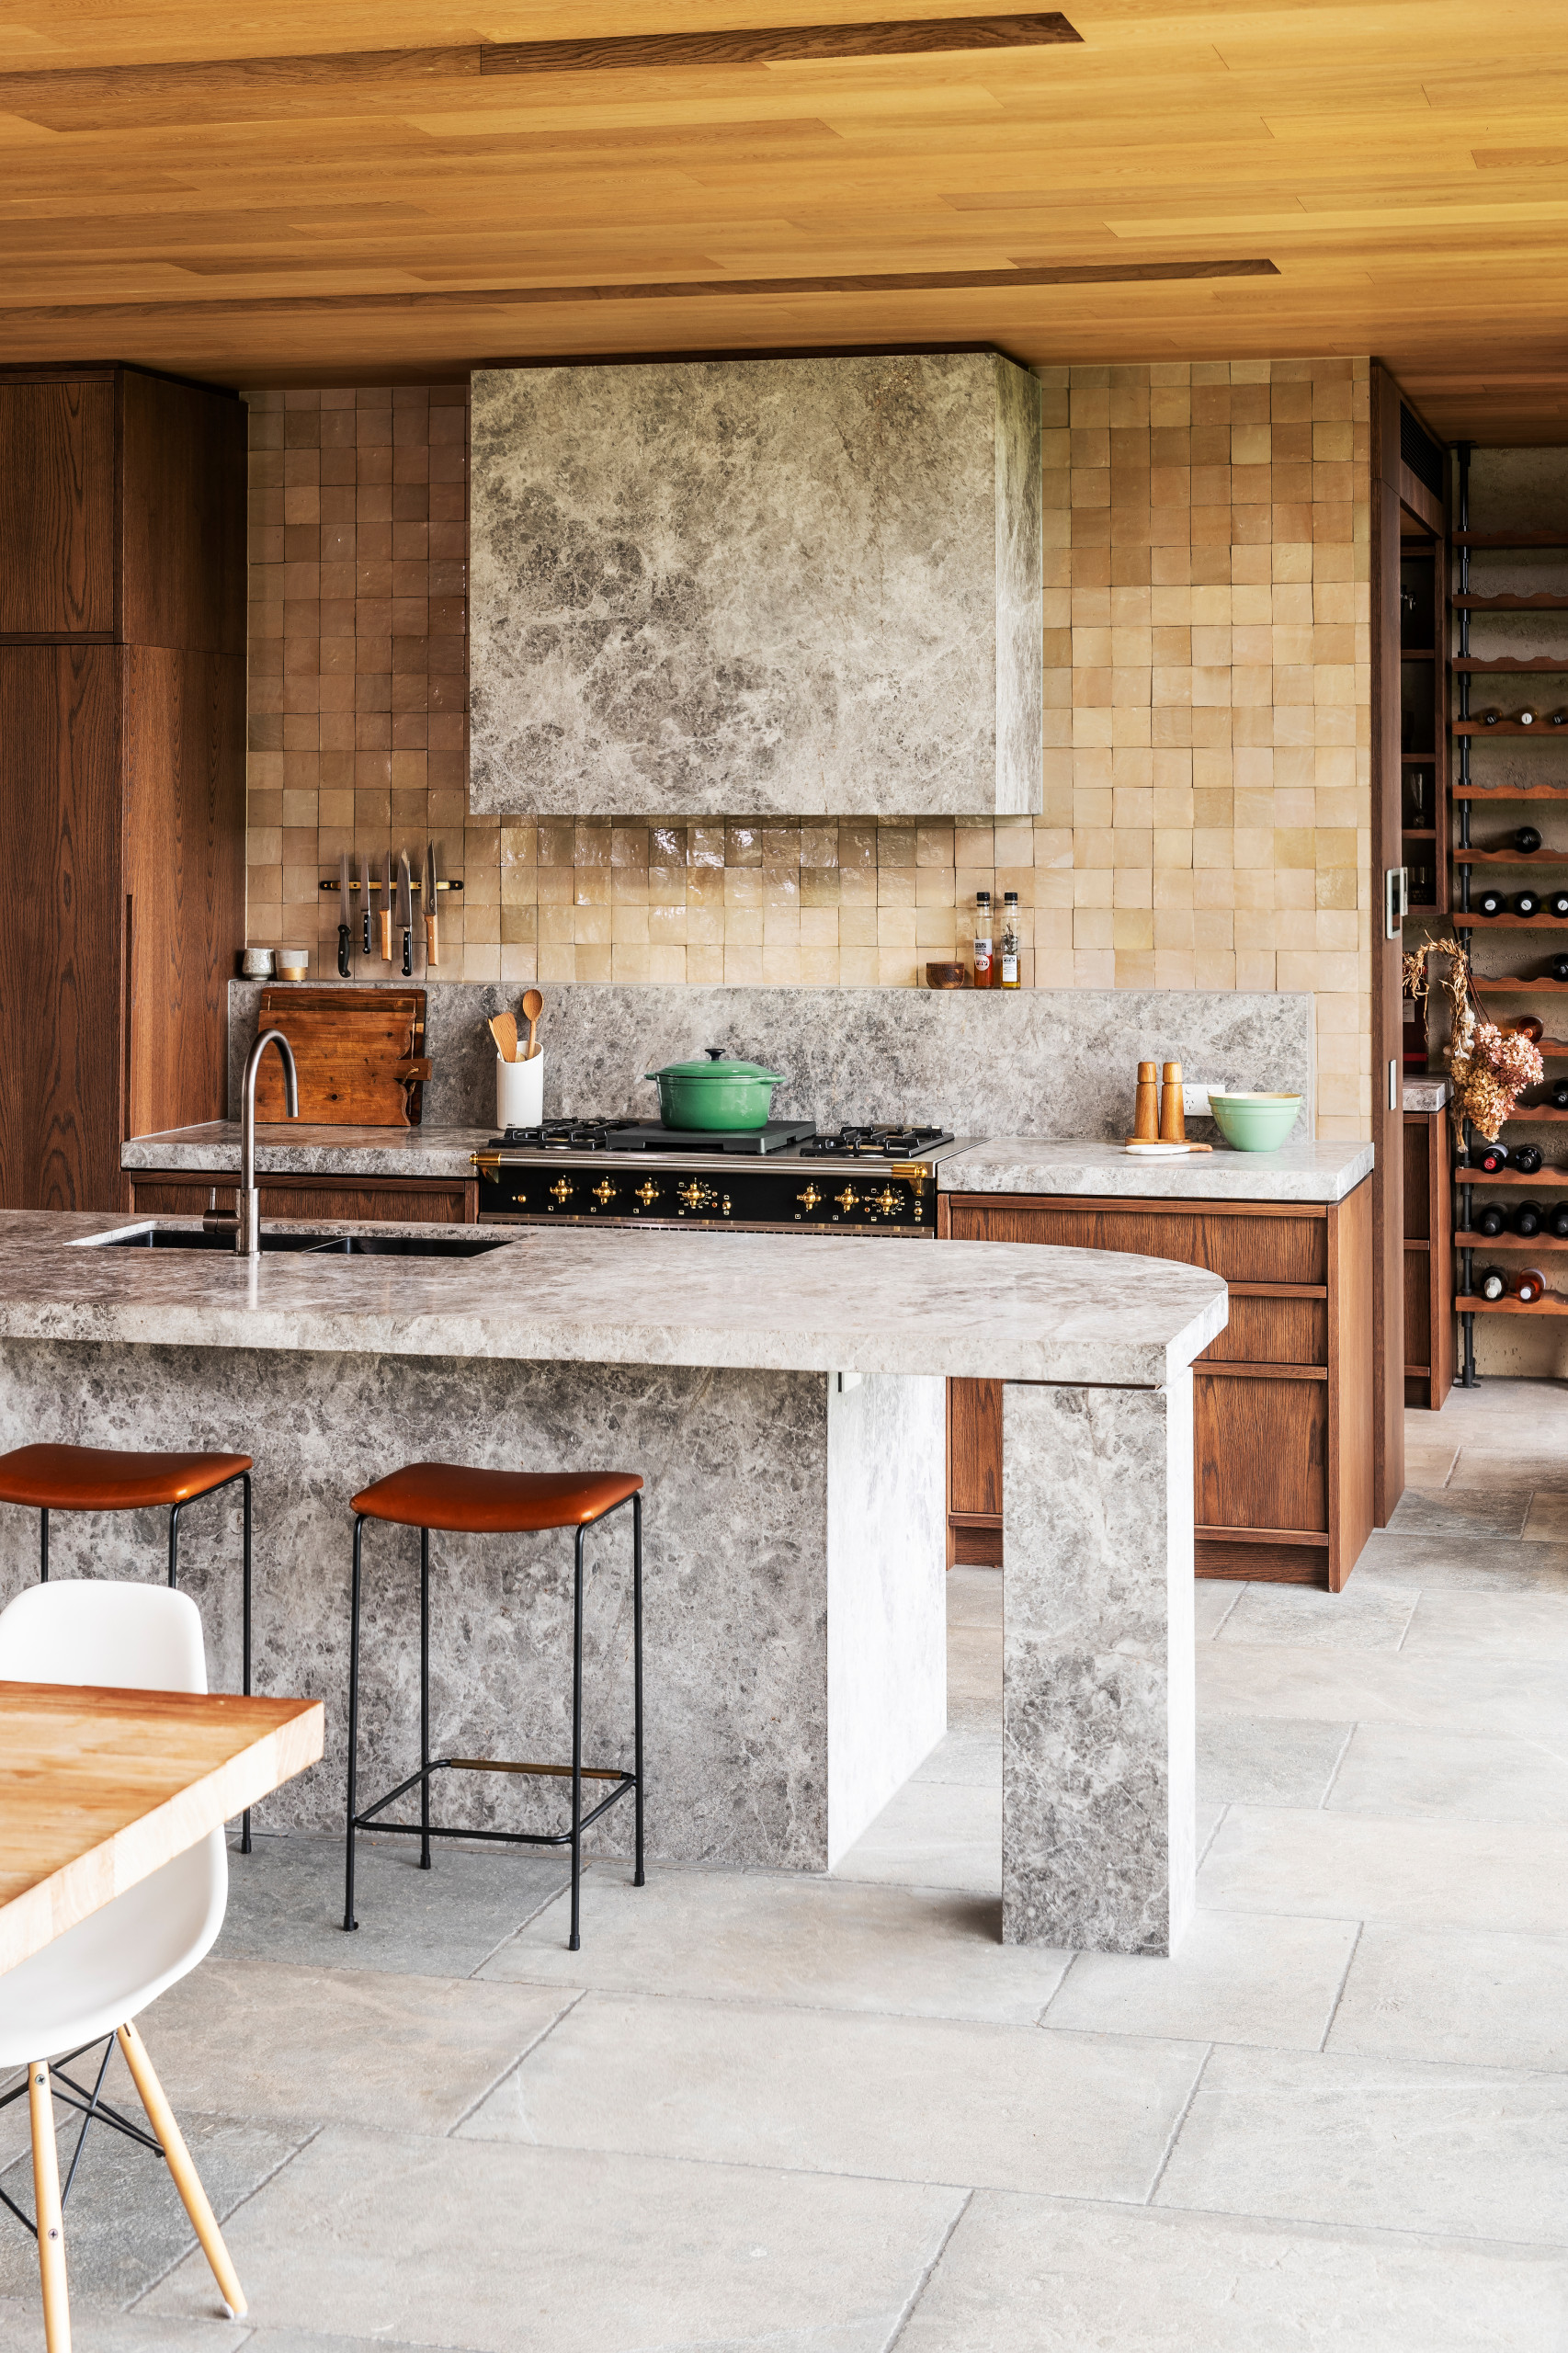
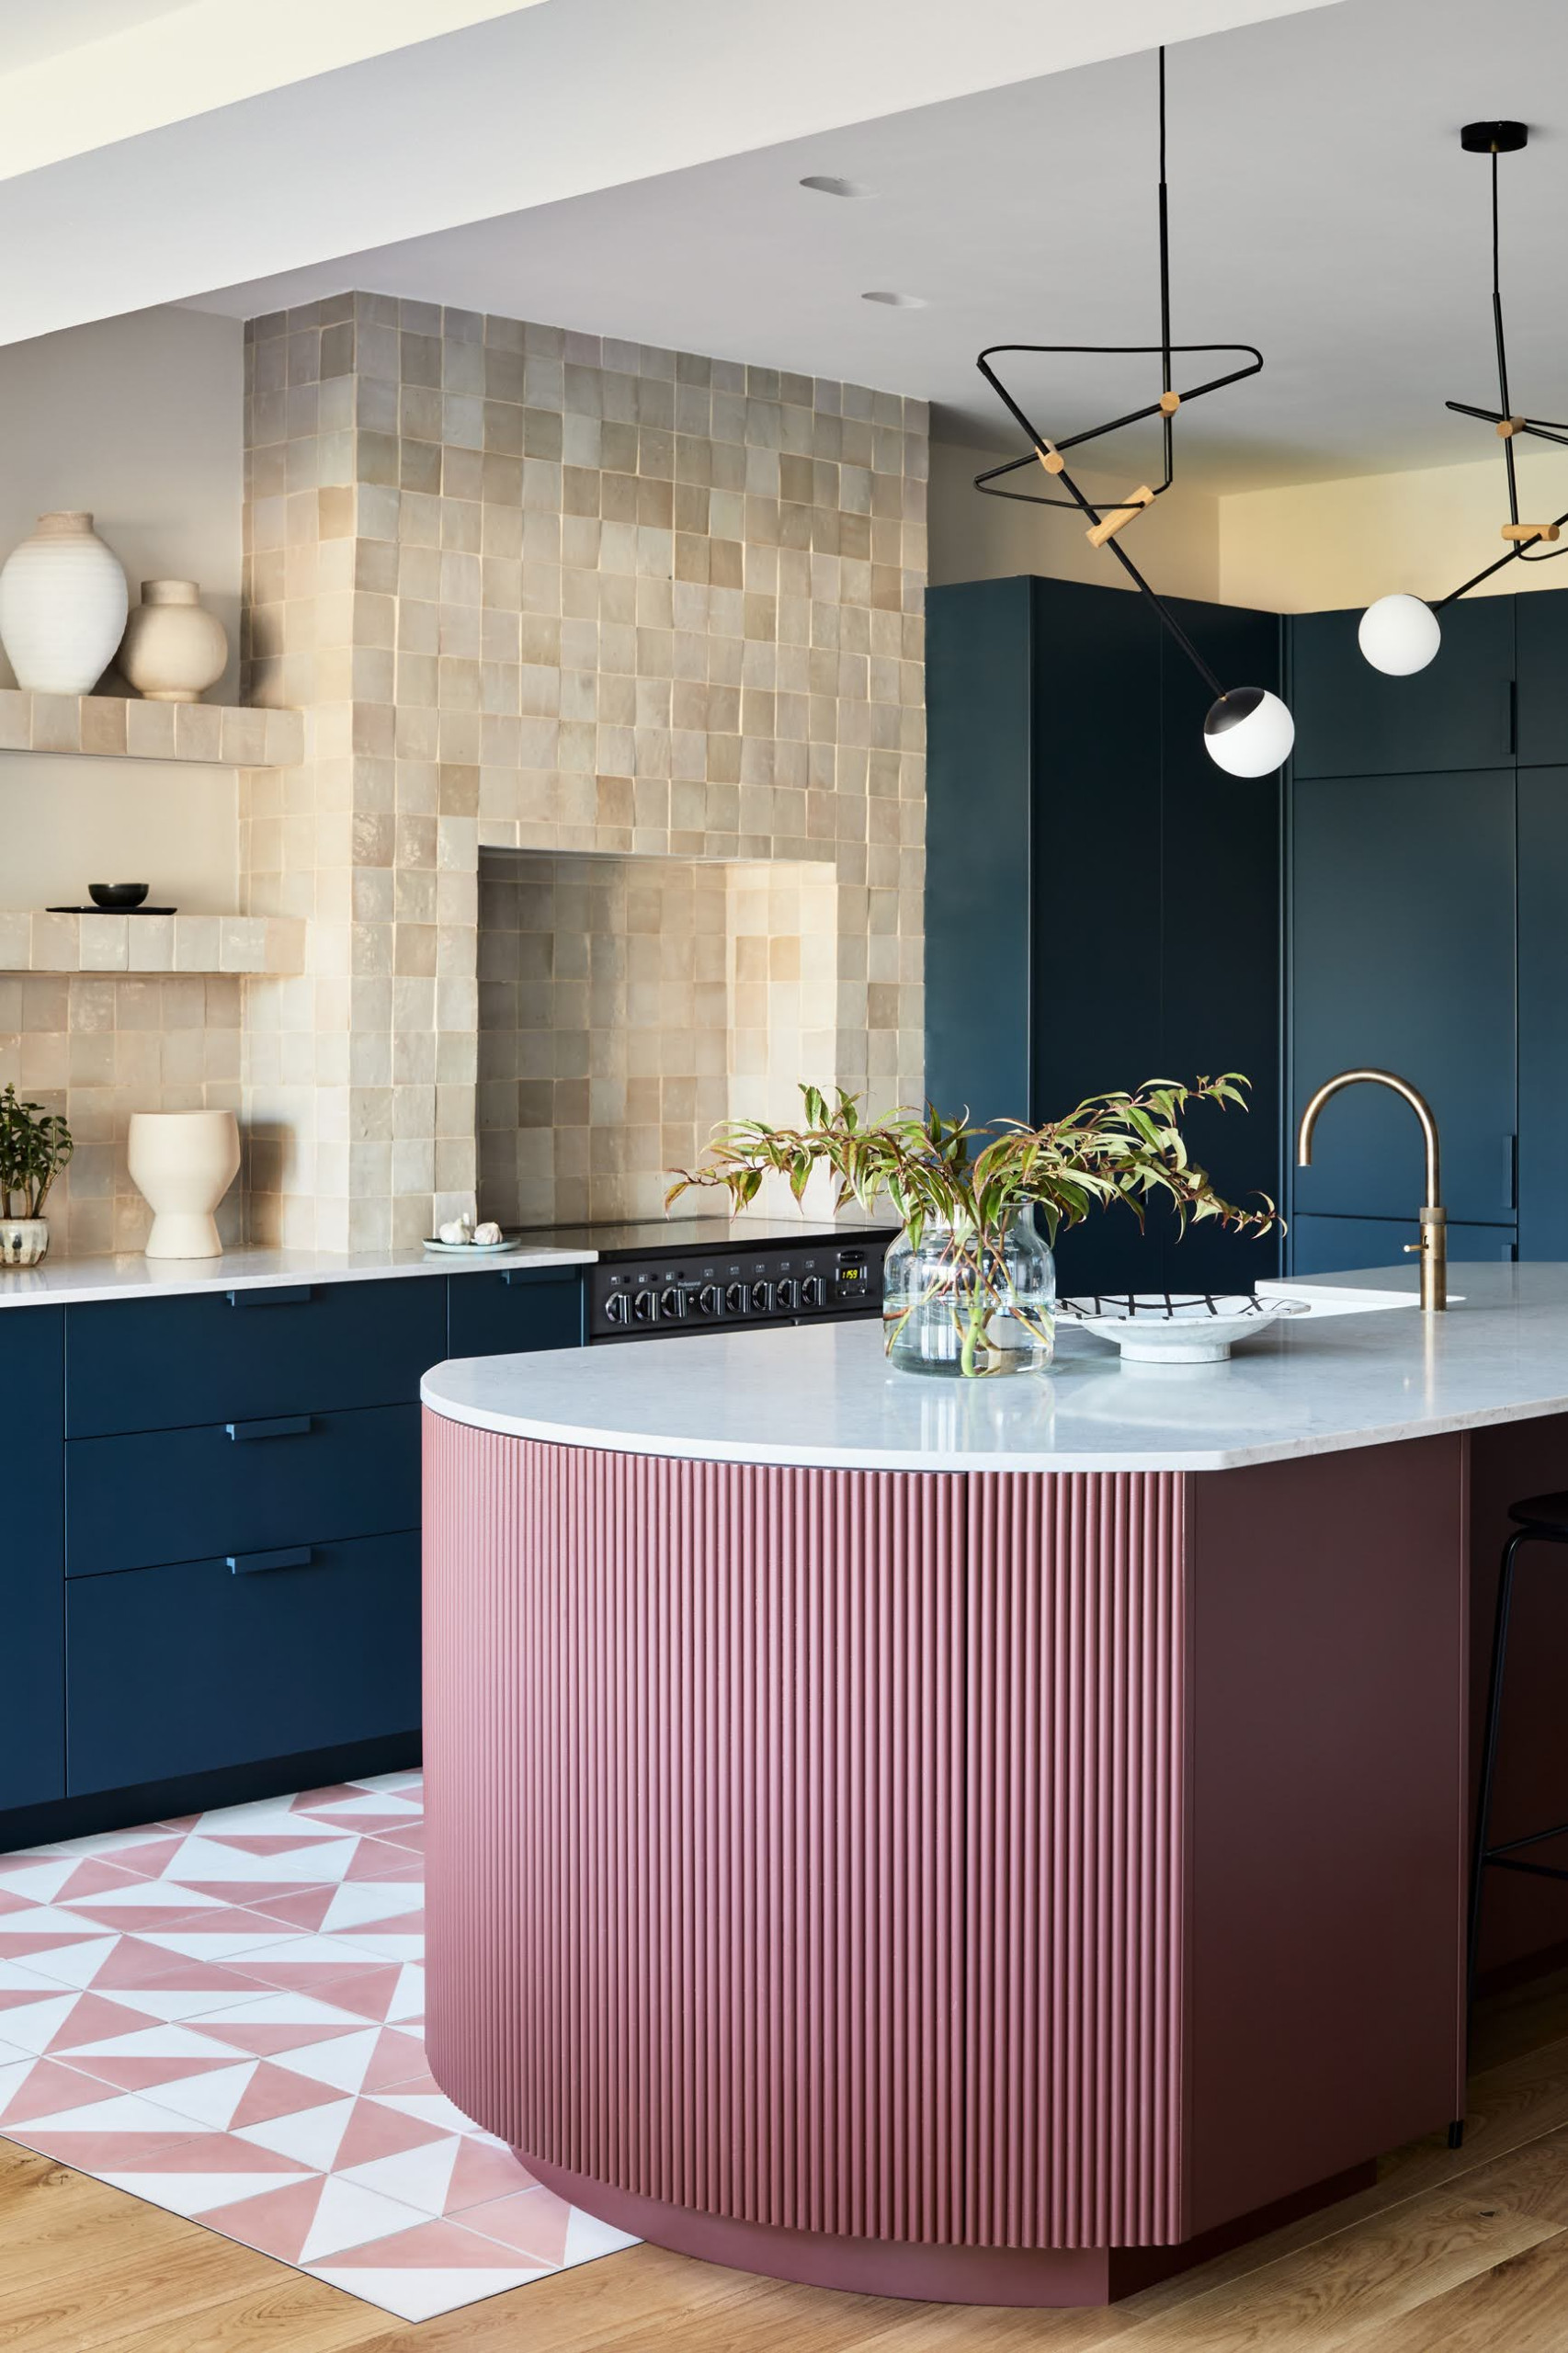
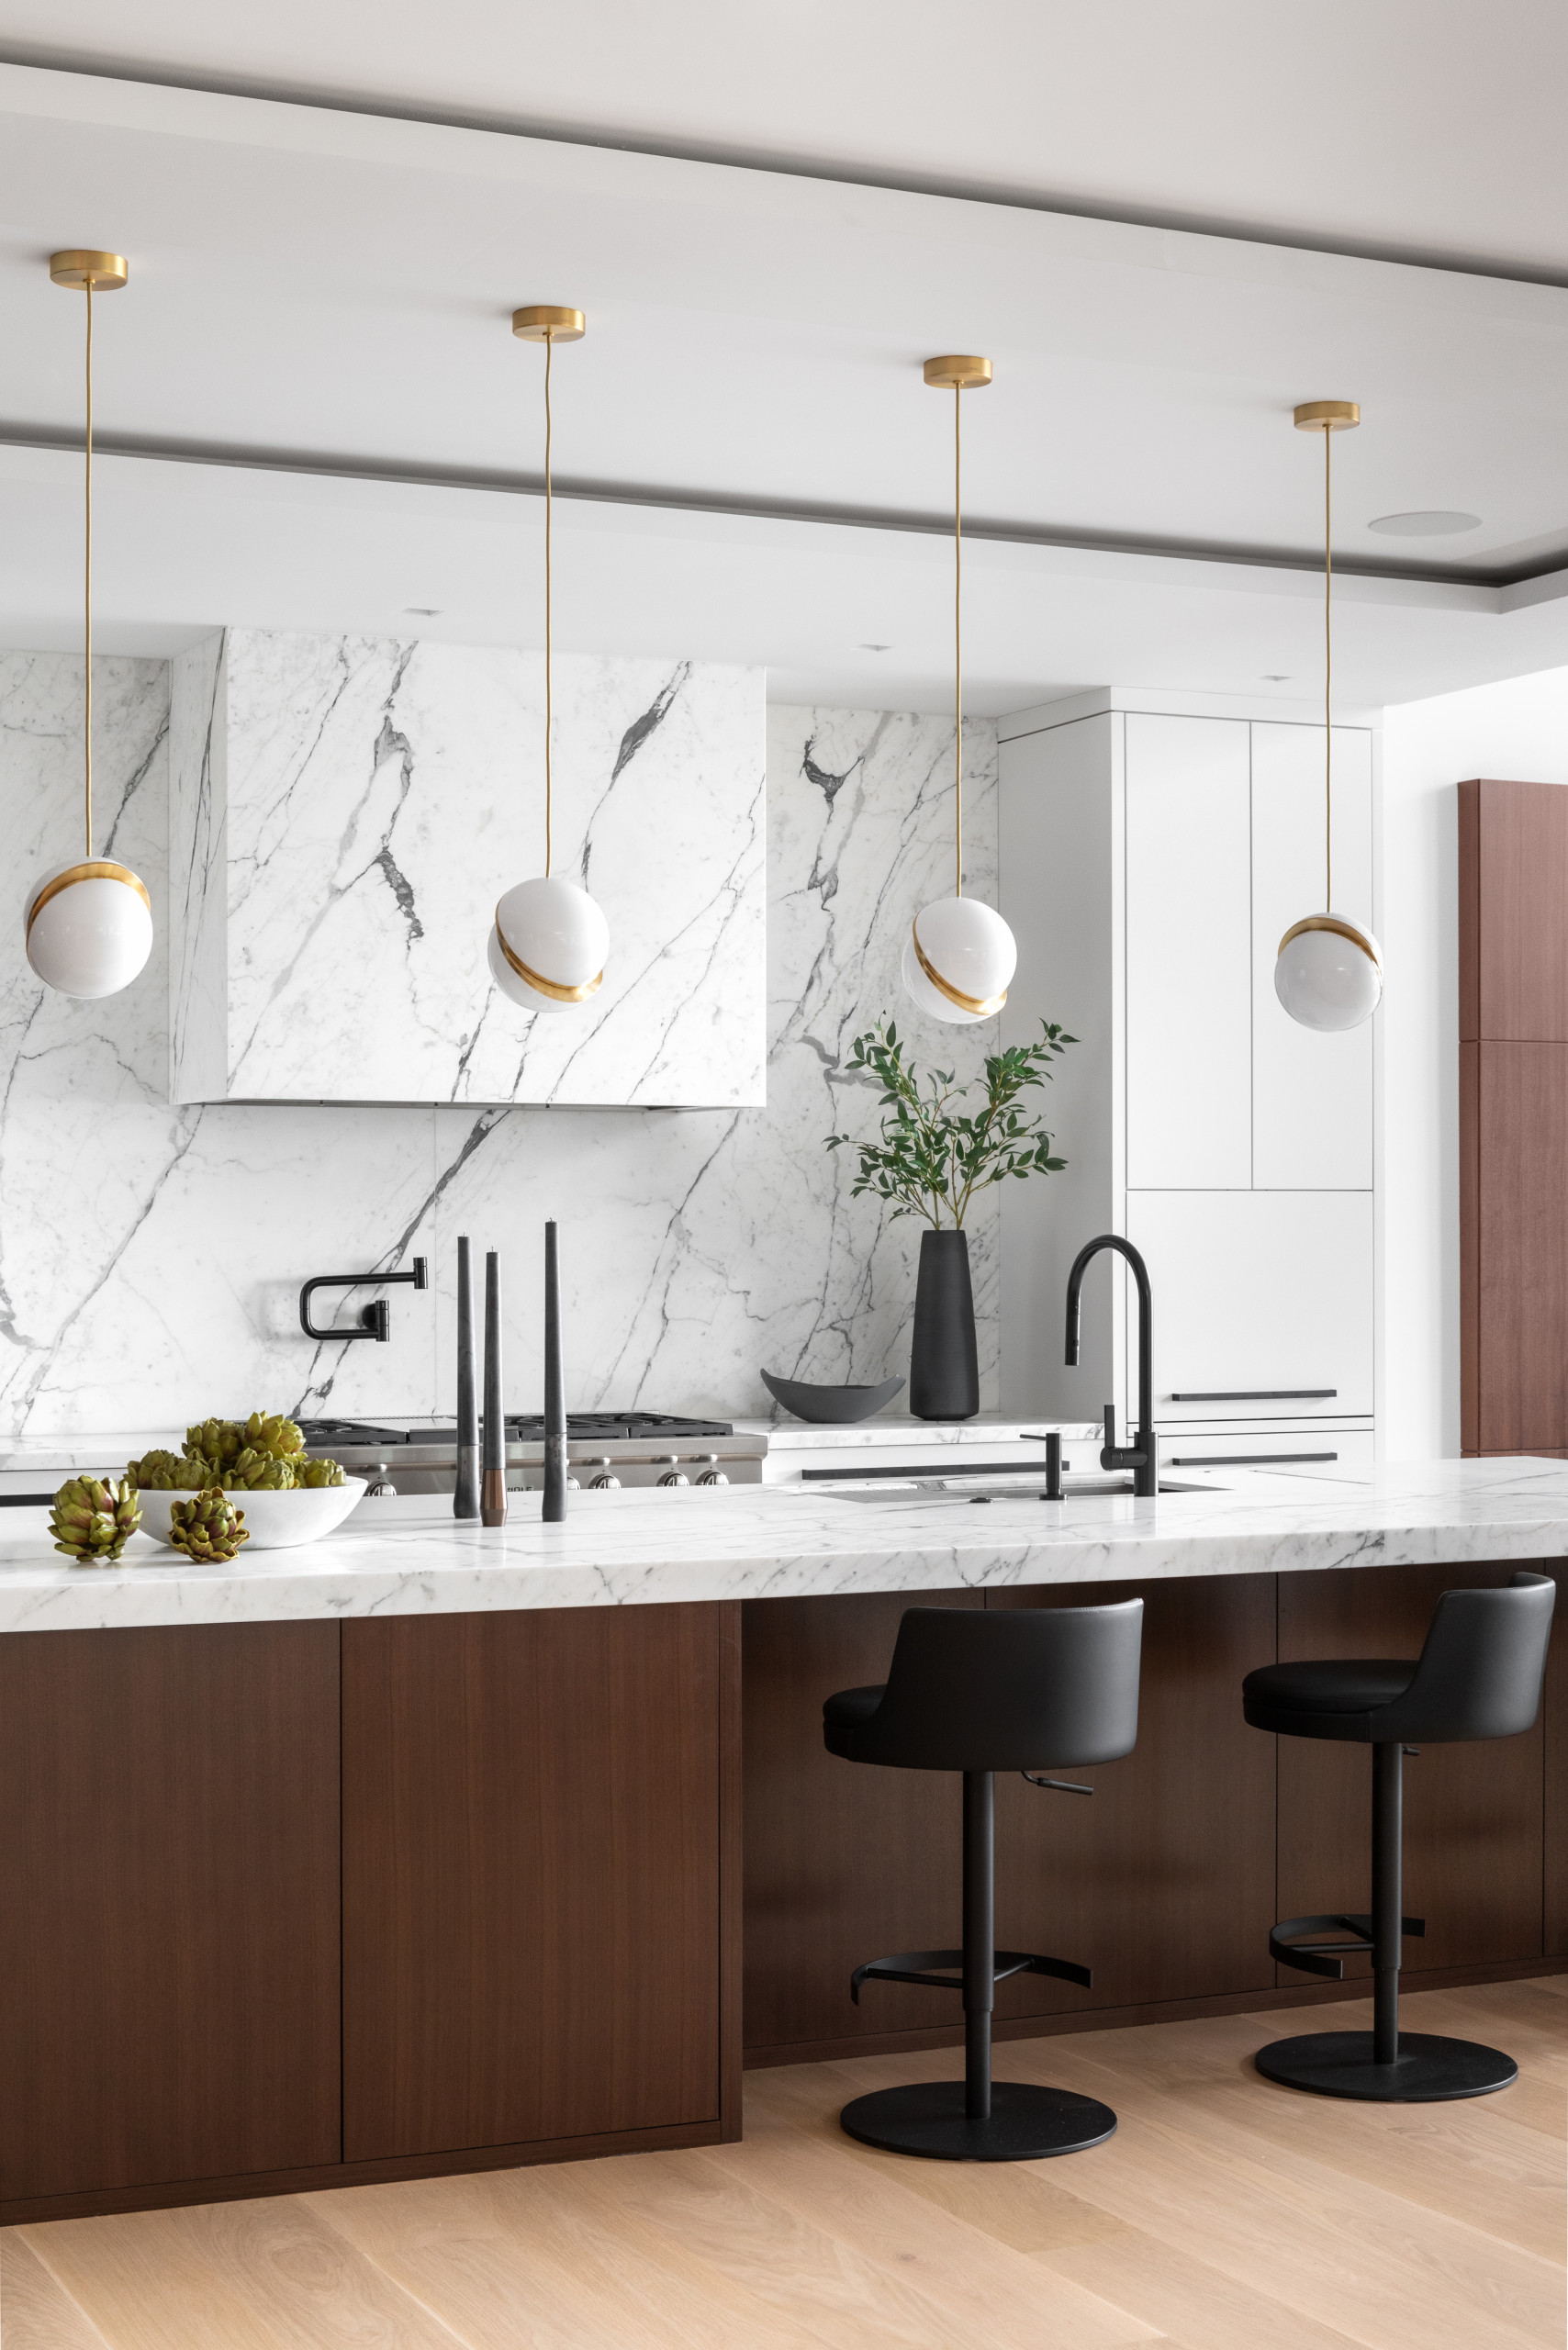
- Tiles: Opt for durable and easy-to-clean tile materials such as ceramic, porcelain, glass, or natural stone. Each material offers unique characteristics in terms of color, texture, and maintenance requirements.
- Grout: Choose grout that complements the tile color and provides a cohesive finish. Select a high-quality grout that is resistant to stains, moisture, and cracking for long-lasting durability.
- Substrate: Ensure the substrate (such as plywood or cement board) is suitable for tiling and capable of supporting the weight of the tiles. Proper substrate preparation is crucial for a stable and secure installation.
3. Installation Techniques:
Proper installation is key to achieving a professional-looking tiled range hood. Follow these steps for successful installation:
- Prepare the surface: Clean and prime the substrate to ensure proper adhesion of the tiles and grout. Use a level to ensure the surface is flat and even.
- Cut tiles to size: Measure and cut tiles to fit around the perimeter of the range hood and any protruding features such as vents or shelves. Use a tile cutter or wet saw for precise cuts.
- Apply adhesive: Use a suitable tile adhesive to adhere the tiles to the substrate, following the manufacturer’s instructions. Work in small sections to prevent the adhesive from drying out prematurely.
- Set tiles in place: Press each tile firmly into the adhesive, ensuring uniform spacing between tiles. Use tile spacers to maintain consistent grout lines.
- Grout the tiles: Once the adhesive has cured, apply grout to the joints between the tiles using a grout float. Remove excess grout with a damp sponge, then buff the tiles with a clean cloth once the grout has dried.
4. Finishing Touches and Maintenance:
After completing the installation, add finishing touches to enhance the appearance and functionality of your tiled range hood:
- Seal the grout: Apply a penetrating sealer to the grout lines to protect against moisture, stains, and mildew. Reapply sealer periodically to maintain optimal protection.
- Install a ventilation system: Ensure proper ventilation by installing a range hood insert or exhaust fan that effectively removes cooking odors, smoke, and grease from the kitchen.
- Regular maintenance: Keep your tiled range hood looking its best by regularly cleaning the tiles and grout with a mild detergent and warm water. Avoid abrasive cleaners or harsh chemicals that may damage the tile surface or grout.
5. Benefits of a Tiled Range Hood:
Investing in a tiled range hood offers numerous benefits beyond aesthetics:
- Heat and moisture resistance: Tiled range hoods are highly resistant to heat, making them ideal for placement above cooktops and ranges. Additionally, the moisture-resistant properties of tiles make them suitable for environments prone to steam and humidity, such as kitchens.
- Customization options: With a tiled range hood, you have virtually limitless customization options. From choosing the tile color, pattern, and layout to incorporating decorative accents and trim pieces, you can create a one-of-a-kind focal point that reflects your personal style.
- Easy maintenance: Tiles are inherently easy to clean and maintain, requiring only regular wiping with a damp cloth or mild cleaning solution to keep them looking pristine. Grout lines may require occasional scrubbing to remove dirt and grime, but overall maintenance is minimal.
- Durability and longevity: Tiled range hoods are built to last, with tiles and grout that withstand daily wear and tear, heat exposure, and moisture. When properly installed and maintained, a tiled range hood can maintain its beauty and functionality for many years.
- Enhanced resale value: A beautifully designed and well-maintained tiled range hood can increase the resale value of your home by enhancing the overall appeal of the kitchen. Potential buyers are often drawn to stylish and functional features that set a home apart from others on the market.
6. Inspiration and Design Ideas:
Looking for inspiration to kickstart your tiled range hood project? Consider the following design ideas:
- Classic subway tiles: Create a timeless look with white subway tiles arranged in a traditional brick pattern. Pair with a contrasting grout color for added visual interest.
- Bold mosaic accents: Add a pop of color and personality to your range hood with mosaic tile accents or borders. Choose vibrant hues or intricate patterns to make a statement.
- Natural stone elegance: Embrace the beauty of natural stone tiles such as marble, travertine, or slate for a luxurious yet earthy aesthetic. Opt for a polished or honed finish to suit your preferred style.
- Geometric patterns: Experiment with geometric tile patterns such as hexagons, chevrons, or herringbone for a modern and dynamic look. Mix and match tile shapes and colors for added dimension.
- Hand-painted motifs: Commission a local artist to hand-paint custom motifs or designs directly onto your tiles for a truly unique and personalized touch.
7. Professional Installation vs. DIY:
While DIY installation is possible for those with experience and the necessary tools, hiring a professional tile installer or contractor is often recommended for optimal results. Professional installers have the expertise, tools, and resources to ensure a seamless and durable installation, reducing the risk of errors or complications. Additionally, professional installation may be required for complex designs or specialty materials that require specialized techniques.
Conclusion:
Transforming your kitchen with a stylish tiled range hood is a rewarding project that adds both beauty and functionality to your cooking space. By considering design considerations, selecting suitable materials, following proper installation techniques, and implementing regular maintenance practices, you can create a stunning focal point that enhances the overall ambiance of your kitchen for years to come.