Introduction
A kitchen range hood not only enhances the aesthetic appeal of your cooking space but also plays a vital role in maintaining air quality by effectively ventilating smoke, steam, and odors. Proper installation is crucial to ensure optimal functionality, safety, and a seamless integration with your kitchen design. This comprehensive guide walks you through the professional steps for installing a kitchen range hood, whether you’re a DIY enthusiast or preparing for a professional service.
Preparation and Tools:
Before starting, gather all necessary tools and materials, including a drill, screwdriver set, level, tape measure, voltage tester, cable ties, and possibly a reciprocating saw if ductwork modification is needed. Ensure you have access to electrical wiring and turn off the power supply to the kitchen at the main circuit breaker for safety.
Measure and Plan:
Measure the dimensions of your range hood and mark the exact location on the wall where it will be mounted, ensuring it aligns perfectly above your cooktop or range. Confirm there’s adequate space for the ductwork, typically requiring a straight path to an exterior wall or roof vent.
Assemble the Range Hood (if Required):
Some range hoods come disassembled for easier transportation. Follow the manufacturer’s instructions to assemble the hood before installation.
Mount the Bracket:
Using a stud finder, locate the wall studs where you intend to mount the hood. Mark these points and attach the mounting bracket securely to the studs using screws and a drill. Ensure the bracket is level.
Install Ductwork:
Determine the ducting route – either through an exterior wall or up through the ceiling and out the roof. Use sheet metal ductwork for best performance and minimize bends to reduce airflow resistance. Connect the hood’s exhaust outlet to the ductwork with appropriate clamps or fasteners.
Electrical Wiring:
If your range hood requires a dedicated circuit, consult an electrician or follow local codes. Typically, this involves running a new cable from the circuit breaker to the hood location, connecting the wires according to the manufacturer’s instructions, and securing them with wire nuts. Always ground the hood properly.
Hang the Range Hood:
With assistance, lift the hood onto the mounting bracket and secure it using the provided screws. Ensure all connections are tight and the hood is firmly in place.
Connect Ventilation and Lighting:
Attach the vent pipe to the hood and ductwork connection. If your range hood has built-in lighting, install light bulbs and test the switches.
Seal and Insulate:
Seal any gaps around the ductwork with foil tape or silicone caulk to prevent air leaks and pest intrusion. Insulate duct runs passing through unheated spaces to minimize condensation.
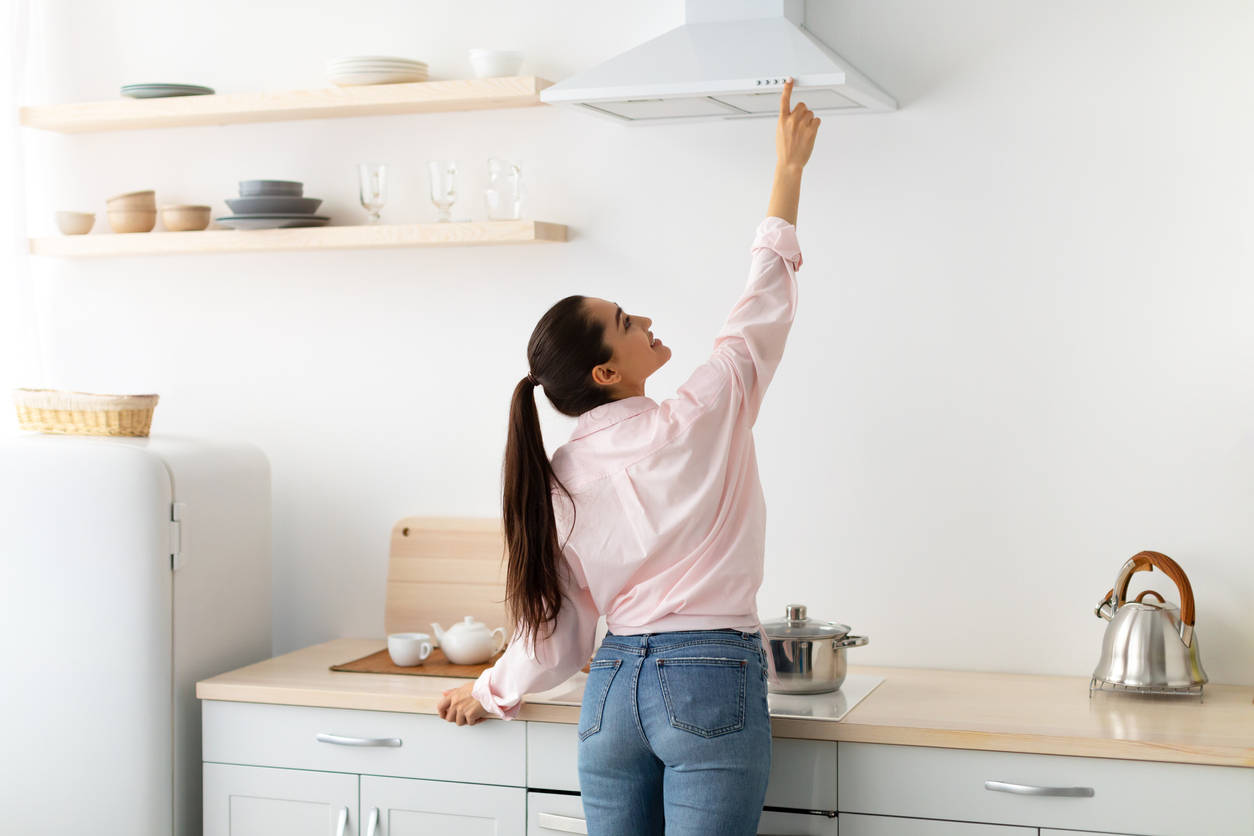
Final Checks and Testing:
Turn the power back on at the circuit breaker and test the range hood’s fan at various speeds, along with the lights and any additional features such as a timer or filter alert. Ensure everything operates smoothly and quietly.
Clean Up and Maintenance:
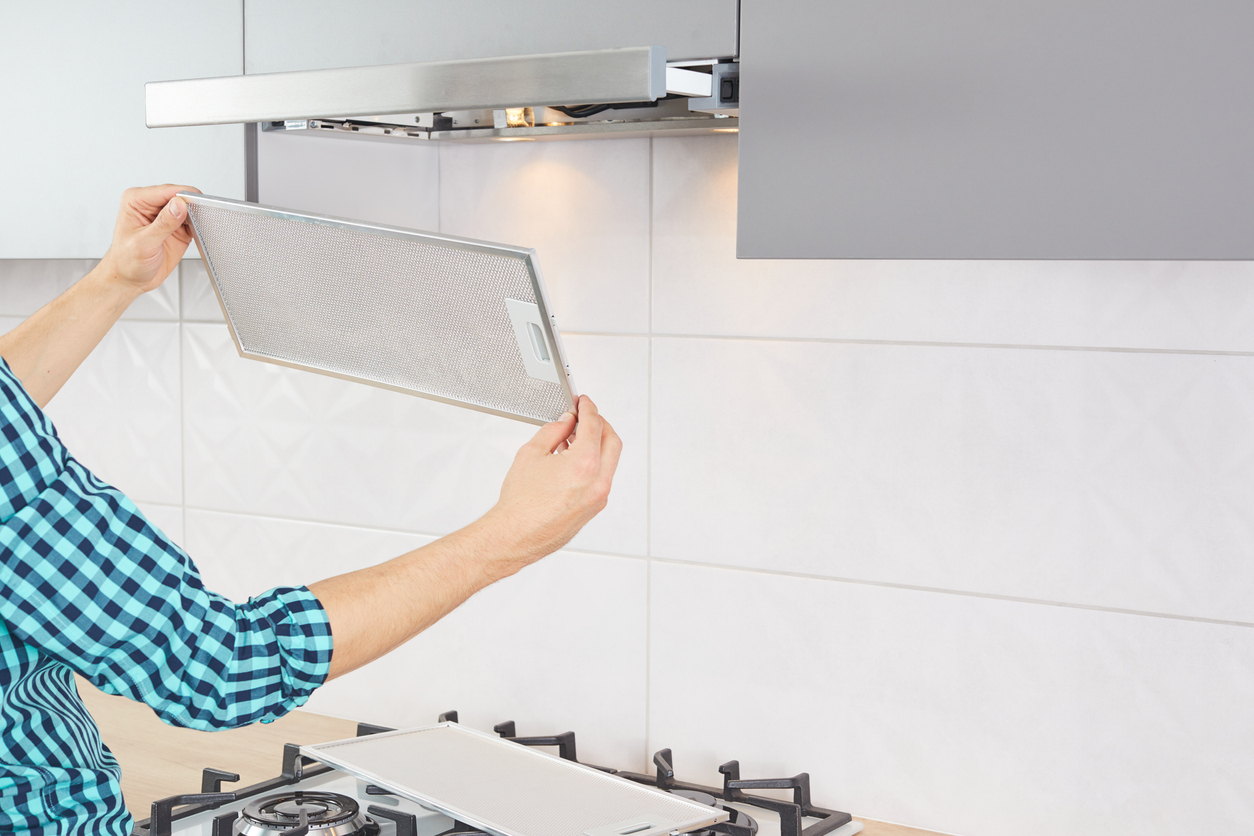
Clean up any debris from the installation process. Familiarize yourself with the manufacturer’s recommended cleaning and maintenance schedule for filters and ductwork to keep your range hood functioning optimally.
Additional Tips and Considerations for Installing a Kitchen Range Hood:
Ventilation Type:
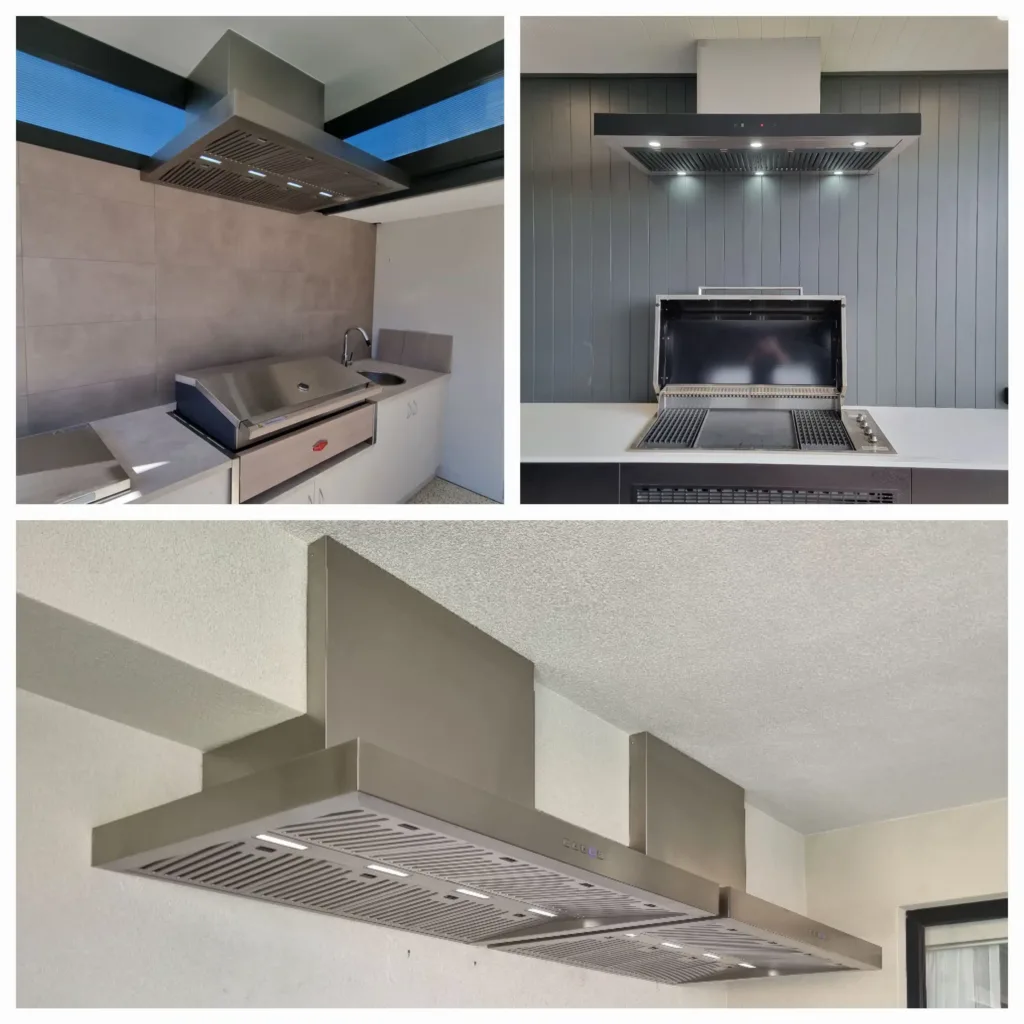
Decide between ducted (external ventilation) and ductless (recirculating) range hoods. Ducted hoods provide better ventilation but require more complex installation, while ductless models are easier to install but less effective in removing pollutants.
Duct Diameter and Length:
The diameter of the ductwork should match the exhaust outlet of your range hood for maximum efficiency. A standard size is 6 inches, but larger hoods may require 8-inch ducts. Keep the duct run as short and straight as possible; longer ducts and numerous bends can reduce airflow.
Makeup Air:
In some jurisdictions, installing a powerful range hood (over a certain CFM—cubic feet per minute—rating) may require makeup air provisions to replace the exhausted air, maintaining proper building pressure and avoiding negative pressure issues.
Noise Level:
Check the sone rating of the range hood, which indicates its noise level during operation. Lower sones mean quieter operation. If noise is a concern, choose a model with sound-dampening technology.
Clearance Requirements:
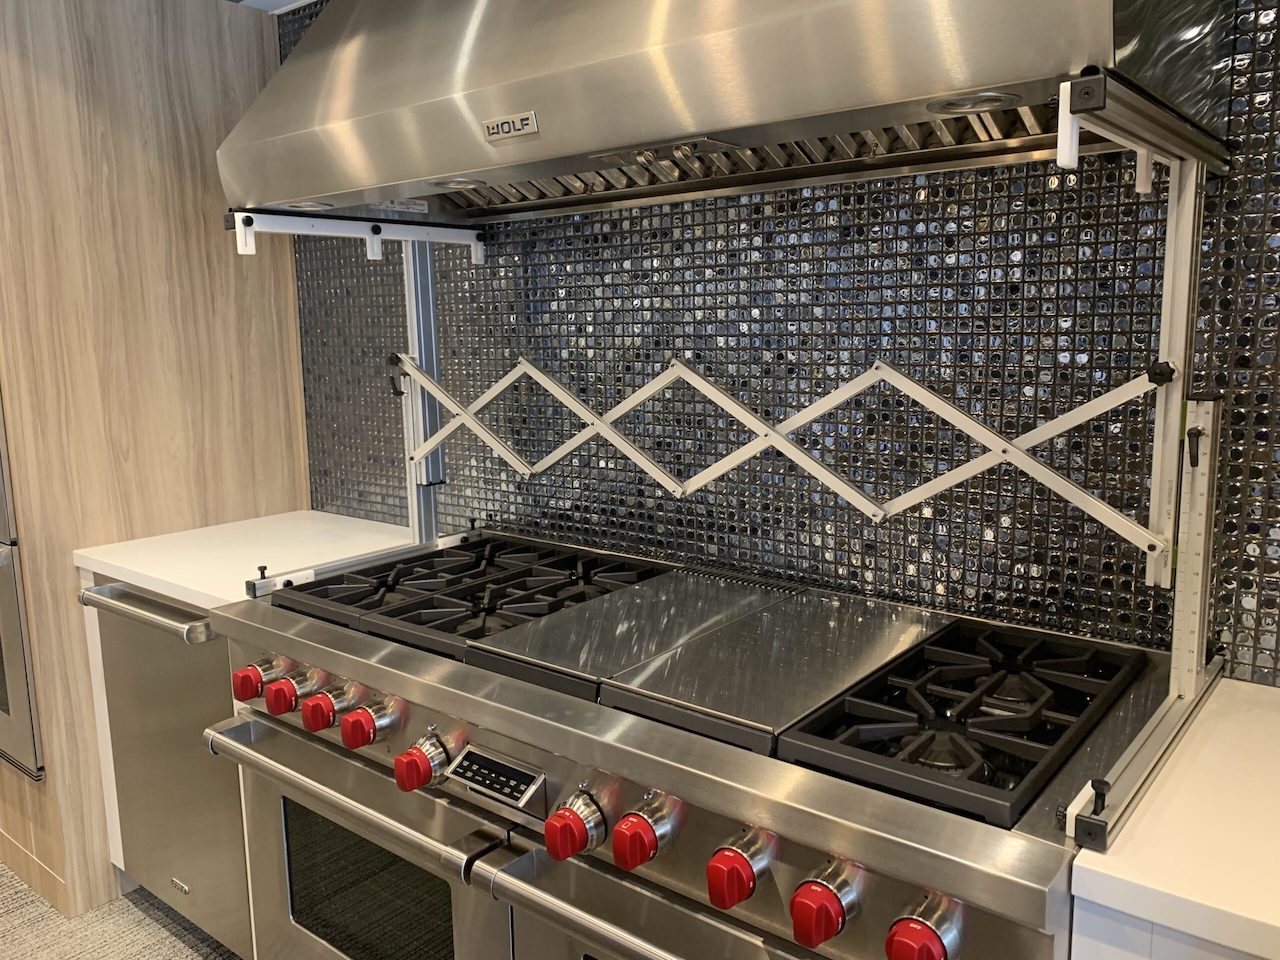
Ensure there’s enough clearance between the cooktop and the bottom of the range hood as specified by the manufacturer. This is usually 30-36 inches for electric cooktops and 24-30 inches for gas cooktops.
Fire Safety:
For gas cooktops, verify that the range hood complies with local fire codes, especially regarding the distance from the cooktop to any combustible materials.
Filter Selection:
Most range hoods use either mesh filters (for ductless models) or baffle/charcoal filters (for ducted and some ductless models). Understand the type your hood requires and how often they need cleaning or replacing.
Aesthetics and Integration:
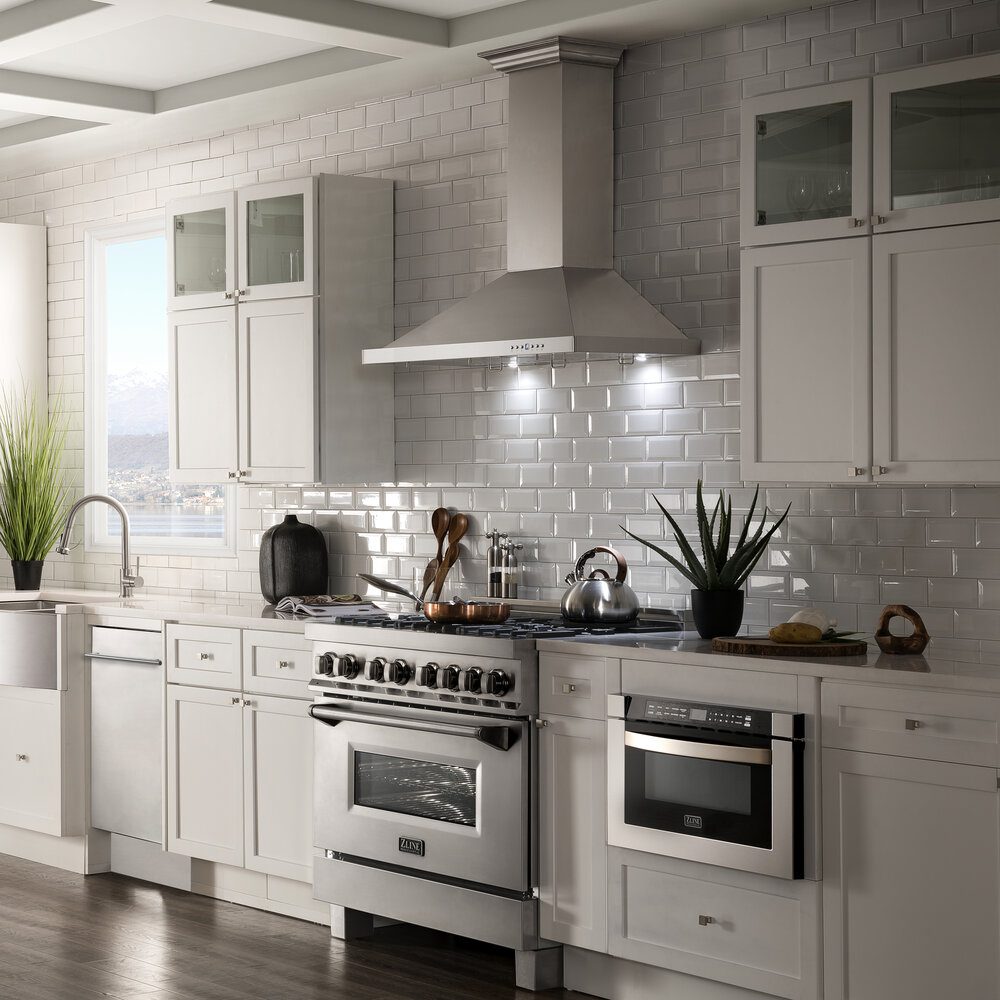
Choose a range hood that complements your kitchen’s design. Options include under-cabinet, island, wall-mounted chimney, and downdraft styles. Consider the finish and material to match existing appliances and cabinetry.
Professional Consultation:
If you’re unsure about any aspect of the installation, particularly electrical or structural modifications, consult a professional installer or licensed electrician. It’s better to invest in professional help upfront than face costly repairs later.
Post-Installation Inspection:
In some areas, a post-installation inspection by a building inspector may be required to ensure compliance with local building and electrical codes. Schedule this accordingly.
By considering these additional tips, you’ll not only ensure a successful installation but also optimize the performance and longevity of your kitchen range hood.
Measurements and Planning
- Measure the space above your stove to determine the appropriate size and style of the range hood.
- Ensure there’s adequate space for the hood and that it aligns with your cooking surface for maximum efficiency.
- Plan the ducting route, ensuring it has a direct path to an exterior wall or roof for venting.
b. Selecting the Right Hood
- Choose a hood based on your kitchen’s layout, cooking habits, and aesthetic preferences.
- Decide between ducted (external venting) and non-ducted (recirculating) options.
c. Gather Tools and Materials
- Basic tools include a drill, screwdriver, level, measuring tape, and safety gear.
- Specific materials might include ductwork, screws, vent cap, and sealant.
Conclusion
By following these professional steps, you can successfully install a kitchen range hood that not only complements your kitchen’s aesthetics but also promotes a healthy and comfortable cooking environment. Remember, safety should always come first; if any step seems daunting or beyond your expertise, consult with a licensed professional.


