Introduction:
Installing a range hood is a crucial aspect of kitchen design and functionality. Not only does it help to remove smoke, grease, and odors from your kitchen, but it also contributes to maintaining air quality and a comfortable cooking environment. In this comprehensive guide, we’ll walk you through the steps involved in installing a range hood, from planning and preparation to the final touches.
1. Planning and Preparation:
Before you begin the installation process, it’s essential to carefully plan and prepare for the project. Here are some key steps to consider:
- Measure the space: Start by measuring the width of your cooktop or range to determine the appropriate size for your range hood. Consider the height of your ceilings and any obstacles that may impact the installation process.
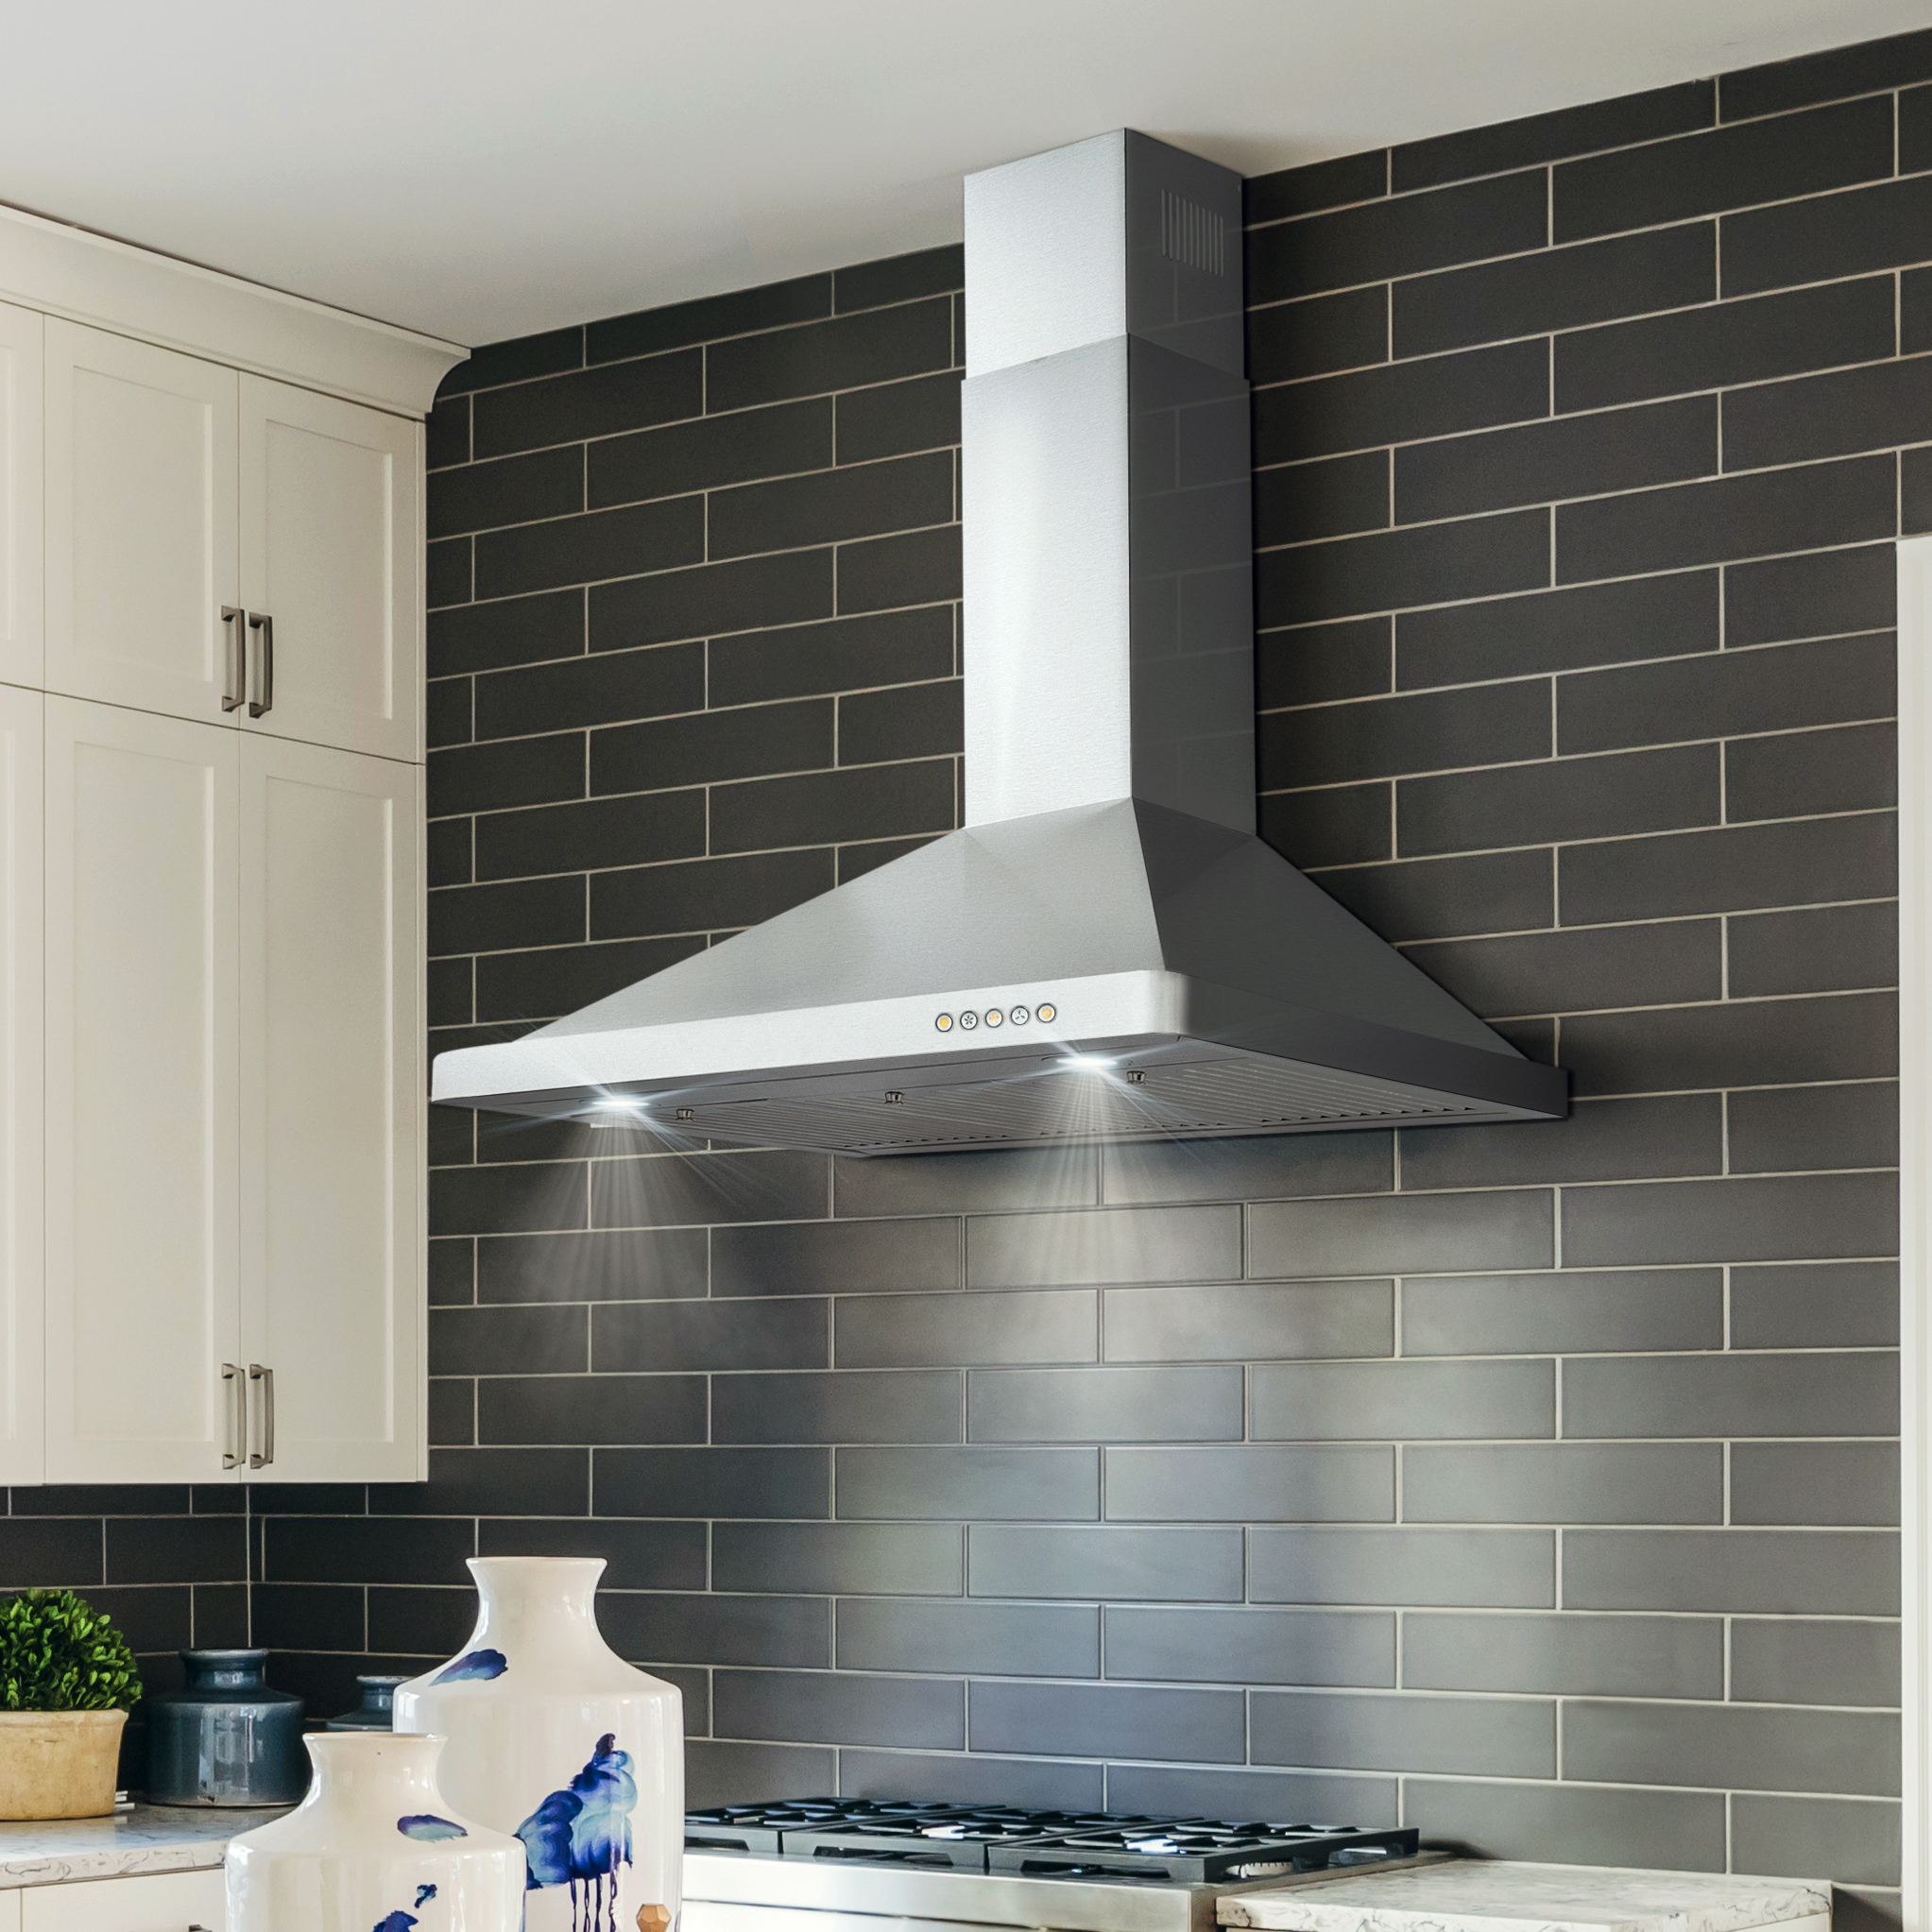
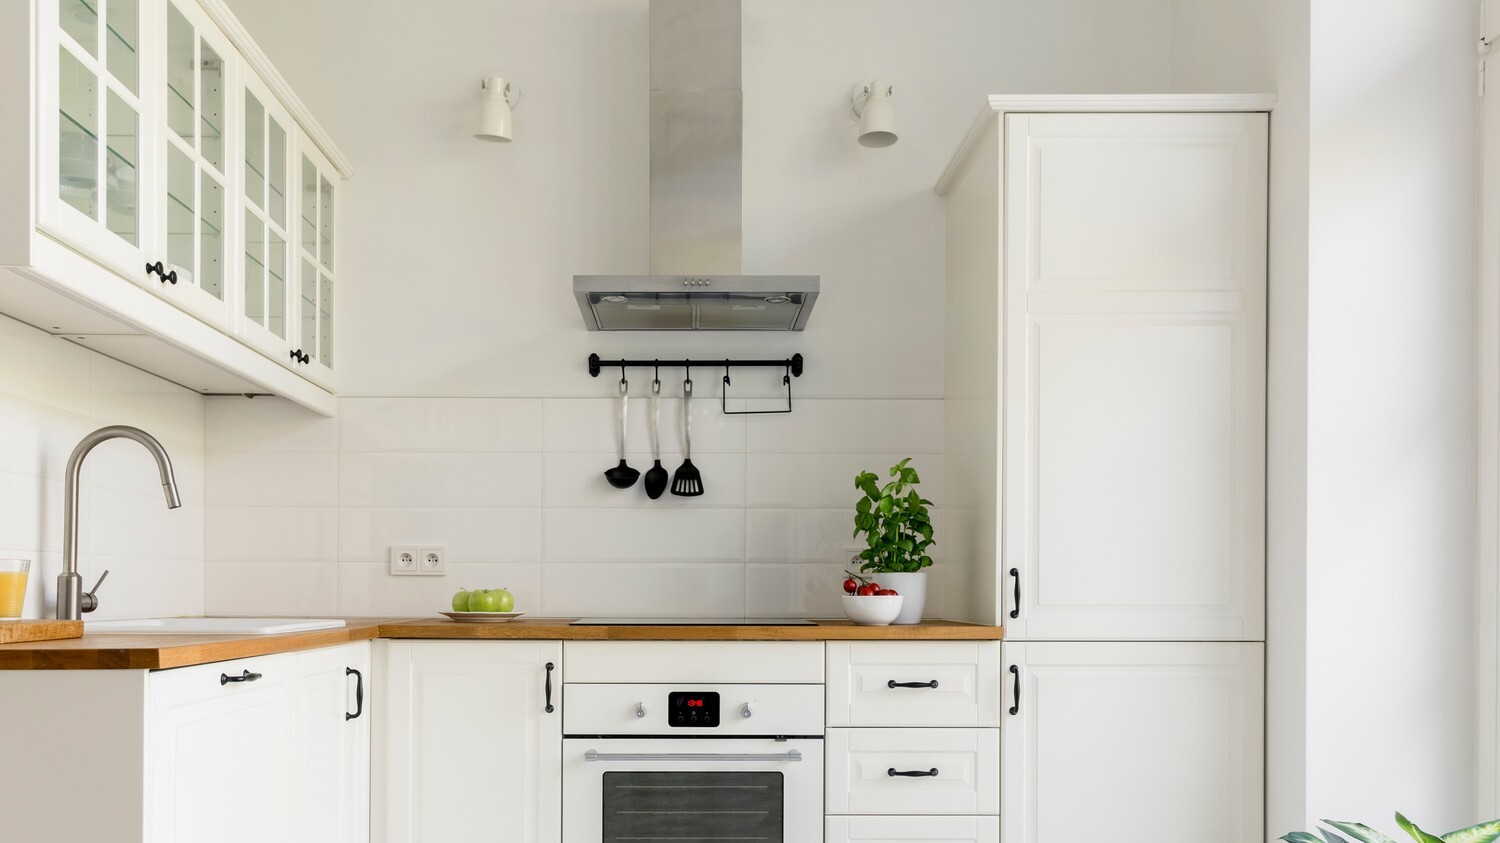
- Choose the right type of range hood: There are various types of range hoods available, including ducted (vented) and ductless (recirculating) models. Decide which type is best suited to your kitchen layout and ventilation needs.
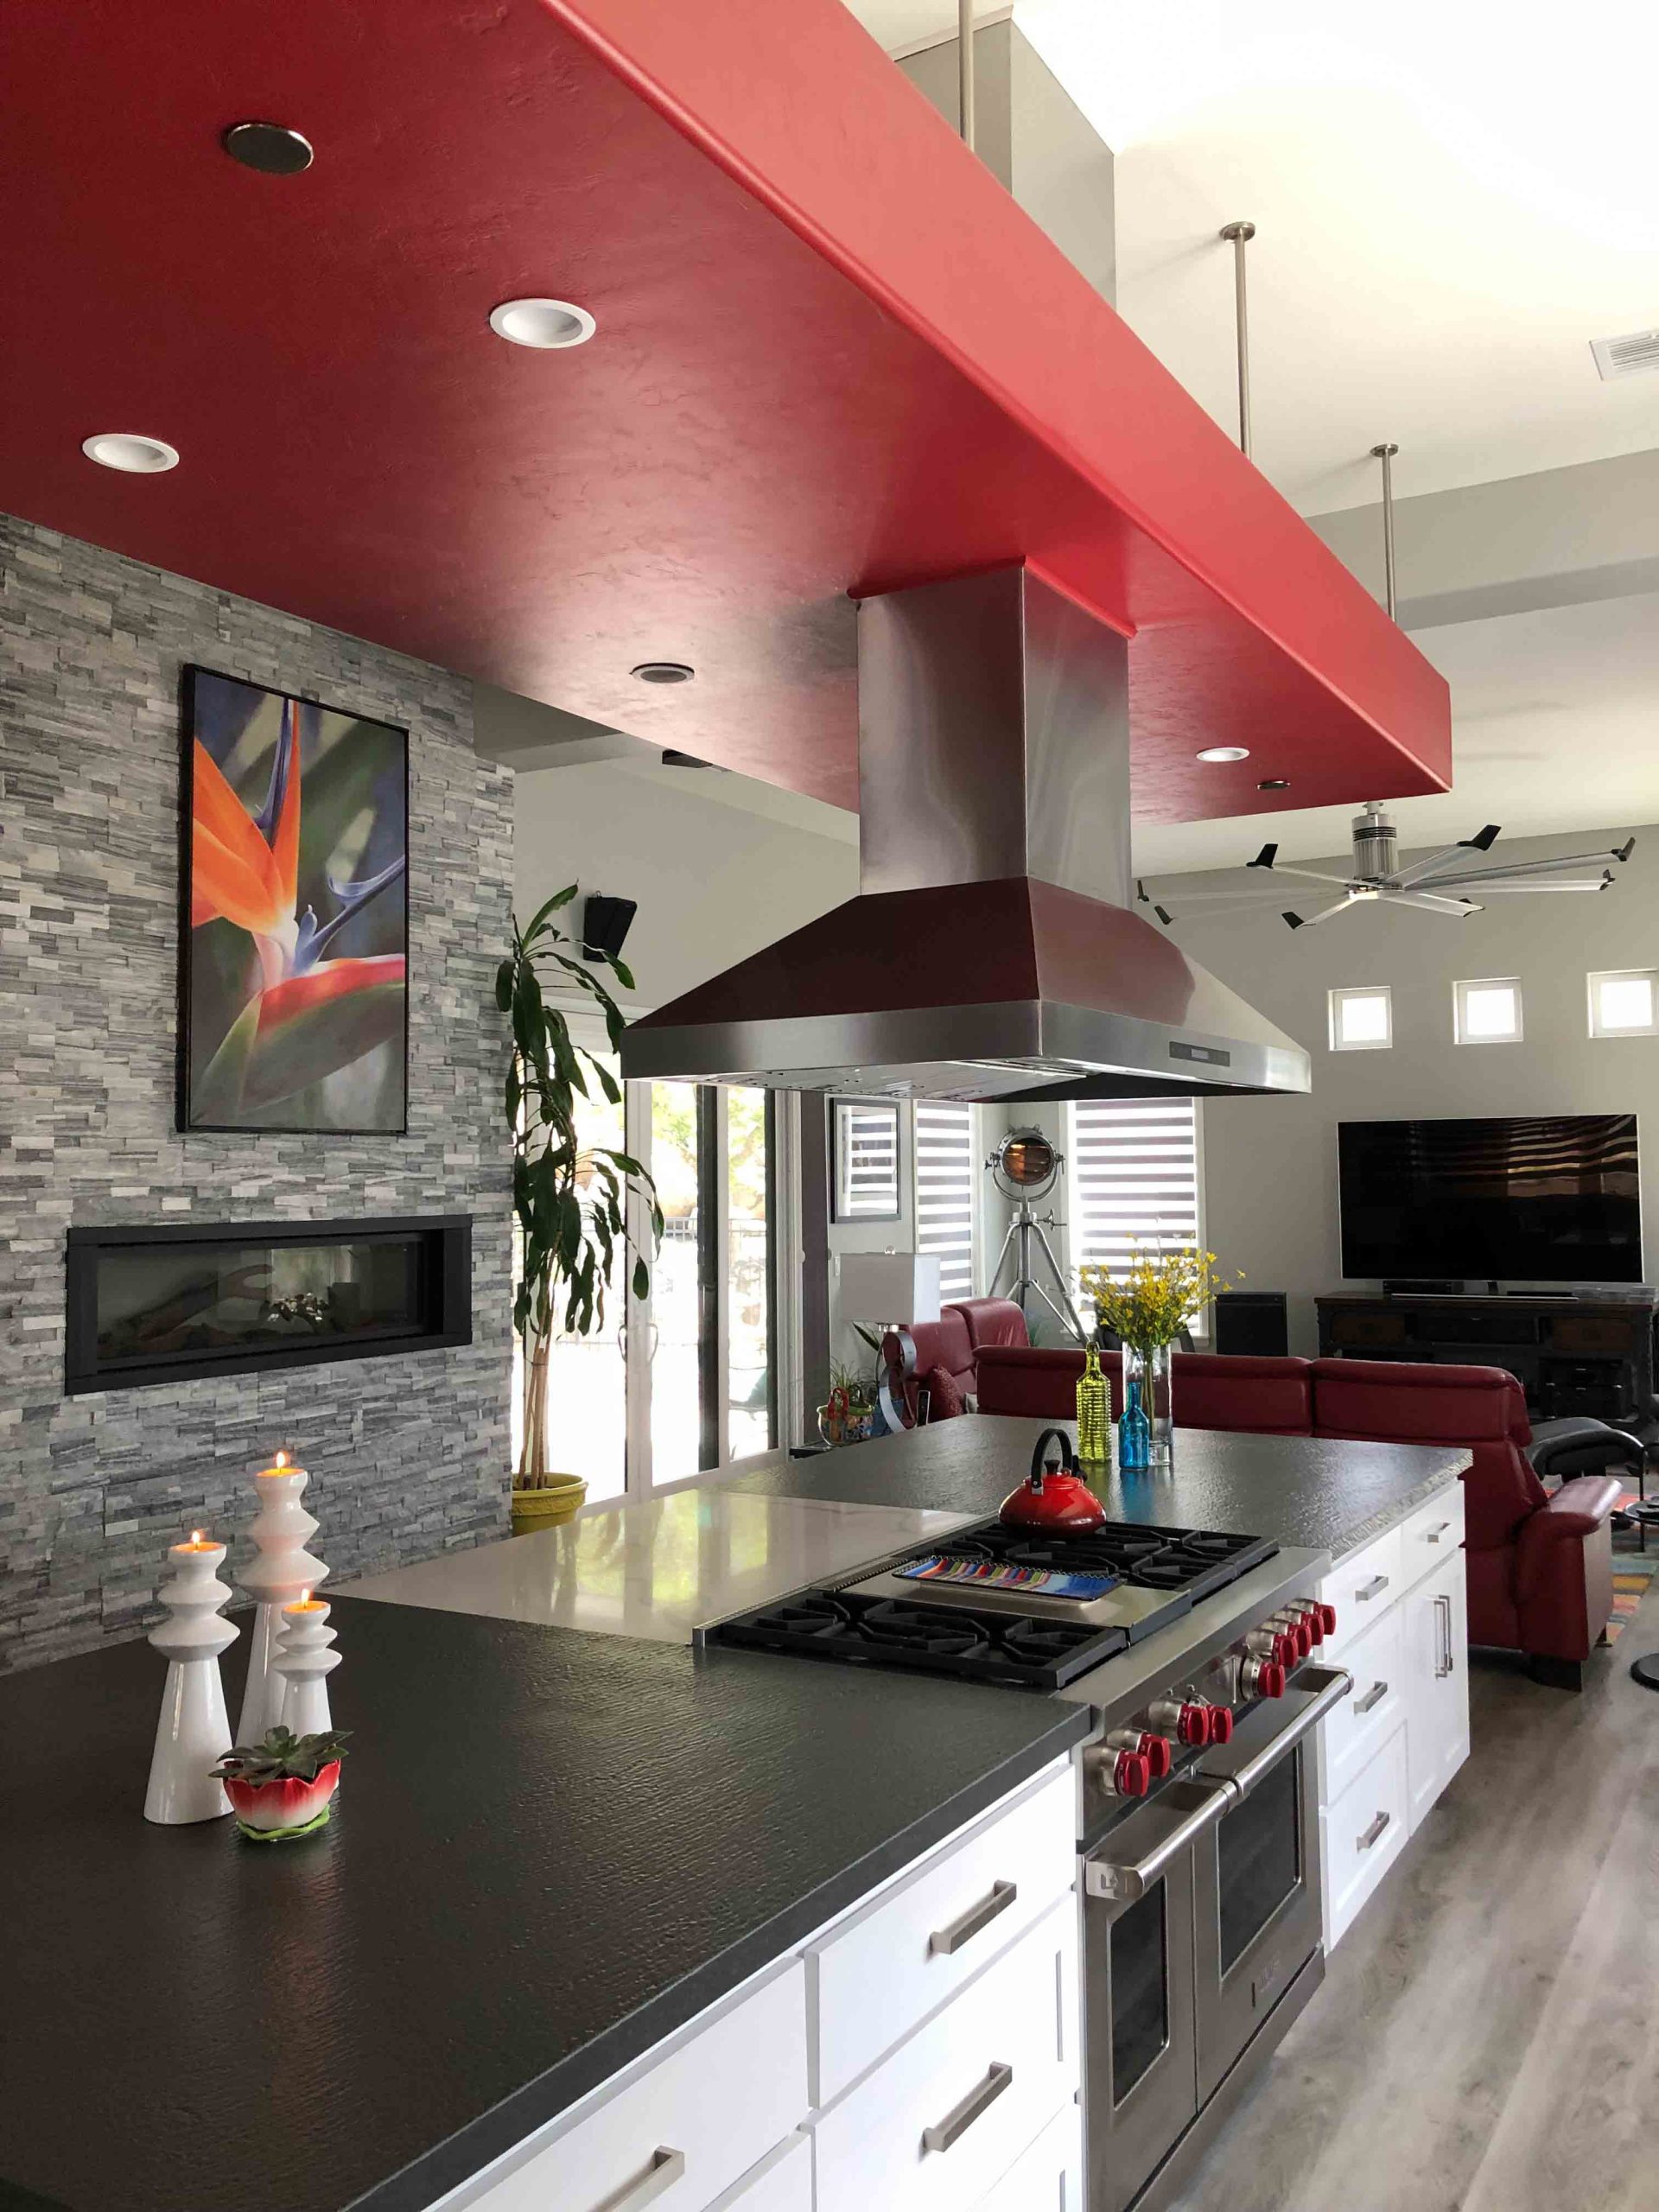
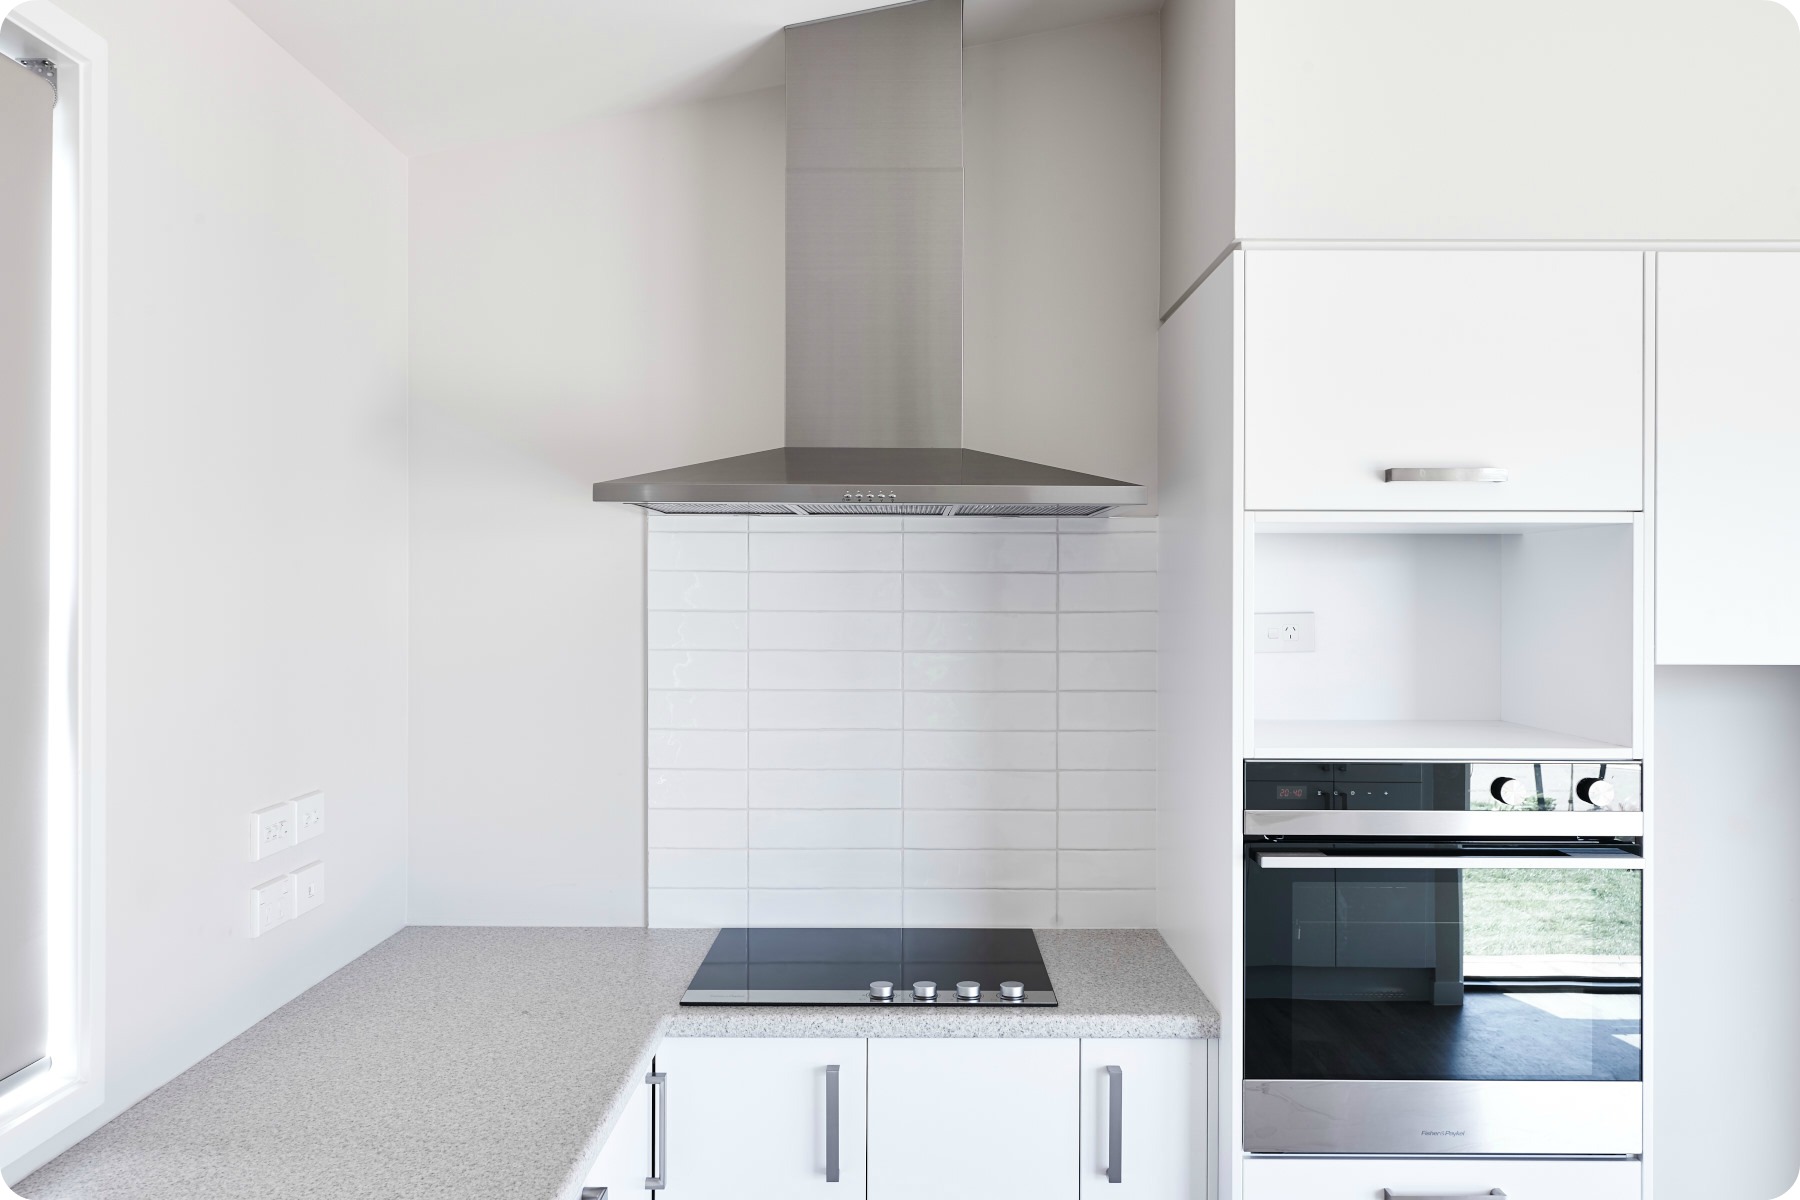
- Select the location: Determine the ideal location for your range hood, taking into account factors such as proximity to the cooktop, accessibility for ductwork, and aesthetic considerations.
- Check local building codes: Before proceeding with the installation, familiarize yourself with local building codes and regulations governing kitchen ventilation systems. Ensure that your planned installation complies with these requirements.
2. Gather Materials and Tools:
Once you’ve completed the planning phase, gather all the necessary materials and tools for the installation. Here’s a basic list of what you’ll need:
- Range hood unit
- Ductwork (if installing a ducted range hood)
- Vent cap or wall cap
- Screws and mounting hardware
- Power drill
- Screwdriver
- Level
- Tape measure
- Duct tape or sealant
- Safety goggles and gloves
- Step ladder or platform (if working at height)
3. Installation Process:
Now that you’ve gathered your materials and tools, it’s time to proceed with the installation. Follow these step-by-step instructions:
- Turn off power: Before beginning any electrical work, shut off the power to the circuit that will supply electricity to the range hood. Use a voltage tester to confirm that the power is off before proceeding.
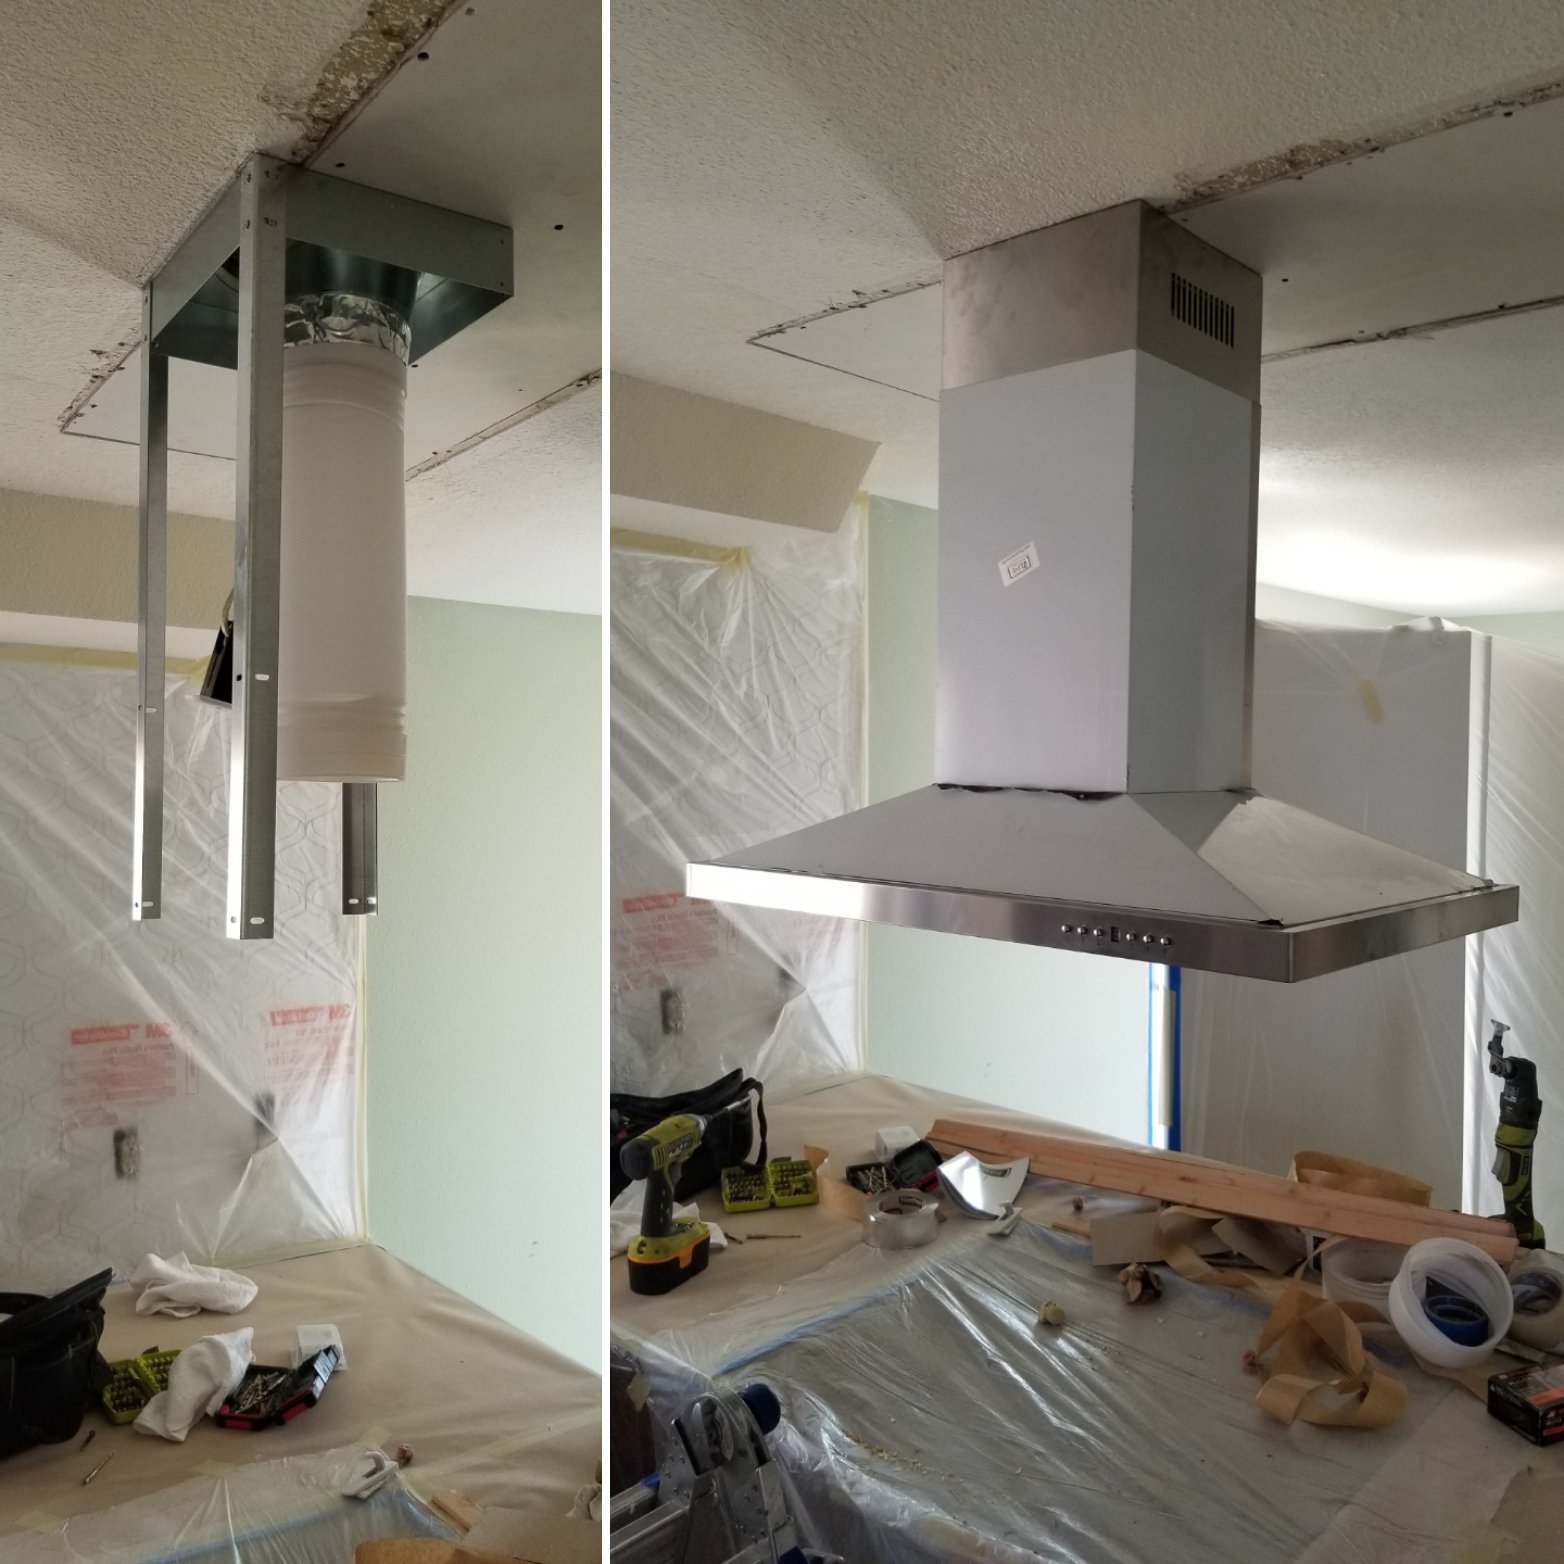
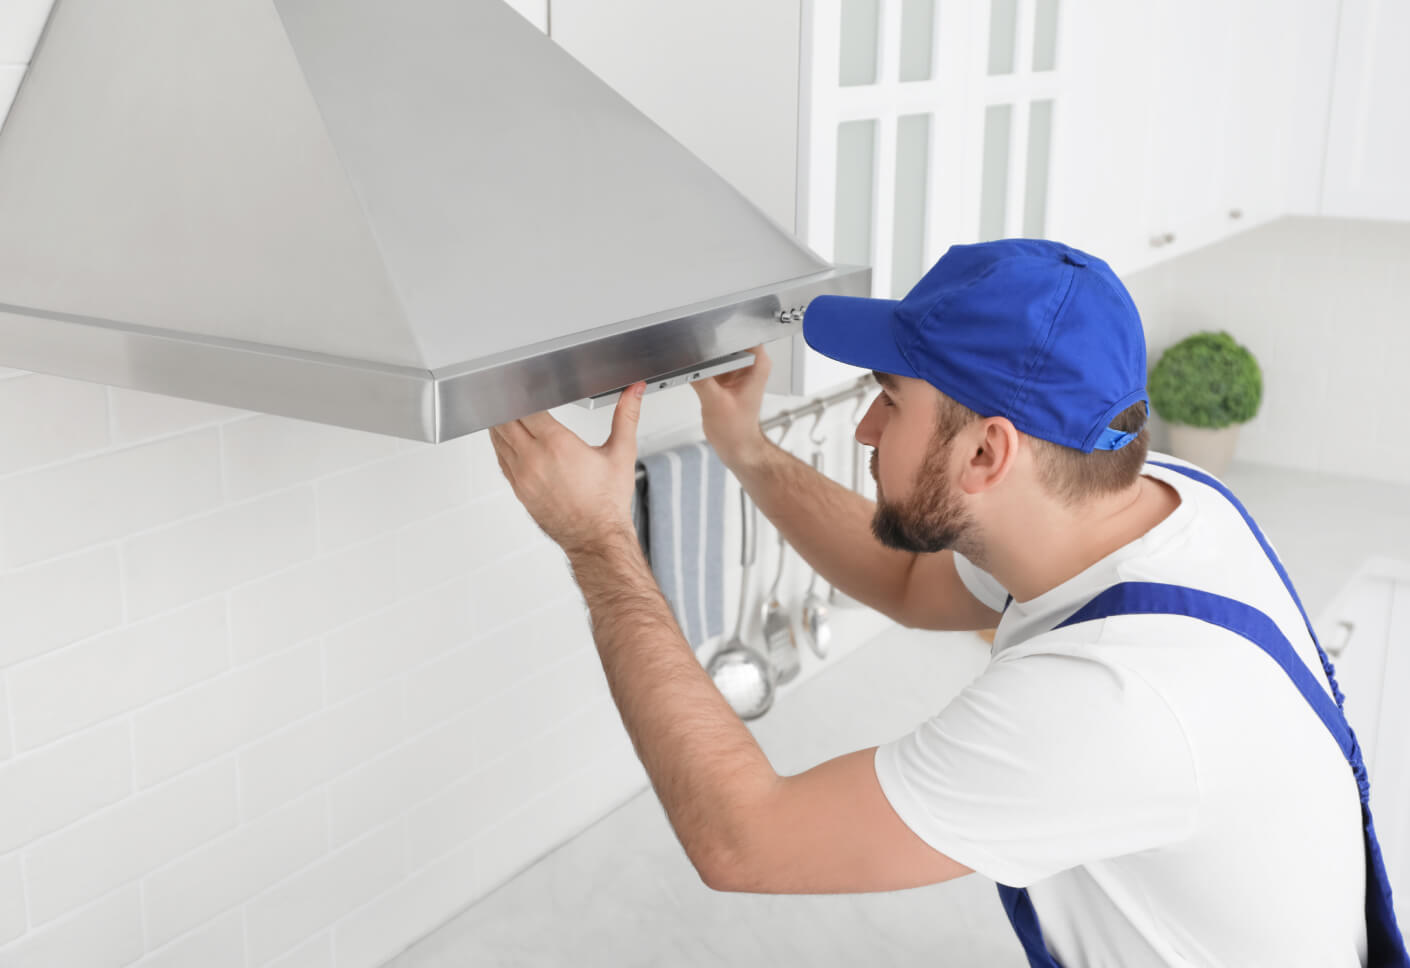
- Mount the range hood: Position the range hood in the desired location and mark the mounting holes on the wall or cabinet. Drill pilot holes for the screws, then secure the range hood in place using the mounting hardware provided.
- Install ductwork (if applicable): If you’re installing a ducted range hood, connect the ductwork to the hood and route it to the exterior of your home. Use duct tape or sealant to secure the joints and prevent air leaks.
- Attach the vent cap: Once the ductwork is in place, install a vent cap or wall cap on the exterior of your home to allow for proper ventilation. Ensure that the cap is securely attached and sealed to prevent water infiltration.
- Make electrical connections: If your range hood requires electrical wiring, follow the manufacturer’s instructions to make the necessary connections. This may involve connecting wires from the hood to a power source or junction box.
- Test the hood: Once the installation is complete, turn the power back on and test the range hood to ensure that it’s functioning properly. Check for proper airflow and adjust the fan speed settings as needed.
4. Finishing Touches:
With the range hood successfully installed, it’s time to add the finishing touches to complete the project:
- Clean up any debris or dust left behind from the installation process.
- Adjust the range hood’s settings to achieve optimal ventilation performance.
- Consider adding additional features such as lighting or filters to enhance the functionality of your range hood.
- Enjoy your newly installed range hood and the improved air quality and comfort it brings to your kitchen.
5. Troubleshooting and Maintenance:
- Troubleshooting common issues: Provide guidance on troubleshooting common problems with range hoods, such as reduced airflow, excessive noise, or malfunctioning controls. Include tips on identifying and resolving these issues.
- Regular maintenance tips: Offer recommendations for regular maintenance tasks to keep your range hood operating efficiently. This may include cleaning the grease filters, checking for blockages in the ductwork, and inspecting the fan motor for signs of wear.
6. Upgrading Your Range Hood:
- Upgrading to a more powerful model: Discuss the benefits of upgrading to a more powerful range hood if your current one isn’t effectively removing smoke and odors from your kitchen. Highlight features to look for in a new range hood, such as higher CFM (cubic feet per minute) ratings and variable fan speeds.
- Retrofitting existing ductwork: If you’re upgrading your range hood, provide guidance on retrofitting existing ductwork to accommodate the new unit. This may involve resizing or rerouting ducts to ensure optimal airflow and ventilation performance.
7. Energy Efficiency and Sustainability:
- Choosing energy-efficient models: Encourage readers to choose energy-efficient range hoods that can help reduce electricity consumption and lower utility bills. Look for models with ENERGY STAR certification or energy-saving features such as LED lighting and variable-speed fans.
- Exploring eco-friendly options: Discuss eco-friendly alternatives to traditional range hoods, such as recirculating models that use activated carbon filters to purify the air. Highlight the environmental benefits of these options and their potential impact on indoor air quality.
8. Customization and Design Considerations:
- Customizing your range hood: Share ideas for customizing your range hood to match your kitchen’s decor and style. This could include options for custom finishes, decorative panels, or personalized touches to create a unique focal point in your kitchen.
- Integrating smart technology: Explore the integration of smart technology into range hoods, such as Wi-Fi connectivity and voice control capabilities. Discuss the convenience and functionality of these features and how they can enhance the user experience.
9. Safety Precautions:
- Emphasize the importance of safety precautions throughout the installation process, including using proper tools and equipment, working on stable surfaces, and following manufacturer instructions.
- Provide guidance on handling electrical wiring safely, such as turning off power at the circuit breaker and using insulated tools to prevent electric shocks.
- Remind readers to wear appropriate protective gear, such as safety goggles and gloves, when handling materials and working at heights.
Conclusion:
Installing a range hood is a rewarding project that can significantly enhance the functionality and aesthetics of your kitchen. By following this comprehensive guide and carefully planning the installation process, you can ensure a successful outcome and enjoy the benefits of improved ventilation for years to come. Whether you’re a seasoned DIY enthusiast or tackling this project for the first time, mastering the art of installing a range hood is within your reach.