Introduction
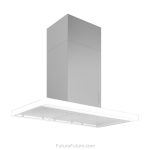
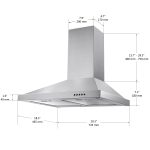
A Range hood light bulb replacement is an essential appliance in any kitchen, serving to eliminate odors, steam, and grease while cooking. An integral part of its functionality is the built-in light, which illuminates your cooktop and provides optimal visibility for food preparation. Over time, however, this light bulb may burn out, necessitating a replacement. Instead of calling a professional, you can easily tackle this task yourself with our comprehensive DIY guide. Here’s a step-by-step walkthrough on how to replace the light bulb in your range hood.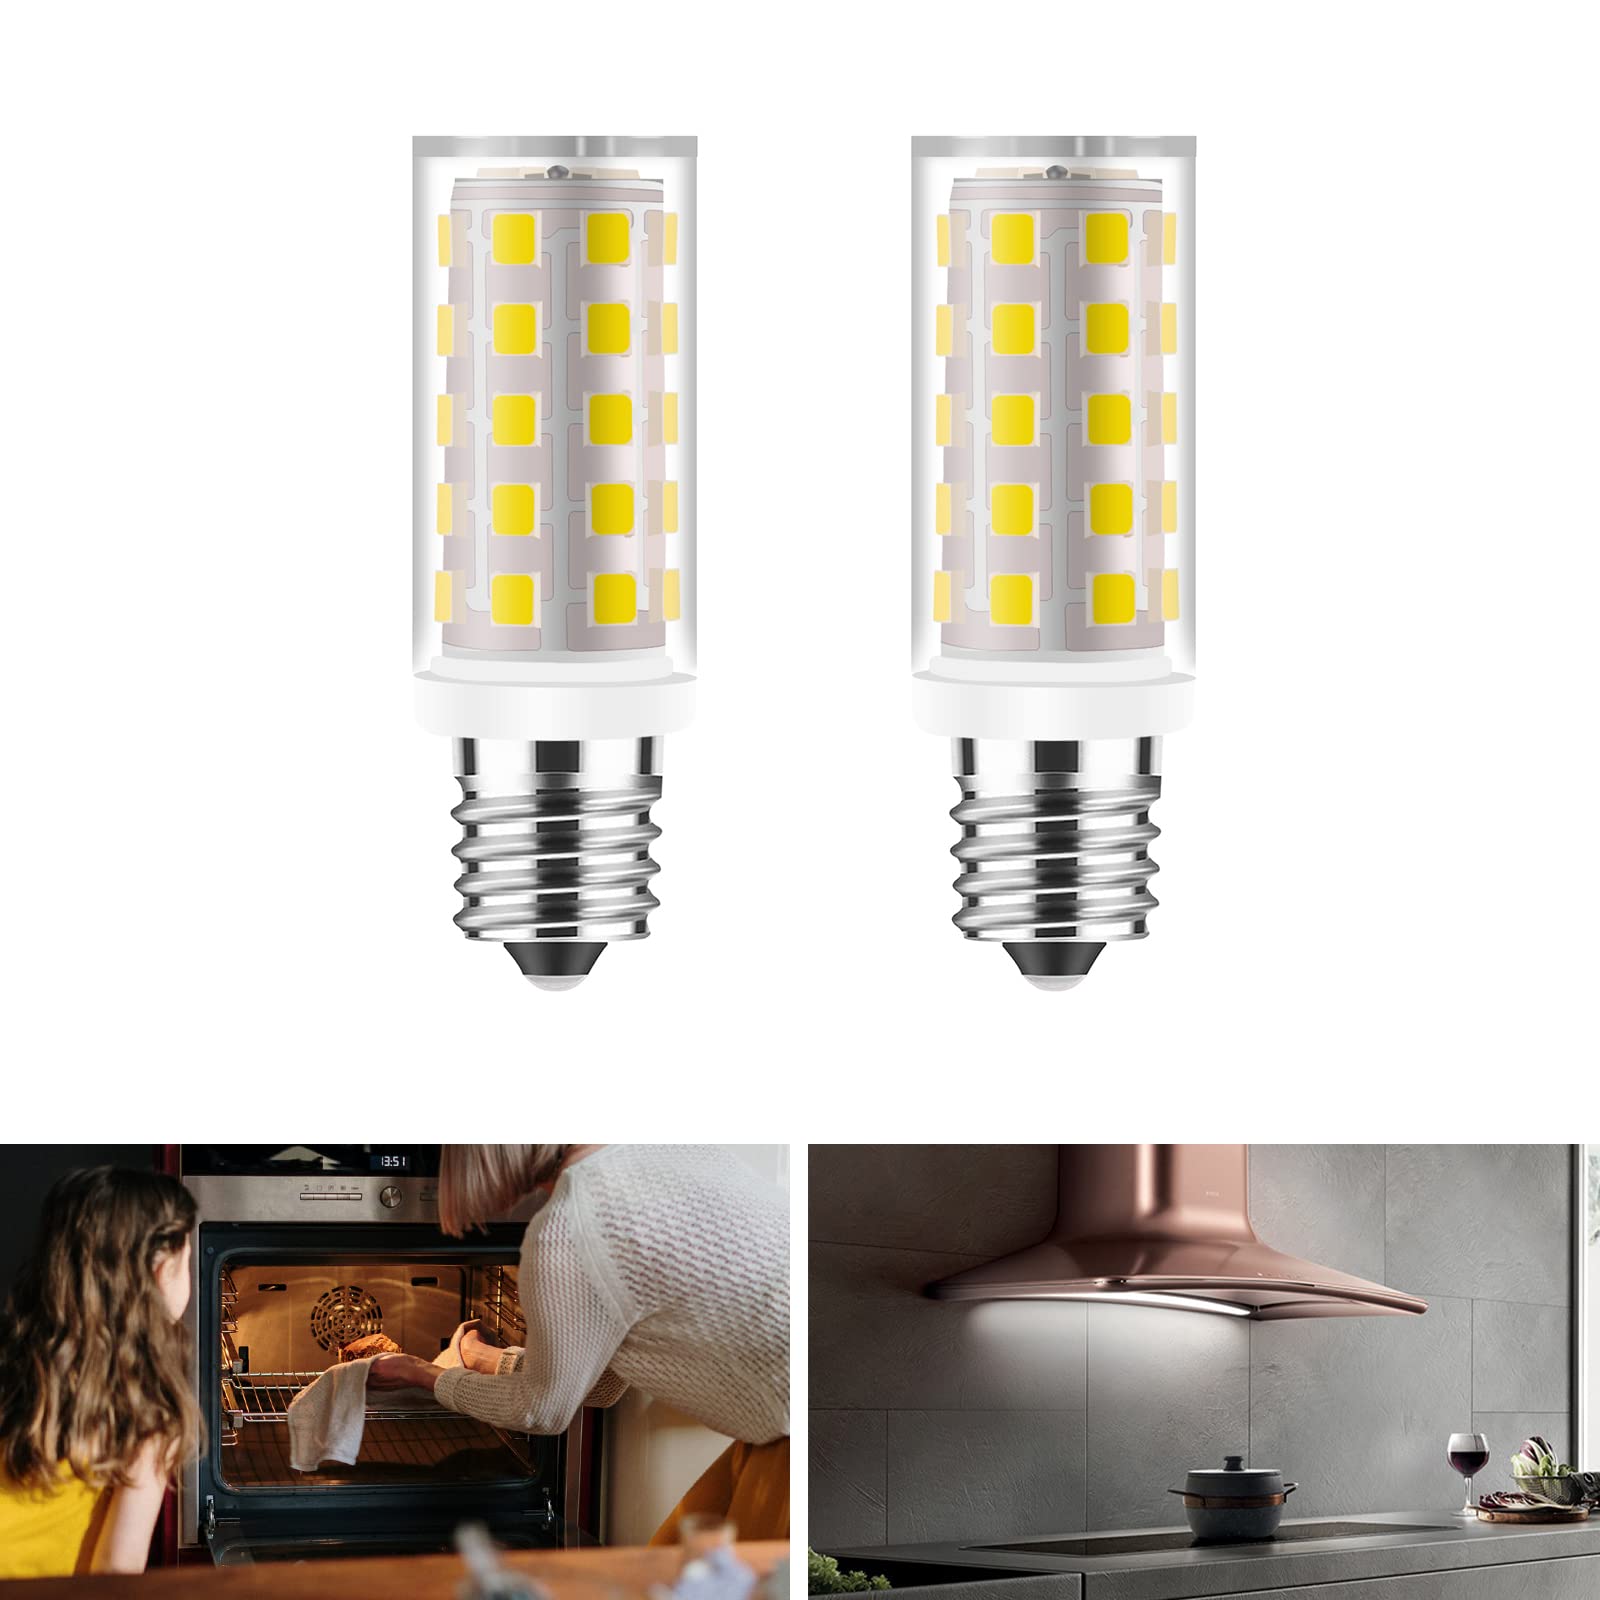
Step 1: Safety First
Before starting any work on your range hood, ensure that you take the necessary safety precautions:
- Turn off the power: Locate the circuit breaker that controls your kitchen’s electrical outlets or switch off the wall switch controlling the range hood. This will prevent any accidental electrocution or damage to the appliance during the bulb replacement process.
- Protective gear: Put on a pair of gloves to protect your hands from sharp edges or hot surfaces. Additionally, use a clean cloth or towel to handle the new light bulb, as oils from your skin can shorten its lifespan.
Step 2: Identify the Light Bulb Type and Replacement
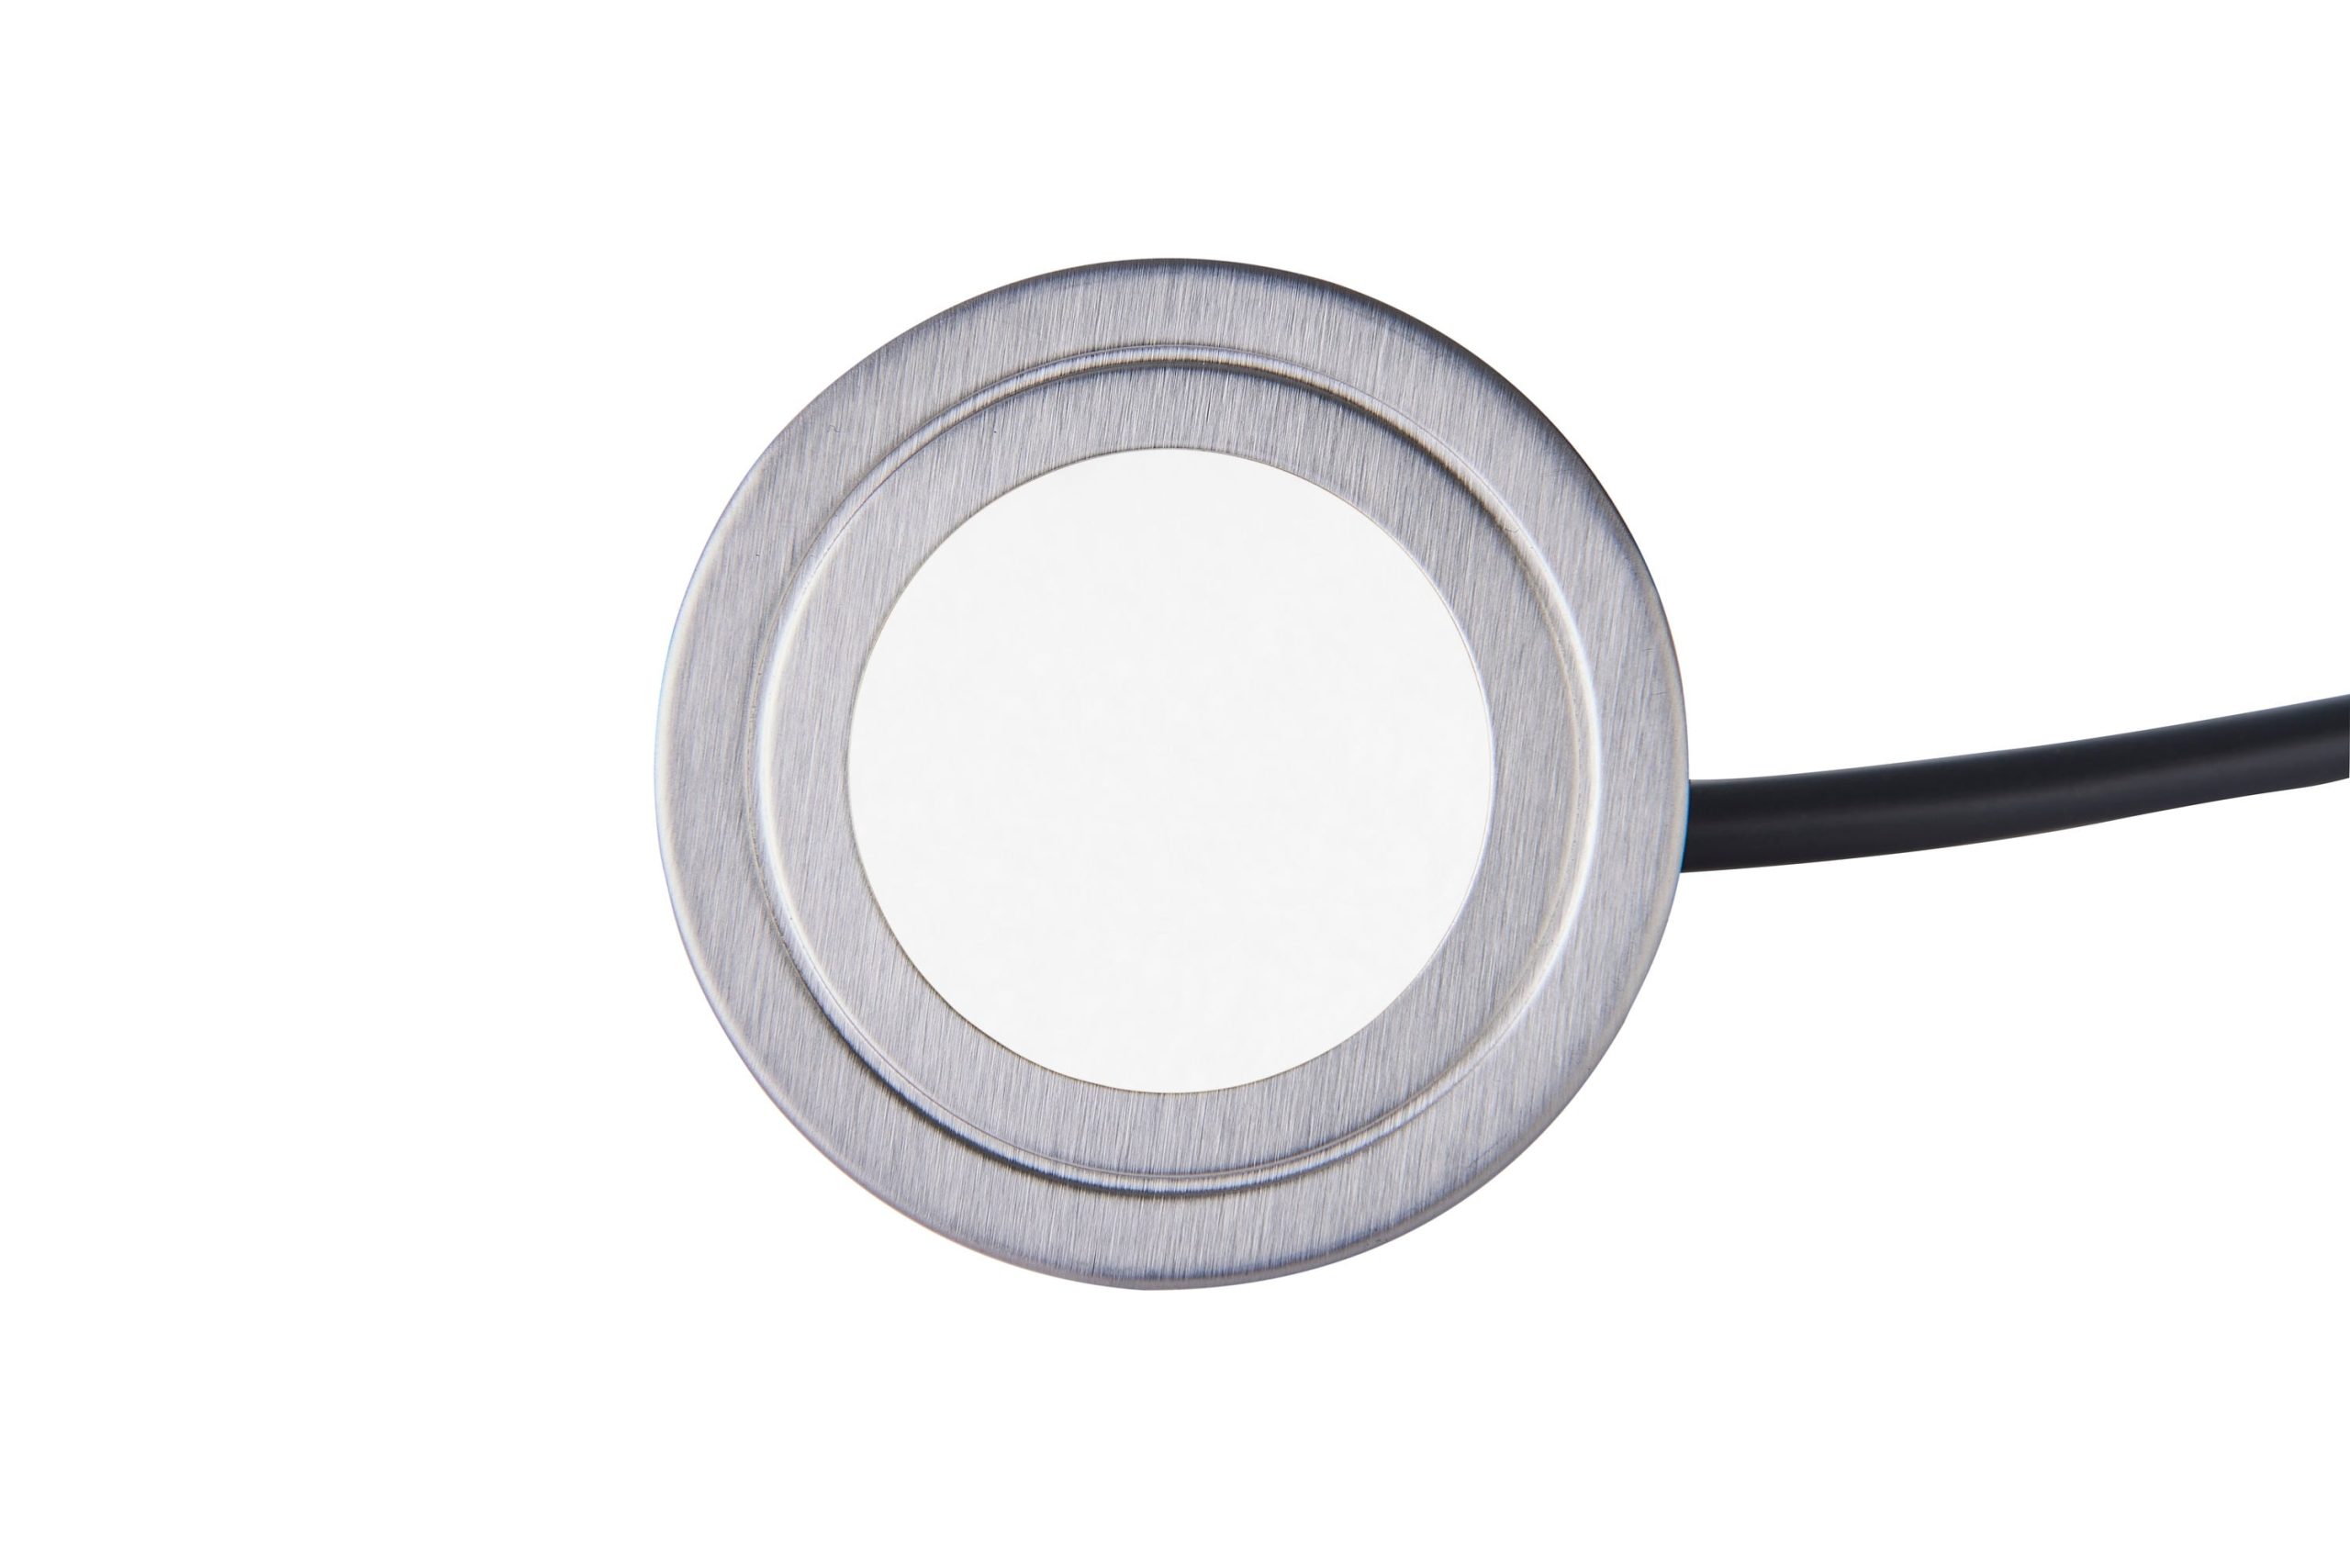
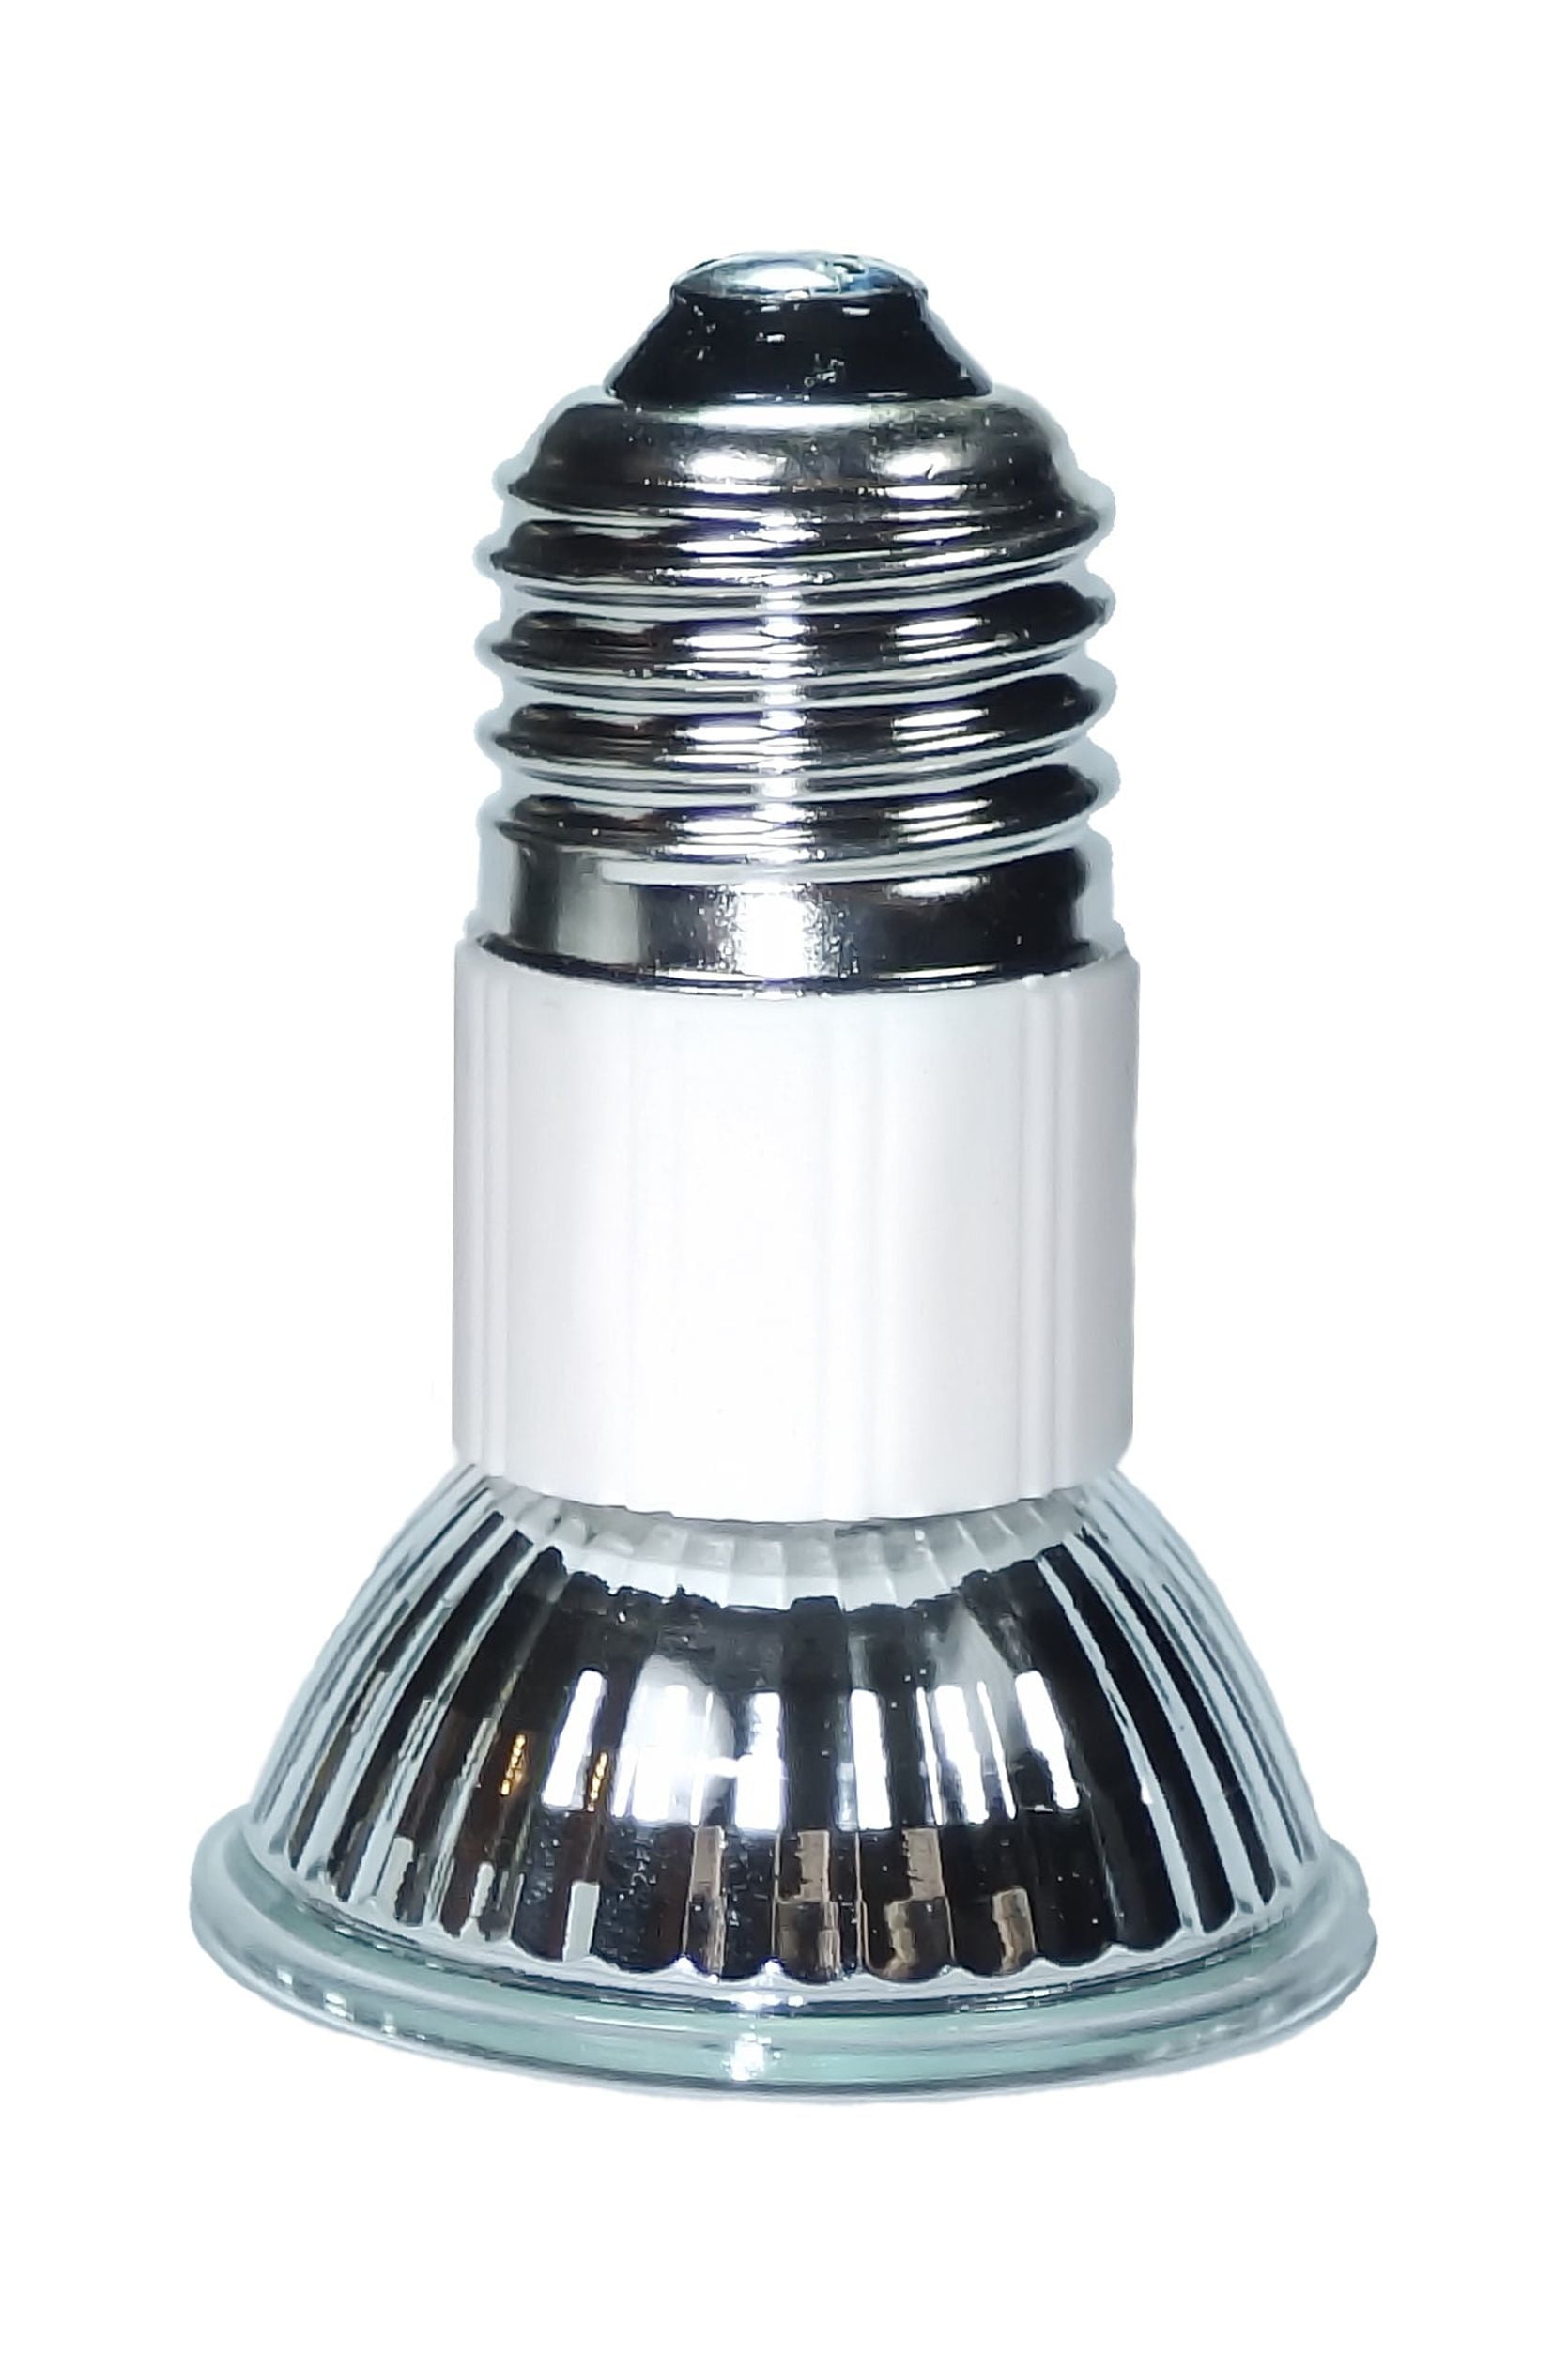
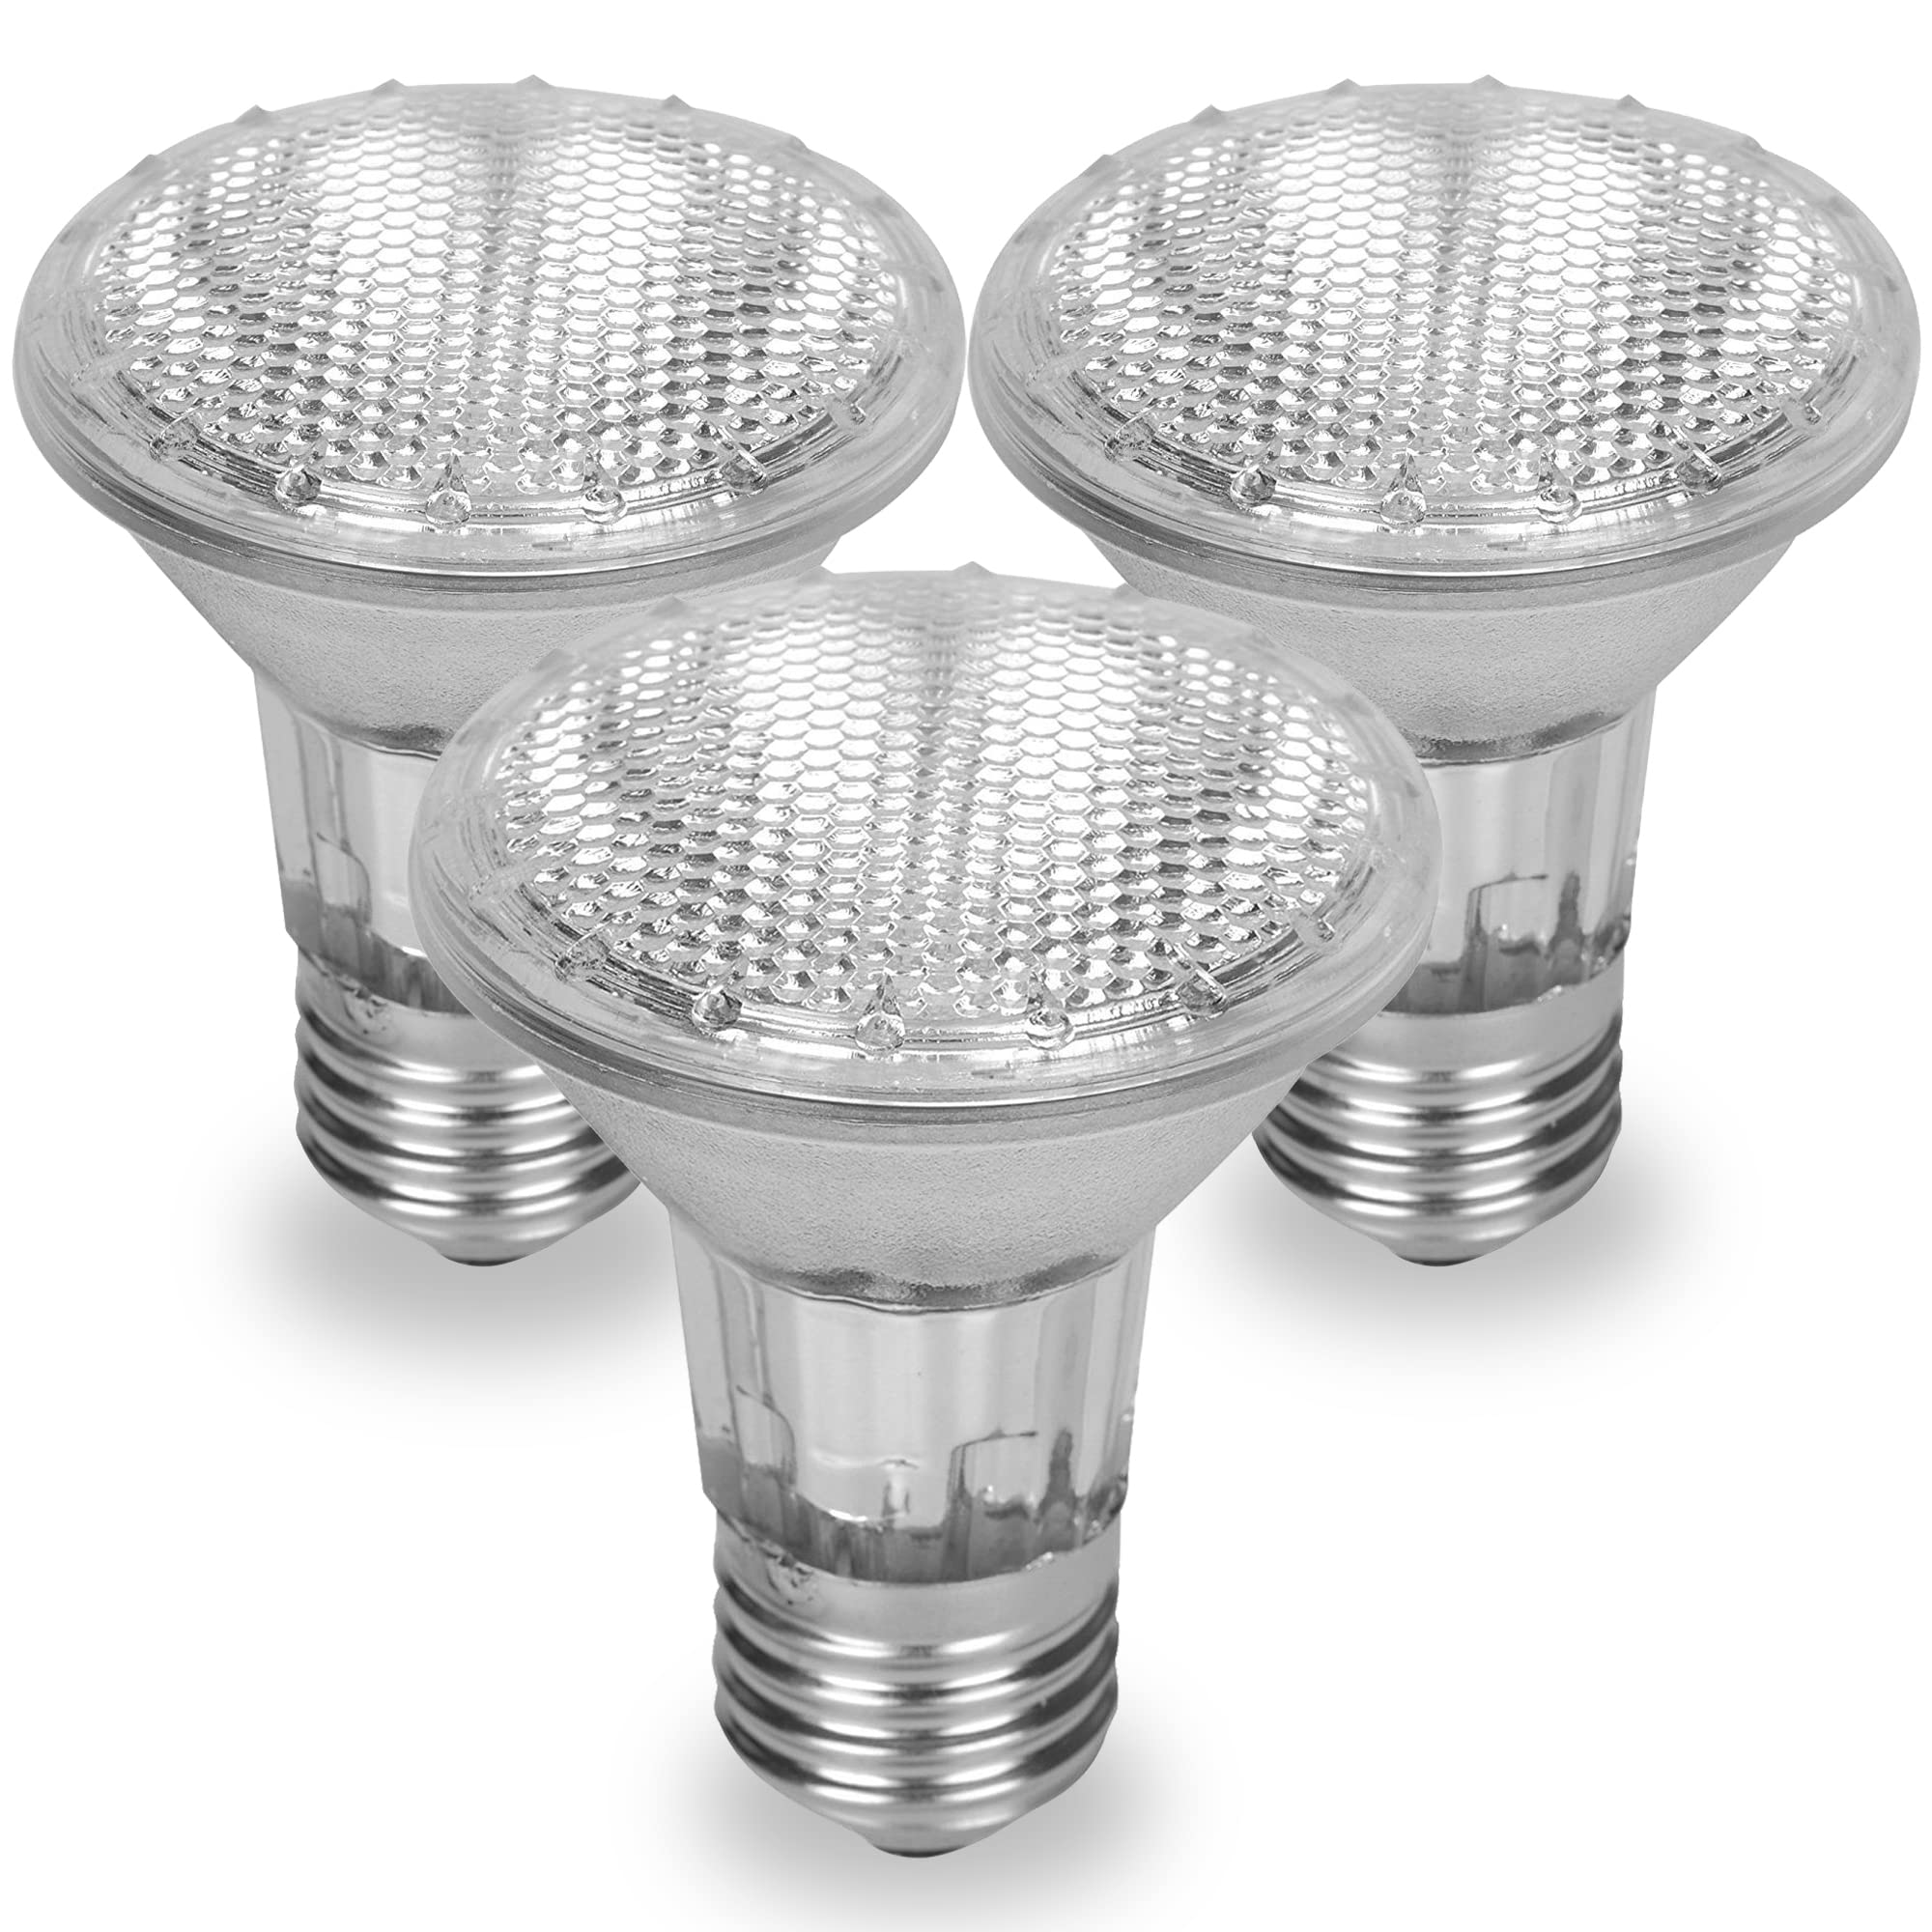
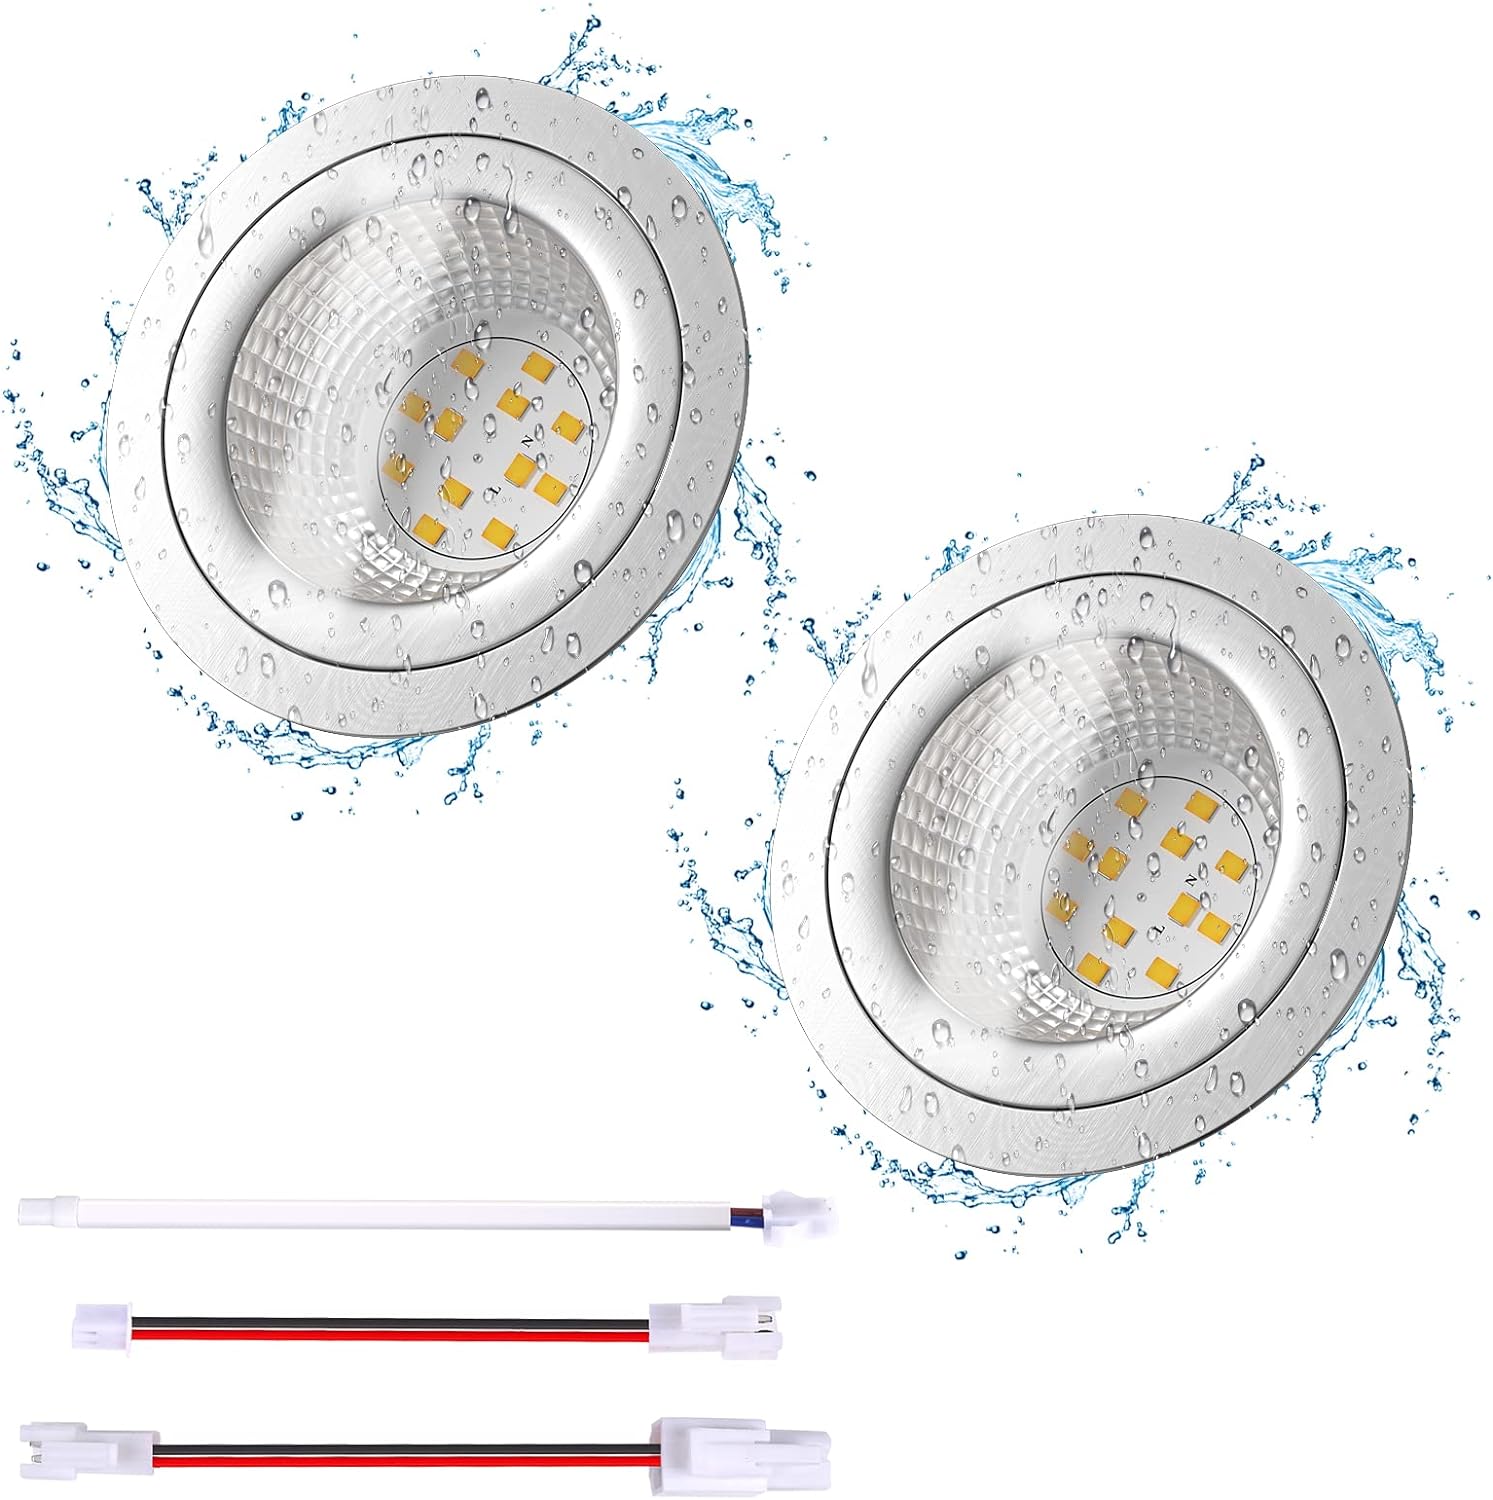
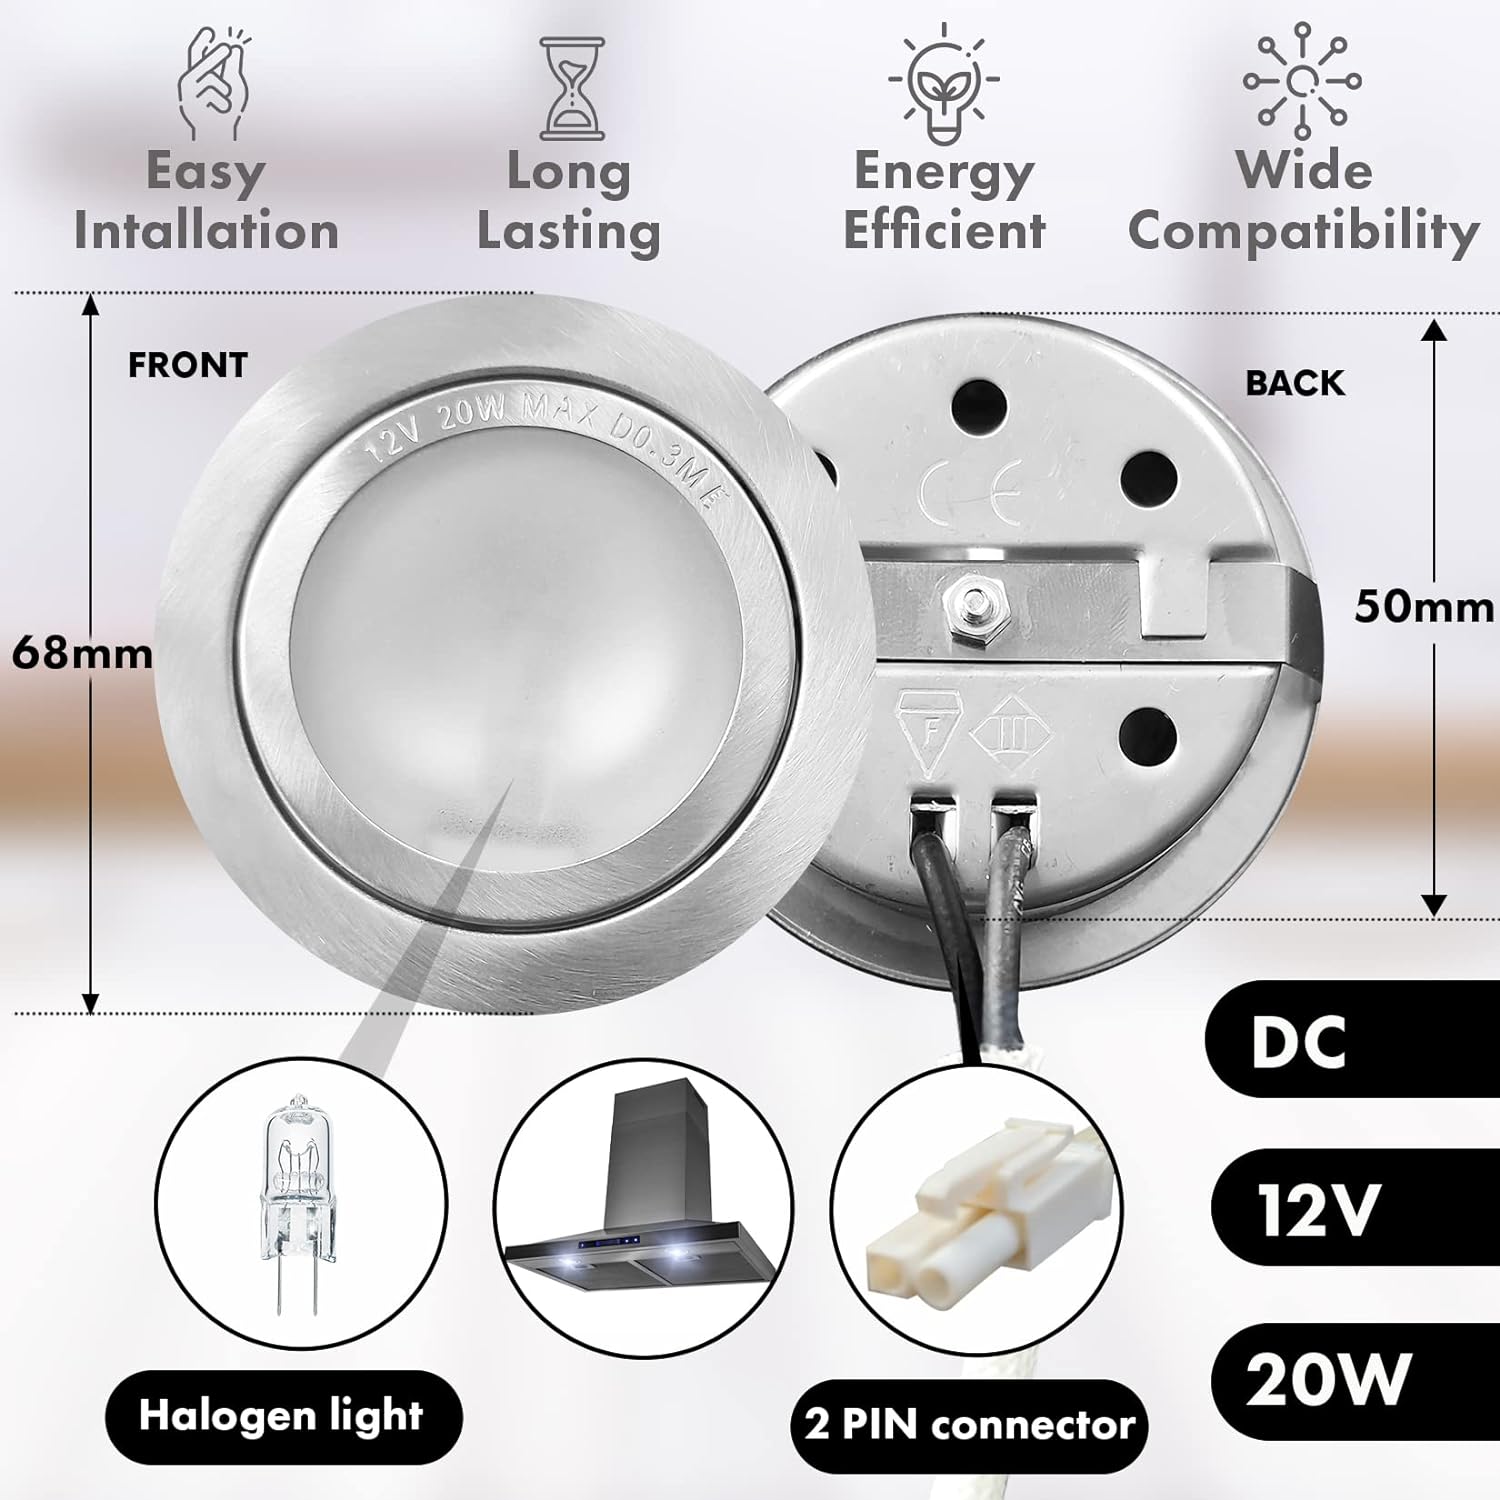
Inspect your range hood to determine the type and size of the light bulb required for replacement. Common bulb types used in range hoods include incandescent, halogen, CFL (compact fluorescent), or LED (light-emitting diode). The bulb specifications should be listed in your range hood’s user manual, or you may find them printed on the underside of the hood itself. If not, remove the old bulb (if still intact) and note its base type (e.g., E12, E26), wattage, and any special features (e.g., dimmable, cool-to-touch).
Purchase a replacement bulb that matches these specifications. It’s recommended to choose an energy-efficient option like LED or CFL, as they last longer and consume less electricity than traditional incandescent bulbs. Ensure the new bulb is compatible with your range hood and approved for use in high-temperature environments.
Step 3: Accessing the Light Bulb
The method for accessing the light bulb in your range hood may vary depending on the model and design. Generally, you’ll encounter one of the following scenarios:
Scenario A: Removable Lens Cover
If your range hood has a removable lens cover or diffuser, follow these steps:
- Remove the cover: Gently grasp the cover, typically located beneath the hood, and twist it counterclockwise or slide it out as per the manufacturer’s instructions. Some covers may require the release of clips or screws before removal.
- Extract the old bulb: Once the cover is removed, you should see the light socket and the old bulb. Carefully unscrew the bulb by turning it counterclockwise and set it aside.
Scenario B: Access Panel or Hinged Door
For range hoods with an access panel or hinged door, proceed as follows:
- Open the access point: Locate the panel or door, usually situated on the bottom or side of the hood. Open it according to the manufacturer’s instructions, which may involve loosening screws, sliding it out, or lifting a hinged door.
- Remove the old bulb: With the access point open, you should see the light socket and bulb. Turn the bulb counterclockwise to unscrew it and set it aside.
Step 4: Installing the New Light Bulb
With the old bulb removed, you’re now ready to install the replacement:
- Handle the new bulb carefully: As mentioned earlier, use a clean cloth or glove to handle the new bulb, avoiding direct contact with your skin.
- Install the new bulb: Align the base of the new bulb with the socket and gently screw it in clockwise until snug. Do not overtighten, as this could damage the bulb or socket.
- Test the new bulb: Restore power to the range hood by flipping the circuit breaker back on or switching on the wall switch. Turn on the light to verify that the new bulb is functioning correctly and emitting even light.
Step 5: Reassemble and Clean
If you had to remove a lens cover or access panel, reassemble the components following the reverse order of disassembly:
- Replace the cover/panel: Carefully align the cover or panel with its mounting points and secure it in place using clips, screws, or by sliding it back into position.
- Clean the range hood: While you have easy access to the interior of the hood, take the opportunity to wipe down any accumulated grease or dust using a soft cloth and a mild cleaning solution appropriate for your hood’s surface material.
Step 6: Gather necessary tools and materials
Before beginning the replacement process, ensure you have the following items:
- New light bulb: Check your range hood manual or the existing bulb to determine the correct type and wattage needed. Common bulb types used in range hoods include incandescent, halogen, or LED bulbs. Make sure to purchase a bulb that is compatible with your hood and meets any safety specifications.
- Ladder or step stool (if required): If your range hood is mounted high above the cooktop, you may need a ladder or step stool to reach it safely.
- Gloves (optional): Wearing gloves can help protect your hands from heat or any residual grease on the hood.
- Cleaning supplies (optional): You may wish to use this opportunity to clean the hood’s light fixture and surrounding area.
Step 7: Turn off power to the range hood
Safety should always be a top priority when working with electrical appliances. To avoid the risk of electric shock, follow these steps:
- Locate the circuit breaker: Identify the circuit breaker that controls the power supply to your range hood. It is usually labeled in your home’s electrical panel.
- Flip the circuit breaker switch: Turn the corresponding switch to the “OFF” position. Alternatively, if your range hood has a dedicated power switch, turn it off.
- Test the light fixture: Gently touch the light bulb socket or the light switch with the back of your hand to confirm that no electricity is flowing. If you feel any warmth or detect a glow, do not proceed until the power is fully disconnected.
Step 8: Remove the old light bulb
With the power safely turned off, follow these steps to remove the burned-out bulb:
- Access the light bulb cover: Depending on your range hood model, the light bulb cover may be secured by screws, clips, or simply slide out. Consult your owner’s manual for specific instructions, or carefully examine the cover to determine how it is attached.
- Remove the cover: Once you’ve identified the securing mechanism, gently unscrew the screws, unclip the clips, or slide the cover out to expose the light bulb.
- Extract the old bulb: Grasp the bulb firmly, avoiding touching the glass with your bare fingers (oil residue can cause premature failure). Twist the bulb counterclockwise to loosen and then pull it straight out of the socket.
Conclusion
Replacing the light bulb in your range hood is a straightforward DIY project that can be completed in just a few minutes. By following this step-by-step guide, you’ll save on professional service costs and quickly restore the bright, functional lighting essential for safe and enjoyable cooking experiences in your kitchen. Remember always to prioritize safety, use the correct replacement bulb, and refer to your range hood’s user manual if you encounter any model-specific instructions or complications during the process.