Introduction
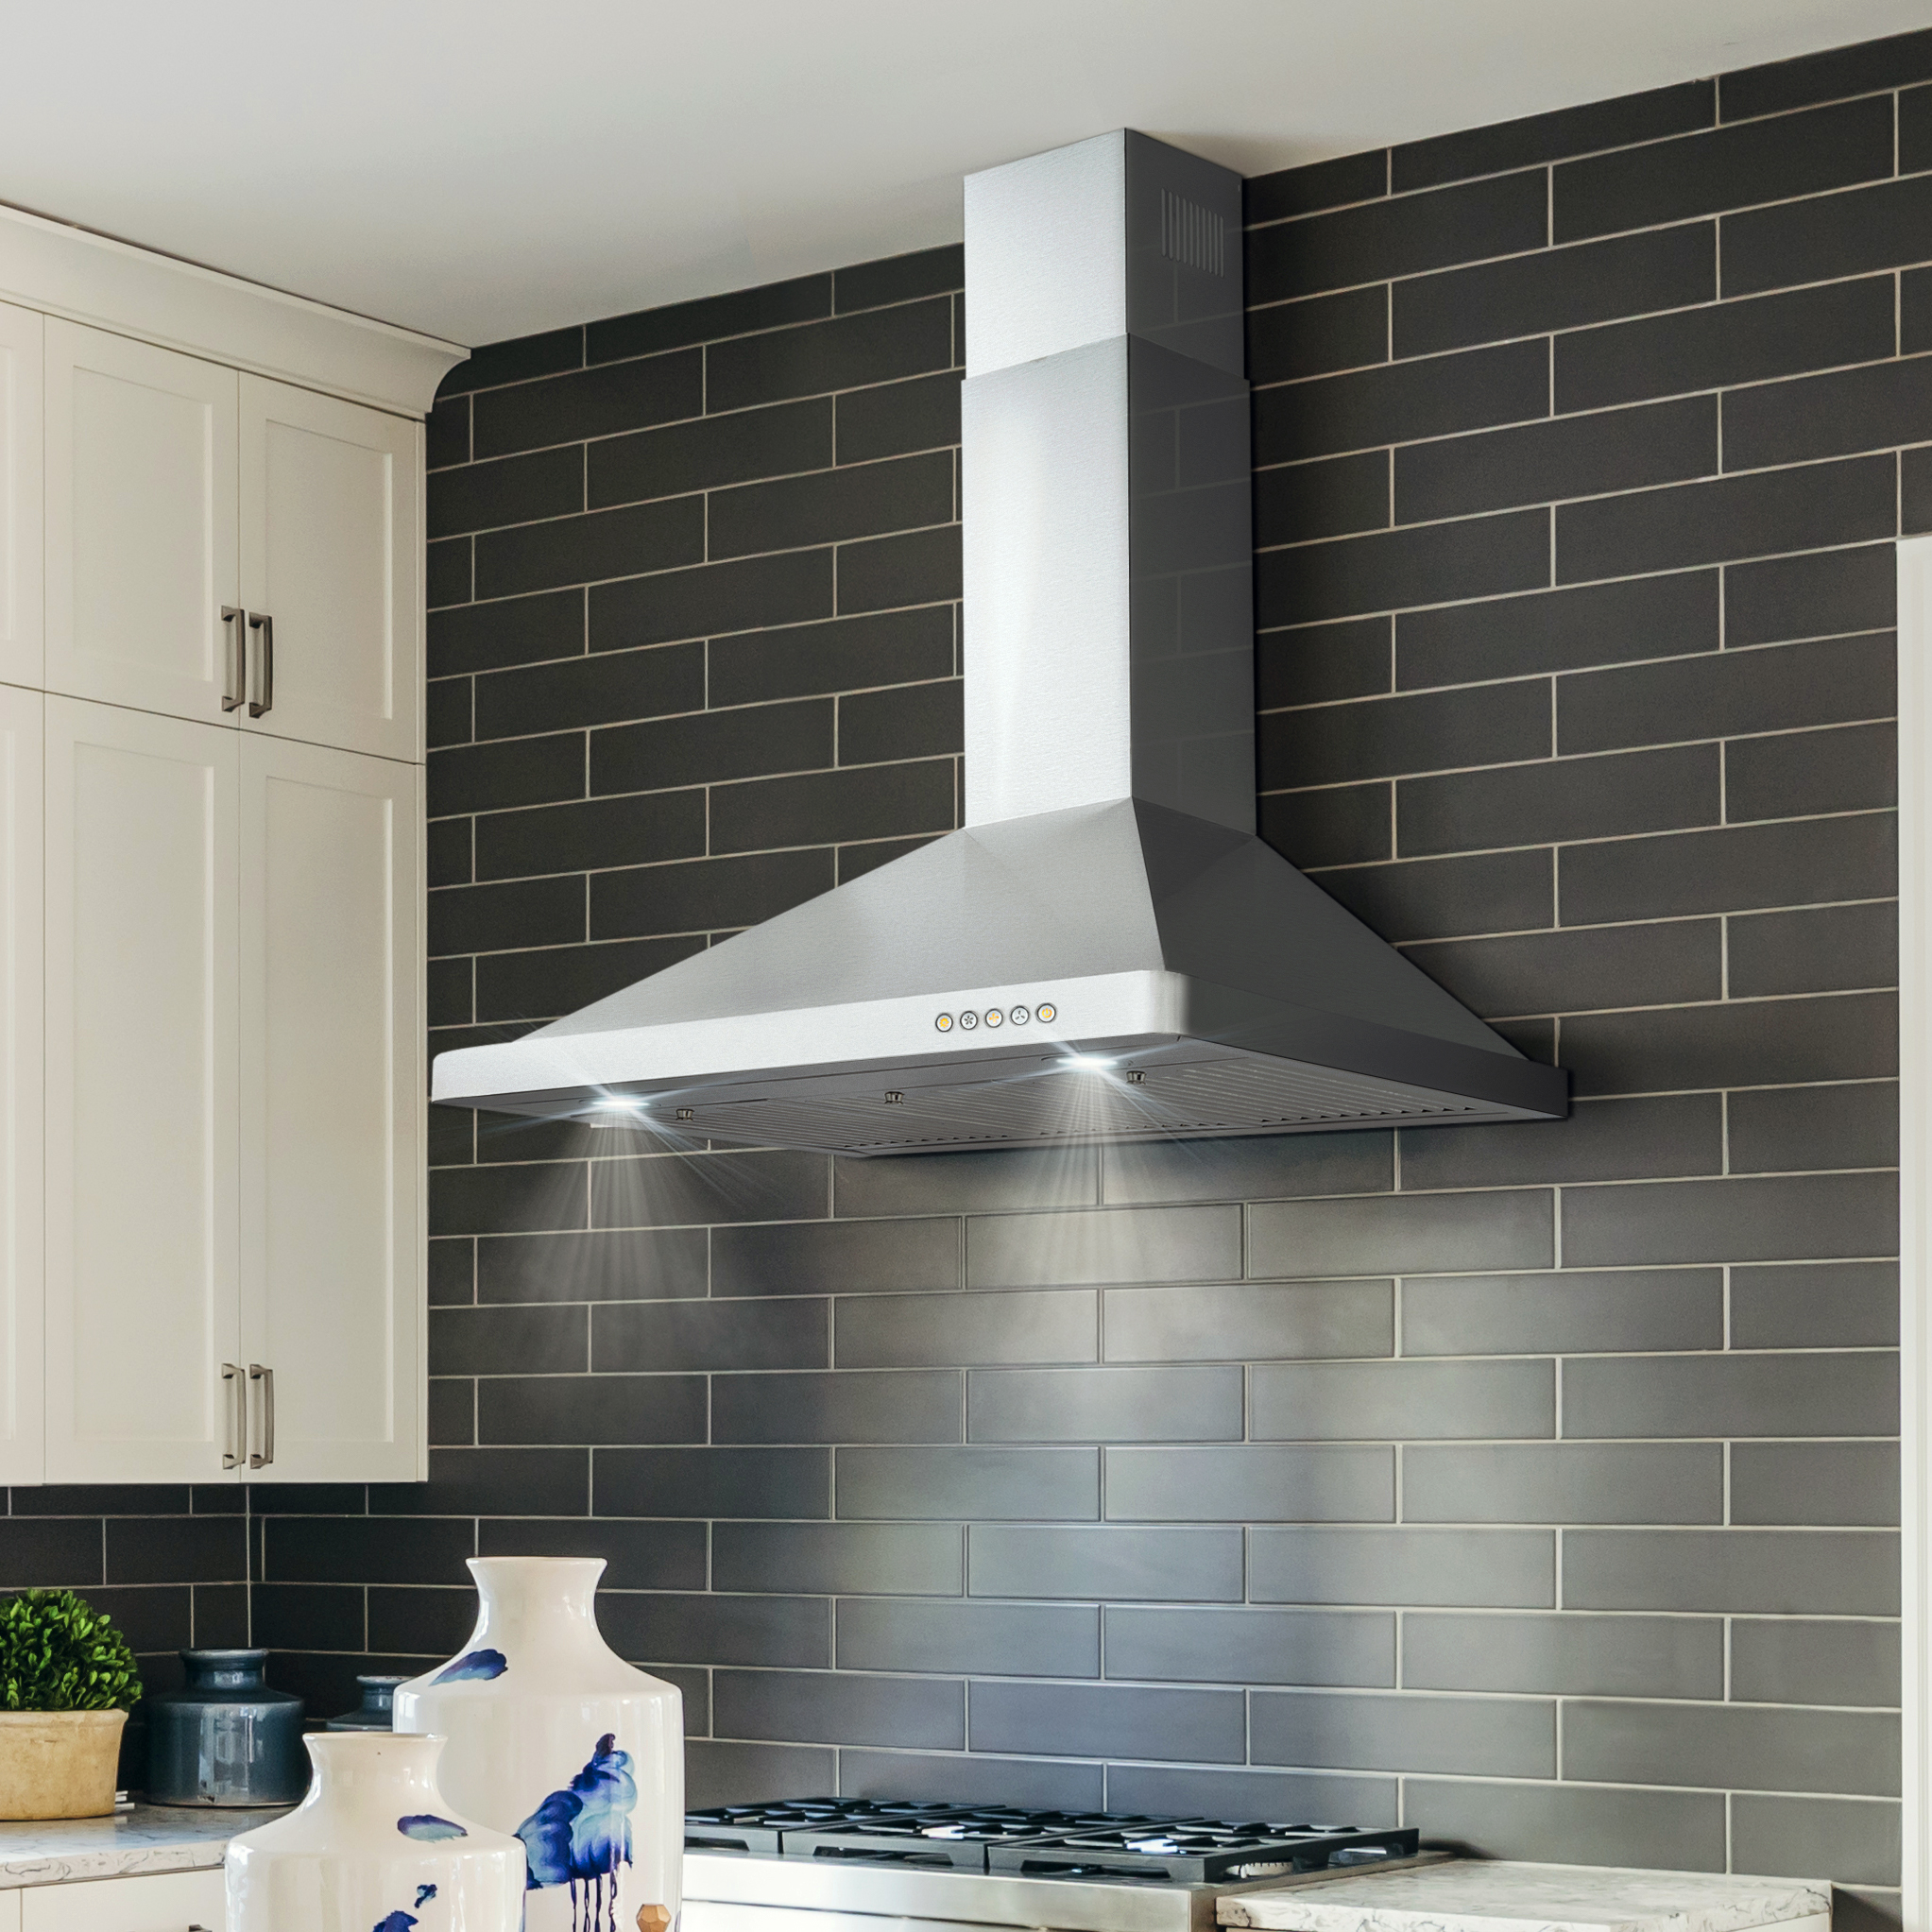
Installing a vent range hood through a wall is a practical and efficient way to remove smoke, odors, and grease from your kitchen while cooking. Whether you’re replacing an existing vent range hood through a wall or installing a new one, this step-by-step guide will help you navigate the process with ease and confidence.
1. Gather Your Tools and Materials:
Before you begin the installation process, make sure you have all the necessary tools and materials on hand. Here’s a list of what you’ll typically need:
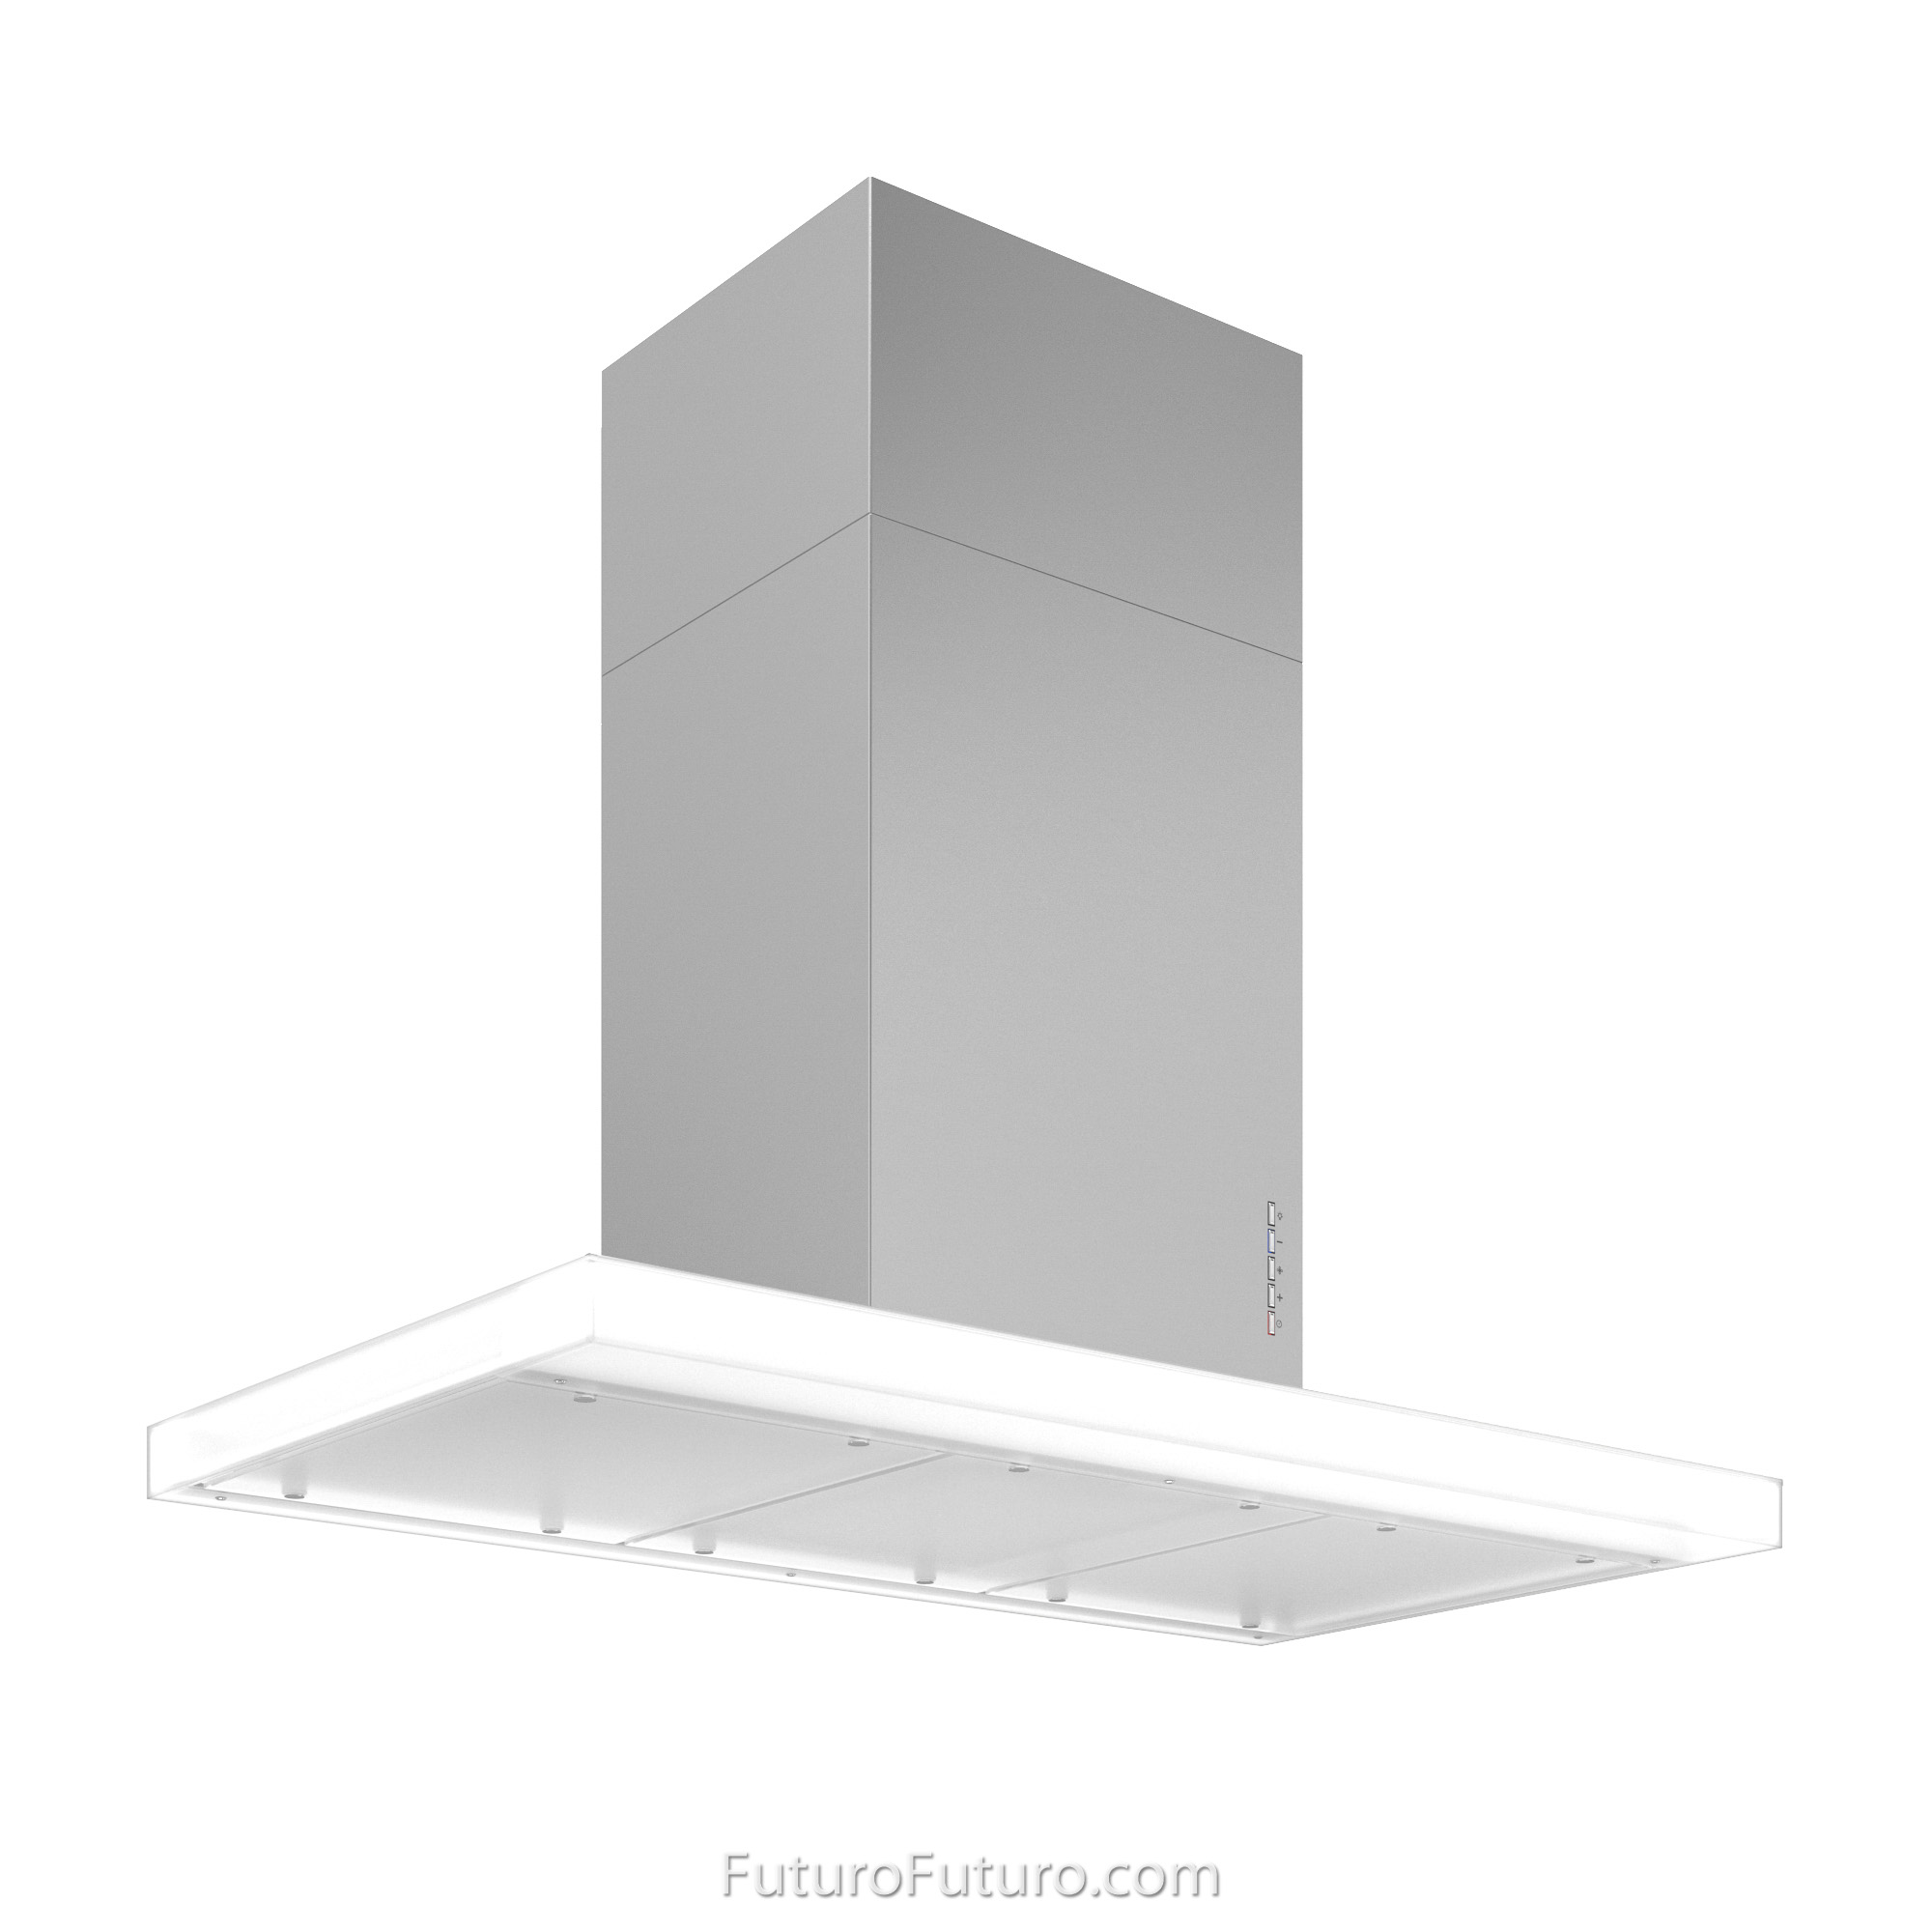
- Vent range hood
- Vent duct
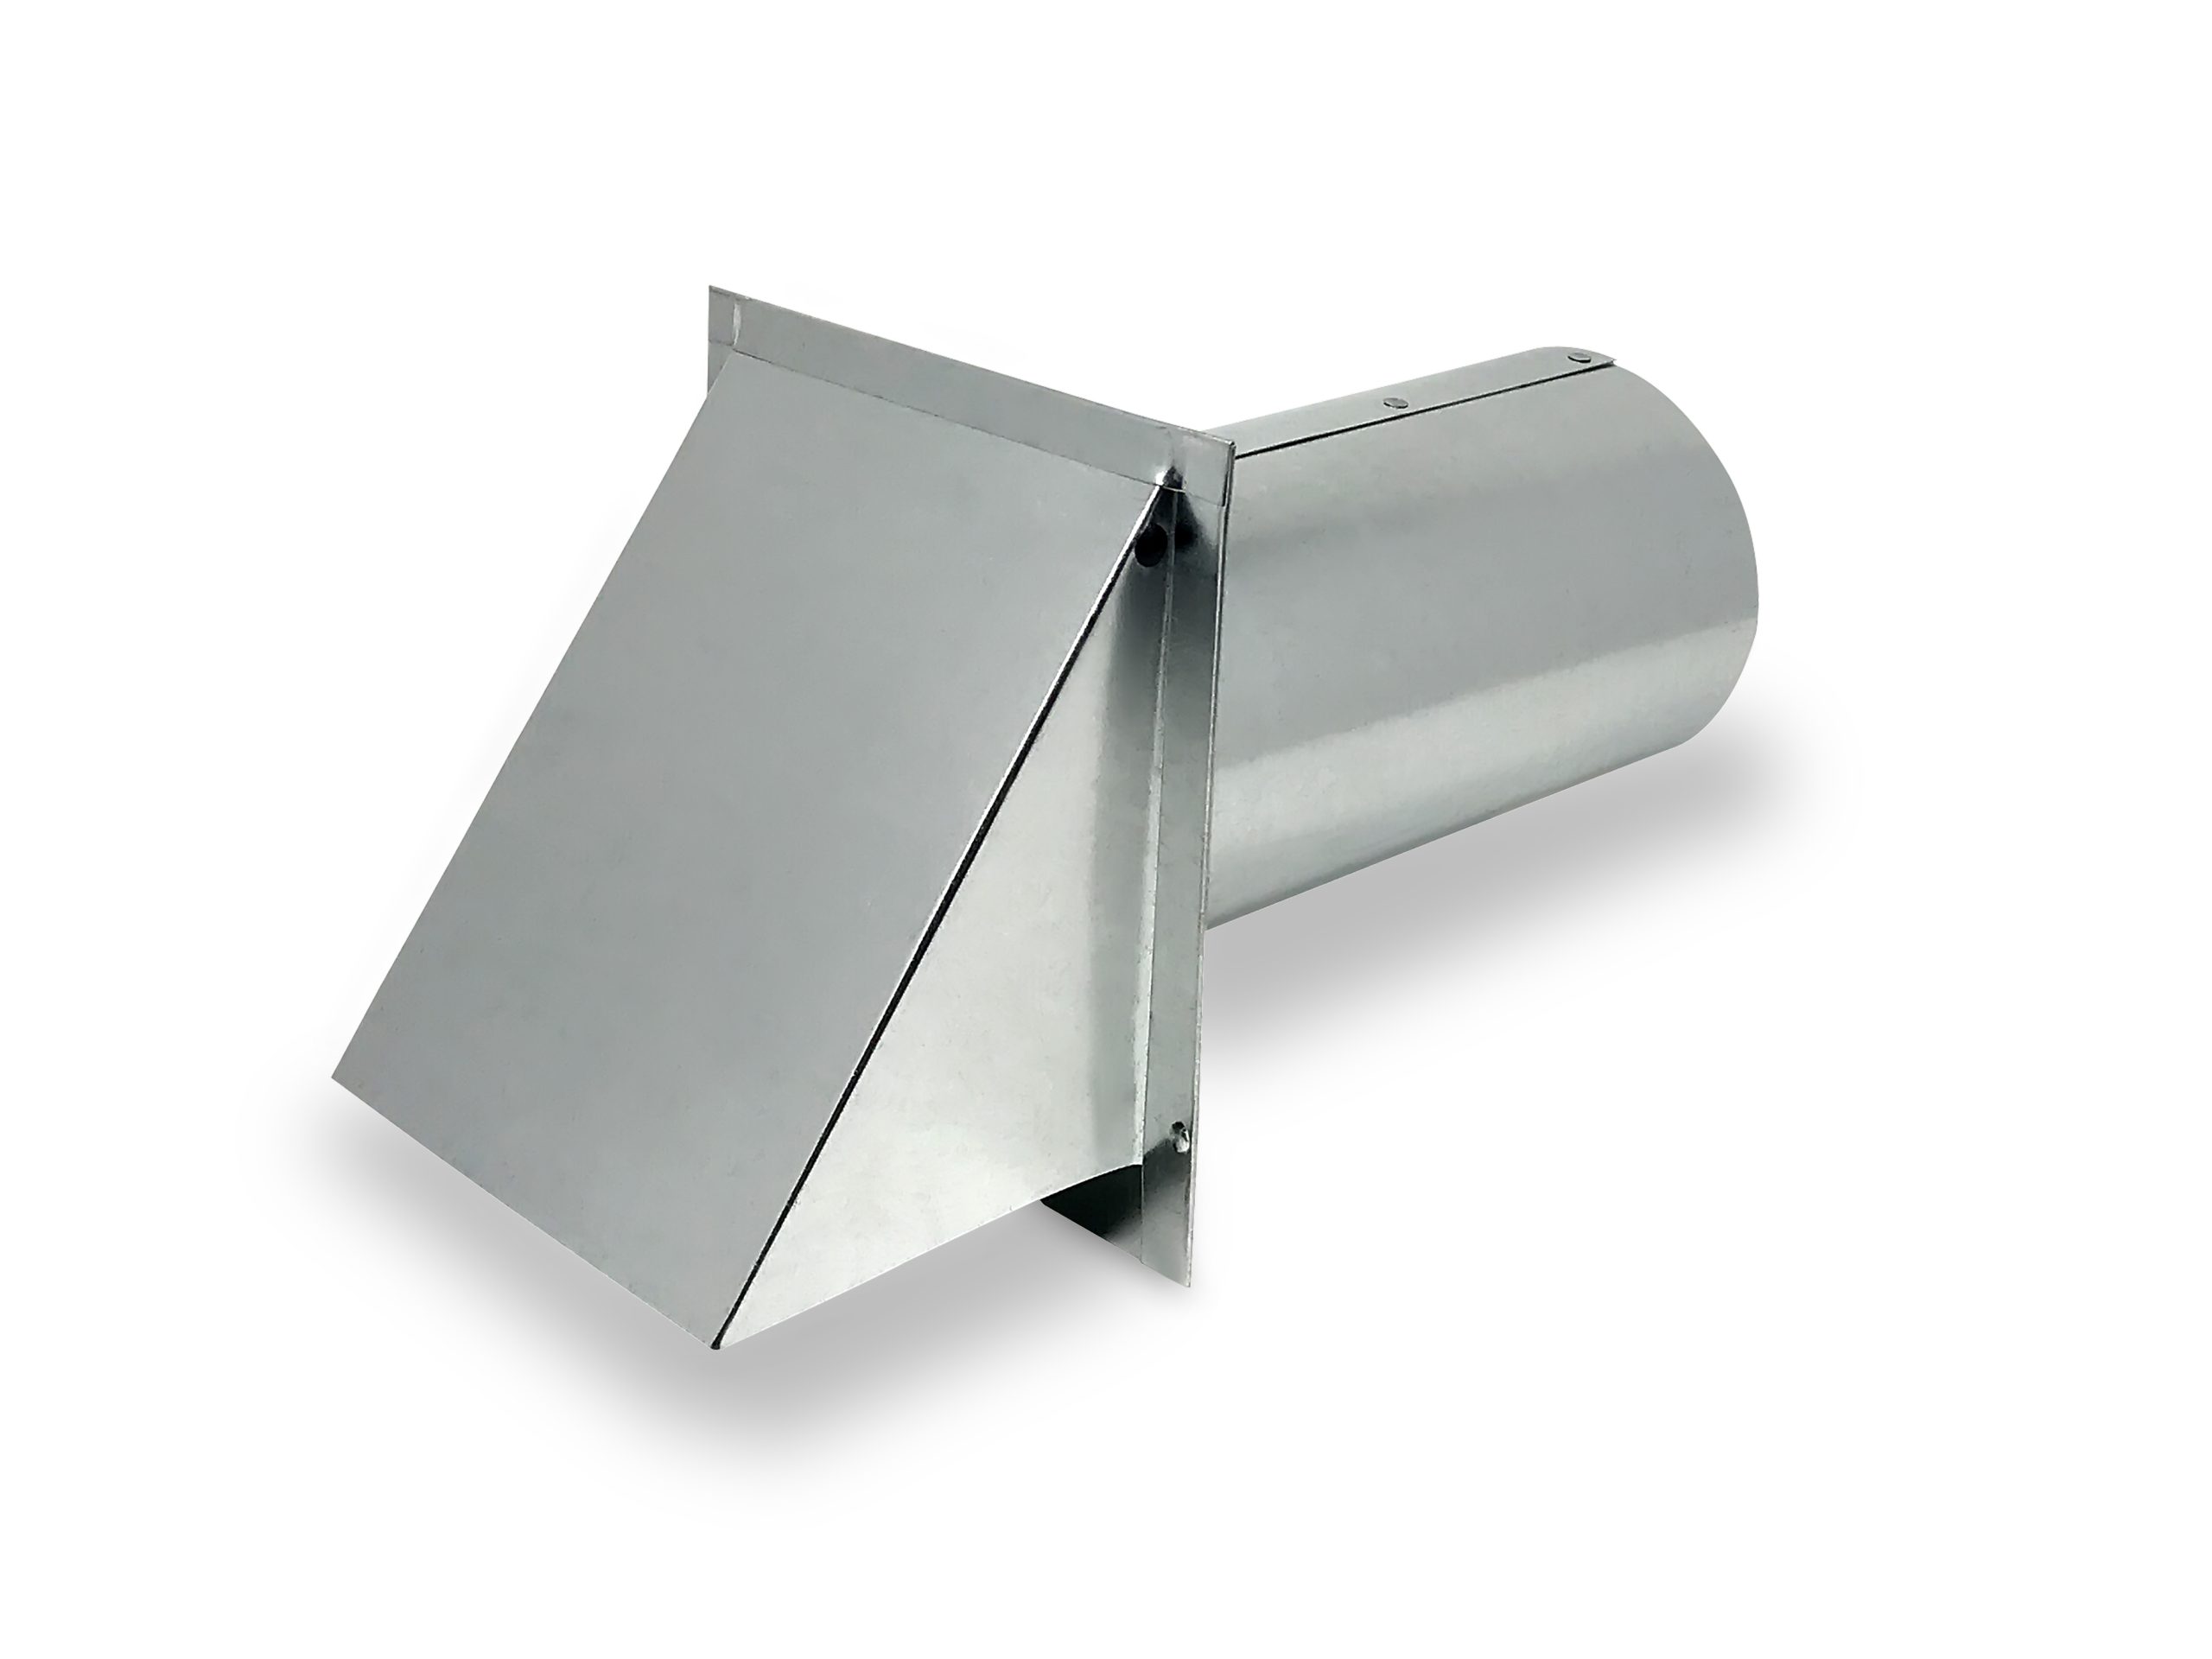
- Wall cap or vent hood cover
- Drill
- Screwdriver
- Level
- Tape measure
- Stud finder
- Duct tape
- Safety goggles
- Work gloves
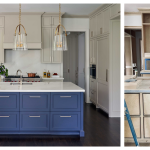
2. Choose the Location:
Determine the optimal location for installing the vent range hood. Ideally, it should be positioned directly above the cooking surface to effectively capture smoke and grease. Use a tape measure and level to mark the exact placement on the wall.
3. Locate and Prepare the Wall Studs:
Use a stud finder to locate the wall studs behind the drywall. Mark the stud locations with a pencil. Ensure that the chosen installation location aligns with the studs for proper support.
4. Cut the Opening:
Using a jigsaw or reciprocating saw, carefully cut a hole in the wall for the vent duct. The size of the opening will depend on the dimensions of your vent duct and range hood. Make sure to wear safety goggles and work gloves during this step to protect yourself from debris.
5. Install the Vent Duct:
Insert one end of the vent duct into the opening in the wall. Secure it in place using duct tape or metal clamps. Extend the duct through the wall to the exterior of your home. Ensure that the duct is sloped slightly downward to allow for proper drainage of condensation.
6. Mount the Range Hood:
Position the range hood over the opening in the wall, aligning it with the ductwork. Use a level to ensure that the hood is straight and level. Once aligned, mark the mounting holes on the wall.
7. Secure the Range Hood:
Drill pilot holes into the marked locations on the wall for the mounting screws. Attach the range hood to the wall using screws and a screwdriver. Make sure the hood is securely fastened to the wall and aligned with the ductwork.
8. Connect the Vent Duct:
Attach the vent duct to the back of the range hood using duct tape or metal clamps. Ensure a tight seal to prevent air leaks. Double-check that the duct is properly connected and aligned with the exterior vent cap.
9. Install the Wall Cap or Vent Hood Cover:
Attach the wall cap or vent hood cover to the exterior of your home, directly over the end of the vent duct. Secure it in place using screws or nails, depending on the type of cover you have chosen.
10. Test the Range Hood:
Before using the range hood, test it to ensure that it is functioning correctly. Turn on the fan and check for proper airflow both inside and outside the home. Listen for any unusual noises or vibrations that may indicate a problem.
11. Finish the Installation:
Once you have confirmed that the range hood is working properly, finish the installation by sealing any gaps or joints with caulk or weatherstripping. This will help prevent air leaks and improve the efficiency of the venting system.
12. Safety Precautions:
Throughout the installation process, prioritize safety to prevent accidents and injuries. Ensure that all power sources are turned off before working with electrical components. Use appropriate safety gear, such as goggles and gloves, when handling tools and materials. If you’re unsure about any aspect of the installation, consider hiring a professional to assist you.
13. Considerations for Ductwork:
When installing the vent duct through the wall, take into account the length and configuration of the ductwork. Opt for the shortest and most direct route possible to maximize airflow and minimize resistance. Use smooth, rigid ducts instead of flexible ones whenever feasible to reduce airflow restrictions and improve ventilation efficiency.
14. Ventilation Requirements:
Before installing the vent range hood, familiarize yourself with local building codes and ventilation requirements. These regulations may dictate specific guidelines for the size, type, and location of venting systems to ensure compliance with safety and environmental standards. Failure to adhere to these regulations could result in fines or penalties.
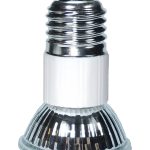
15. Adjusting the Range Hood Settings:
Once the range hood is installed, familiarize yourself with its settings and features. Most range hoods come with adjustable fan speeds and lighting options to customize the ventilation and illumination levels according to your preferences. Experiment with different settings to find the optimal configuration for your cooking needs.
16. Maintenance and Cleaning:
Regular maintenance and cleaning are essential to keep your vent range hood operating efficiently. Clean the grease filters regularly to prevent buildup and maintain airflow. Wipe down the exterior surfaces with a damp cloth to remove dust and grease buildup. Check the ductwork periodically for any obstructions or damage that may impede airflow.
17. Noise Reduction Strategies:
If the range hood produces excessive noise during operation, consider implementing noise reduction strategies to minimize disruptions in your kitchen. Opt for range hoods with sound-dampening features or install additional insulation around the ductwork to absorb noise. You can also choose lower fan speeds or invest in a range hood with a quieter motor for a more peaceful cooking environment.
18. Energy Efficiency Considerations:
Selecting an energy-efficient vent range hood can help reduce energy consumption and lower utility costs over time. Look for models with ENERGY STAR certification, which indicates compliance with stringent efficiency standards set by the Environmental Protection Agency (EPA). Additionally, consider investing in LED lighting for your range hood to minimize energy usage while providing ample illumination.
19. Warranty and Support:
Before purchasing a vent range hood, review the manufacturer’s warranty coverage and support services. A comprehensive warranty can provide peace of mind and protect you against defects or malfunctions. Familiarize yourself with the warranty terms and conditions, including any exclusions or limitations, to ensure proper coverage in case of issues.
20. Final Inspection and Adjustment:
Once the installation is complete, perform a final inspection of the vent range hood and ductwork to ensure everything is in proper working order. Check for any loose connections, gaps, or leaks that may require adjustment or repair. Make any necessary adjustments to optimize the performance and efficiency of the ventilation system.
Conclusion
Congratulations! You have successfully installed a vent range hood through a wall, providing your kitchen with effective ventilation and improving indoor air quality while cooking. Enjoy the benefits of a cleaner, healthier cooking environment!