Introduction:
Range hood vent installation vent is a crucial step in ensuring proper ventilation and air quality in your kitchen. A well-installed vent effectively removes smoke, steam, grease, and odors generated during cooking, contributing to a cleaner and more comfortable cooking environment. In this comprehensive guide, we will outline the essential steps for range hood vent installation, covering everything from planning and preparation to the final setup and testing.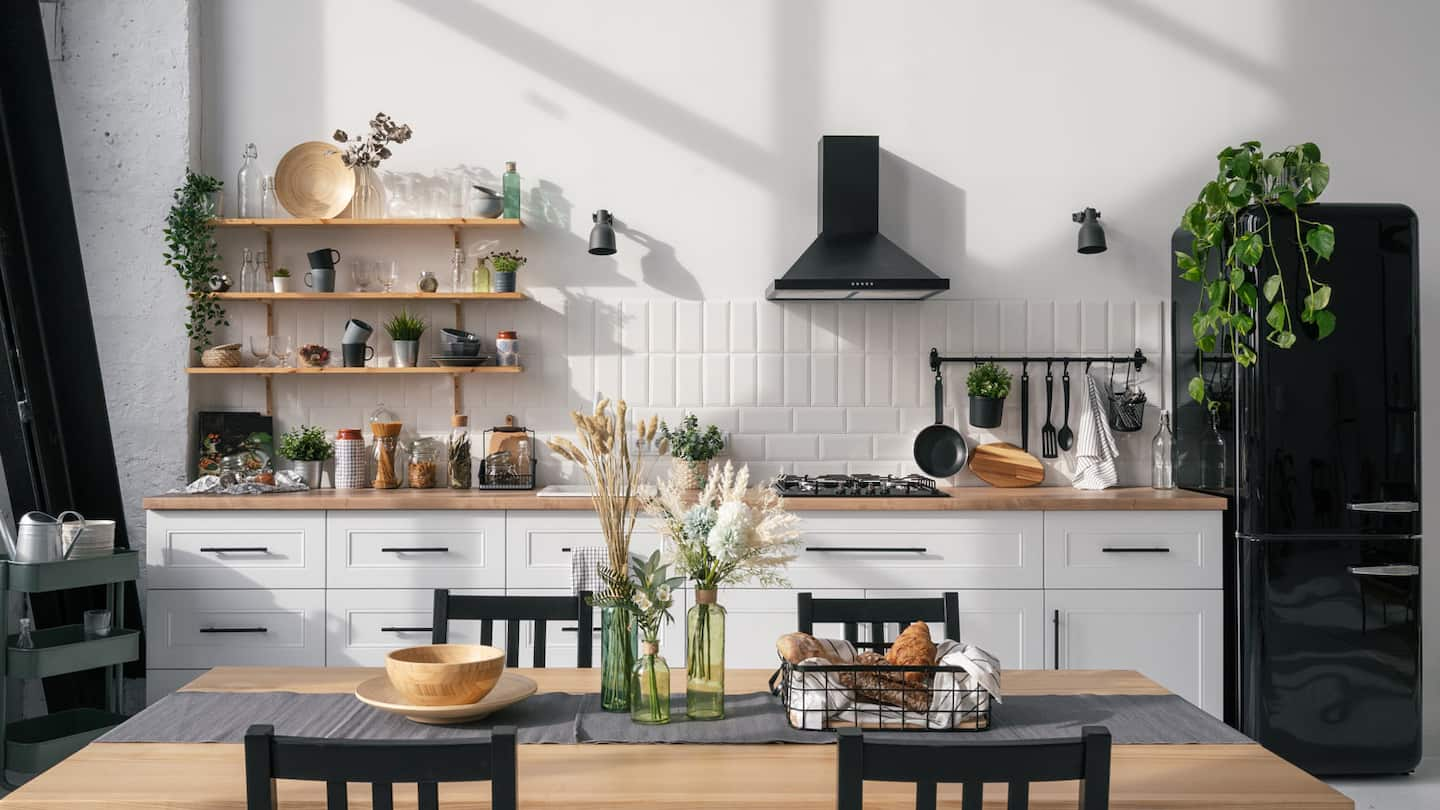
1. Gather Necessary Tools and Materials:
Before you begin the installation process, gather all the necessary tools and materials. This may include a drill, screwdriver, measuring tape, level, pencil, adjustable wrench, ductwork, vent hood, mounting brackets, screws, and electrical wiring components. Ensure that you have everything on hand to streamline the installation process and avoid unnecessary delays.
2. Choose the Location:
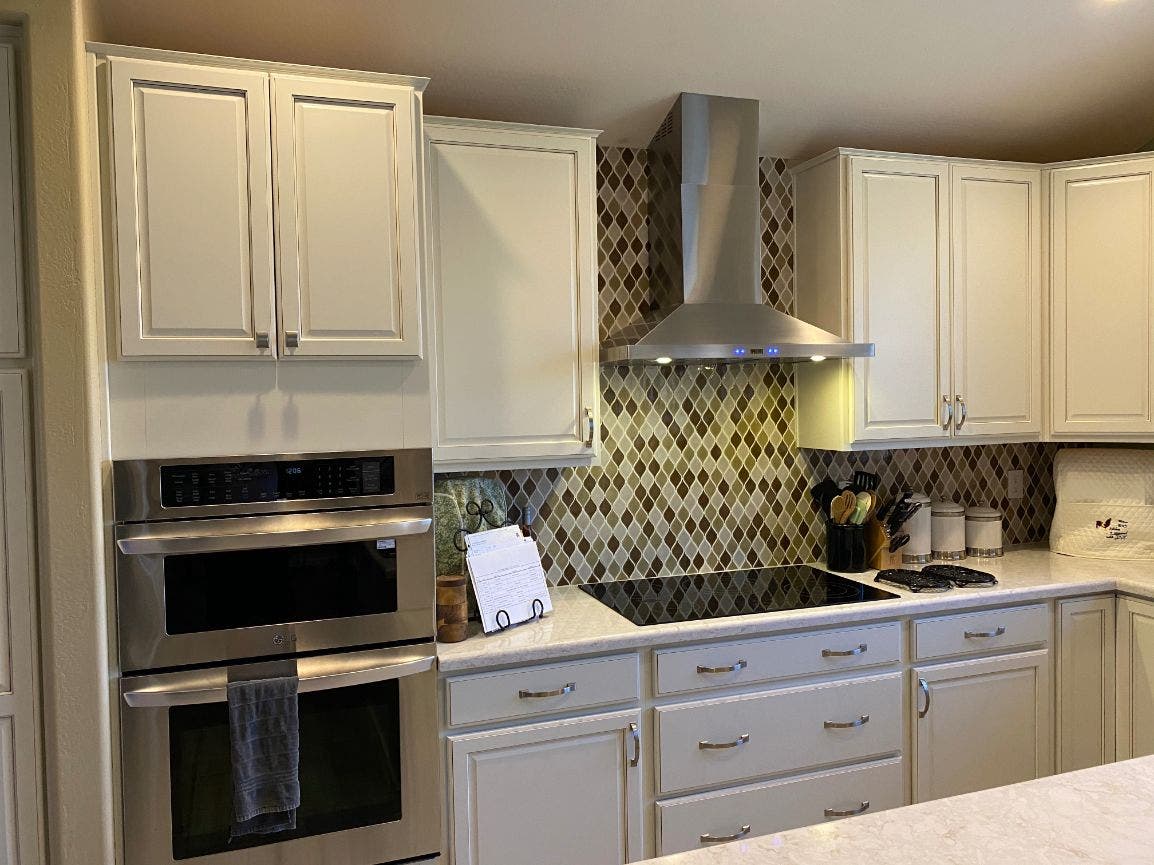
Selecting the optimal location for your range hood vent is critical for its effectiveness and aesthetics. Ideally, the vent should be positioned directly above the cooking surface to capture and exhaust smoke and odors efficiently. Additionally, consider factors such as the proximity to an exterior wall or roof for venting purposes and the available space for installation.
3. Measure and Mark the Mounting Position:
Once you’ve chosen the location for the range hood vent, use a measuring tape and pencil to mark the mounting position on the wall or cabinet. Ensure that the markings are level and align with the centerline of the cooking surface for proper ventilation coverage. Double-check your measurements to avoid errors during the installation process.
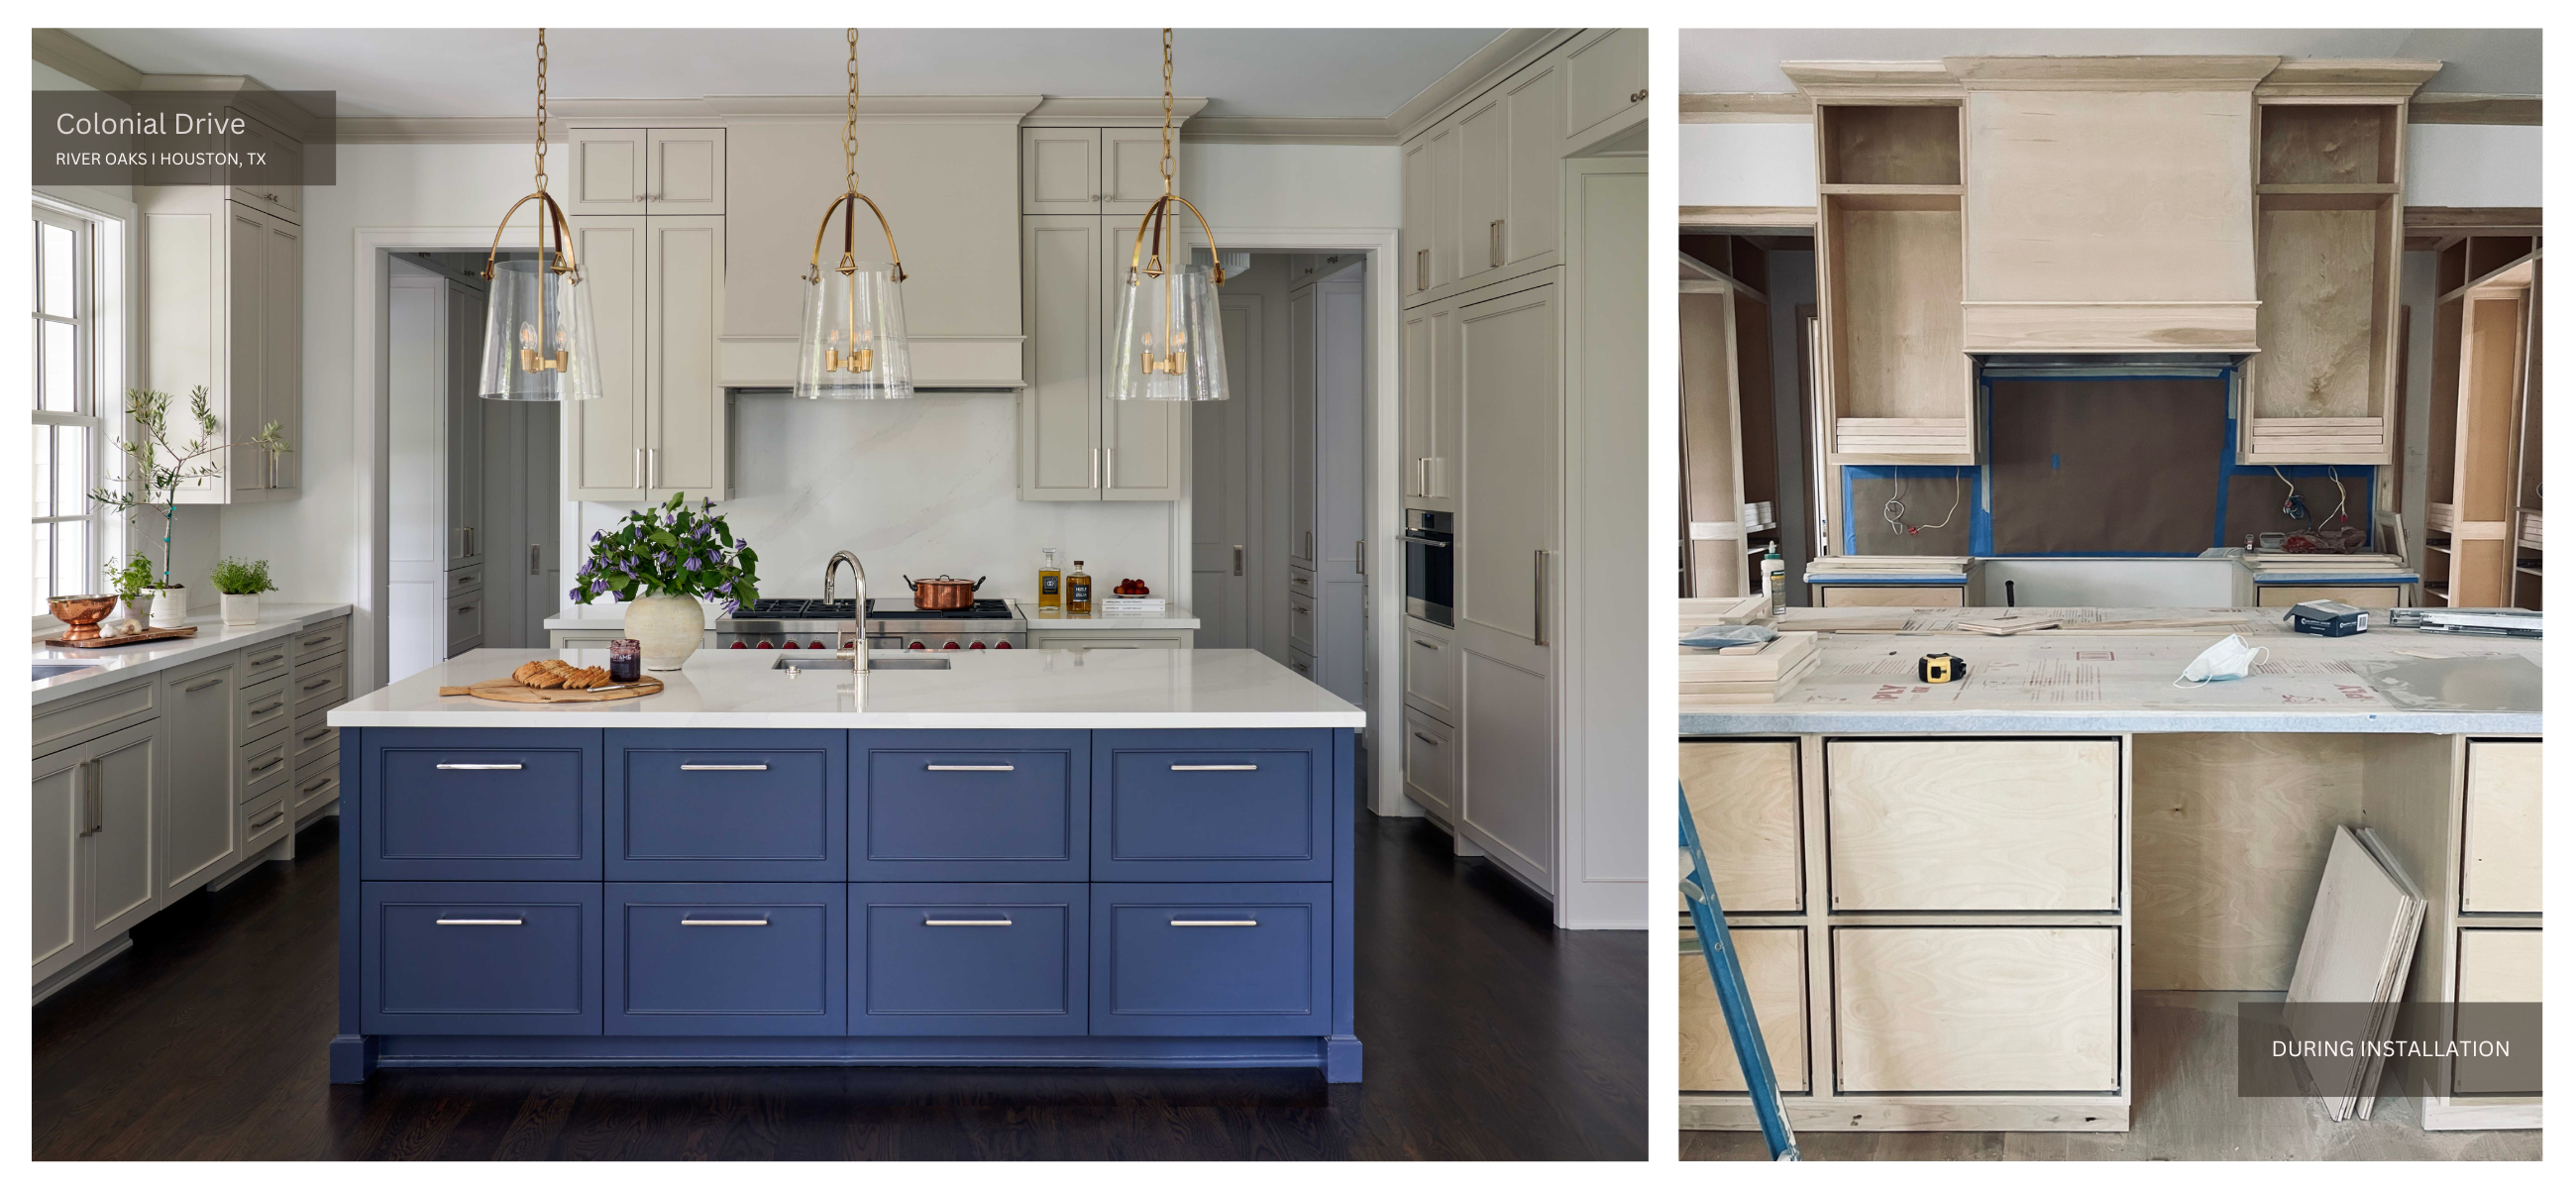
4. Prepare the Mounting Area:
Before mounting the range hood vent, prepare the mounting area by ensuring it is clean, flat, and free of obstructions. If necessary, use a stud finder to locate and mark the positions of the wall studs for secure attachment. Additionally, consider any electrical or plumbing fixtures that may interfere with the installation and make any necessary adjustments.
5. Install Mounting Brackets:
Depending on the design of your range hood vent, you may need to install mounting brackets to support its weight. Follow the manufacturer’s instructions to securely attach the brackets to the wall or cabinet using screws and a drill. Ensure that the brackets are level and properly aligned with the mounting position markings.
6. Connect Ductwork:
Next, connect the ductwork to the range hood vent for proper ventilation. Measure and cut the ductwork to the appropriate length, ensuring a snug and secure fit between the vent hood and the exterior wall or roof opening. Use foil tape or duct clamps to seal the connections and prevent air leaks, which can compromise the effectiveness of the vent system.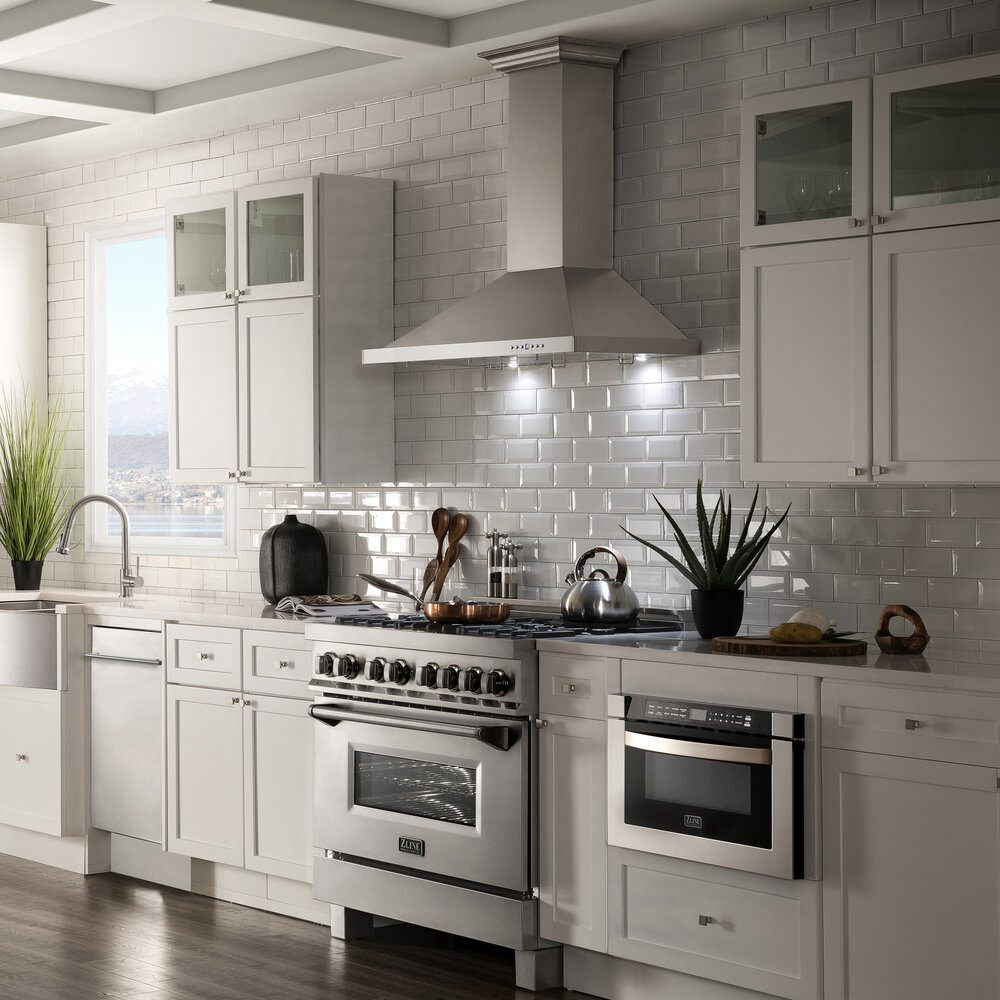
7. Secure the Range Hood Vent:
With the ductwork in place, carefully lift the range hood vent into position and align it with the mounting brackets on the wall or cabinet. Use screws and a screwdriver to secure the vent hood to the brackets, ensuring that it is level and firmly anchored in place. Double-check the alignment and stability of the vent hood before proceeding to the next step.
8. Complete Electrical Wiring:
If your range hood vent requires electrical wiring, carefully follow the manufacturer’s instructions to complete the wiring process. Turn off the power to the circuit before making any electrical connections, and consult a licensed electrician if you are unsure about any aspect of the wiring. Once the wiring is complete, secure the electrical connections and carefully tuck any excess wiring out of sight.
9. Test the Ventilation System:
Before completing the installation, test the range hood vent to ensure that it is functioning correctly. Turn on the ventilation system and verify that air is being drawn up and away from the cooking surface effectively. Check for any unusual noises, vibrations, or air leaks that may indicate problems with the installation or ductwork connections. Make any necessary adjustments or repairs as needed to ensure optimal performance.
10. Finalize Installation and Cleanup:
Once you have confirmed that the range hood vent is operating correctly, finalize the installation by securing any remaining components and conducting a final cleanup of the surrounding area. Remove any protective coverings or packaging materials from the vent hood, and wipe down the exterior surfaces to remove any dust or debris. Dispose of any leftover materials and tools, and admire your newly installed range hood vent.
Additional Tips:
Check Local Building Codes:
Before starting the installation process, familiarize yourself with local building codes and regulations regarding ventilation systems. Compliance with these codes is essential for safety and may dictate specific requirements for ductwork materials, clearances, and electrical wiring.
Consider Ventilation Options:
Range hood vents can be ducted or ductless. Ducted vents exhaust air outside the home, while ductless vents use filters to recirculate air back into the kitchen. Choose the option that best suits your kitchen layout, ventilation needs, and budget.
Ensure Proper Ventilation Capacity:
Select a range hood vent with adequate ventilation capacity (measured in cubic feet per minute, or CFM) to effectively remove smoke, steam, and odors from your cooking area. Consider factors such as kitchen size, cooking frequency, and the type of stove or cooktop you have when determining the appropriate CFM rating.
Plan for Exhaust Route:
When planning the ductwork route for a ducted range hood vent, opt for the shortest and most direct path to the exterior of the home to minimize airflow restrictions and maximize ventilation efficiency. Avoid sharp bends and unnecessary twists in the ductwork, as these can impede airflow and lead to decreased performance.
Ensure Proper Ventilation Height:
Position the range hood vent at the optimal height above the cooking surface to maximize its effectiveness. Typically, the bottom of the hood should be positioned 24 to 30 inches above an electric cooktop or 30 to 36 inches above a gas cooktop for optimal capture of cooking byproducts.
Use High-Quality Materials:
Invest in high-quality ductwork, vent hoods, and mounting hardware to ensure durability and long-term performance. Quality materials are less prone to rust, corrosion, and damage, resulting in a more reliable and efficient ventilation system.
Consider Professional Installation:
If you’re not comfortable with DIY installations or if the project involves complex electrical or structural work, consider hiring a professional contractor or licensed electrician to ensure the installation is done safely and correctly.
Regular Maintenance:
Once the range hood vent is installed, establish a regular maintenance routine to keep it operating efficiently. Clean or replace filters as needed, inspect ductwork for any signs of damage or obstruction, and ensure all components are in good working condition.
Conclusion:
Range hood vent installation vent is a practical and essential task for maintaining a clean and comfortable kitchen environment. By following these essential steps and guidelines, you can ensure a successful installation process and enjoy the benefits of improved ventilation and air quality in your home. Remember to consult the manufacturer’s instructions and local building codes throughout the installation process to ensure compliance and safety. With proper planning, preparation, and attention to detail, you can complete the installation with confidence and enjoy the convenience and functionality of your new range hood vent for years to come.